Dear Friends,
Shalini Pahwa here today, The October month marks the beginning of the Winter season. It is also the beginning of a protracted festival season. It is the time of the year where we not only invite light into our homes by lighting our candles and fireplaces, but also bringing light into our lives by inviting our friends and family over to share in laughter, music, singing, dancing, food and drink.
We, of-course, cannot do so this year due to the pandemic, but nothing can still stop us from expressing our love for our family & friends.
With the idea of remembering your loved ones and giving them something that they cherish during the upcoming festivals, I have created this TREAT BASKET.
This basket has been created using 'Dress My Craft' pattern paper & dies. I have used beautiful "Dress My Craft-Me Collection-Chirping Bird". The basket is decorated with Daisy flowers, also constructed using Dress My Craft dies. Daisy flower represents innocence, new and fresh beginnings and life. So in these times, when the whole world seems to be covered in a sense of gloom, let such creations and gifts to your friends re-ignite the spirit of love that the world so desperately needs.
Below is the step by step procedure to make the Treat Basket :
Take card-stock size 9"x 8" and score at 2"on all four sides and cut, as seen on picture below...
Take patter paper from "Dress My Craft Me Collection-Chirping Bird" and adhere them all the sides.
Cut three Dress My Craft-Crochet Doily on white card-stock and color them using archival ink-majestic violet and distress ink-walnut stain and two on gold card-stock. Cut two more Crochet Doily Die on white cardstock and cut them in half and adhere them on the base of the basket, as seen on picture...
For handles, cut one strip white card-stock size 1"x12" and pattern paper size .75" (cut two of these in pattern paper) and adhere it n white card-stock strip.
Cut eight crochet lace border die on white card-stock and make four pairs.
Cut leaves die on dress my craft pattern paper and distress the edges using archival ink-leaf green, using same ink-color at the back also.
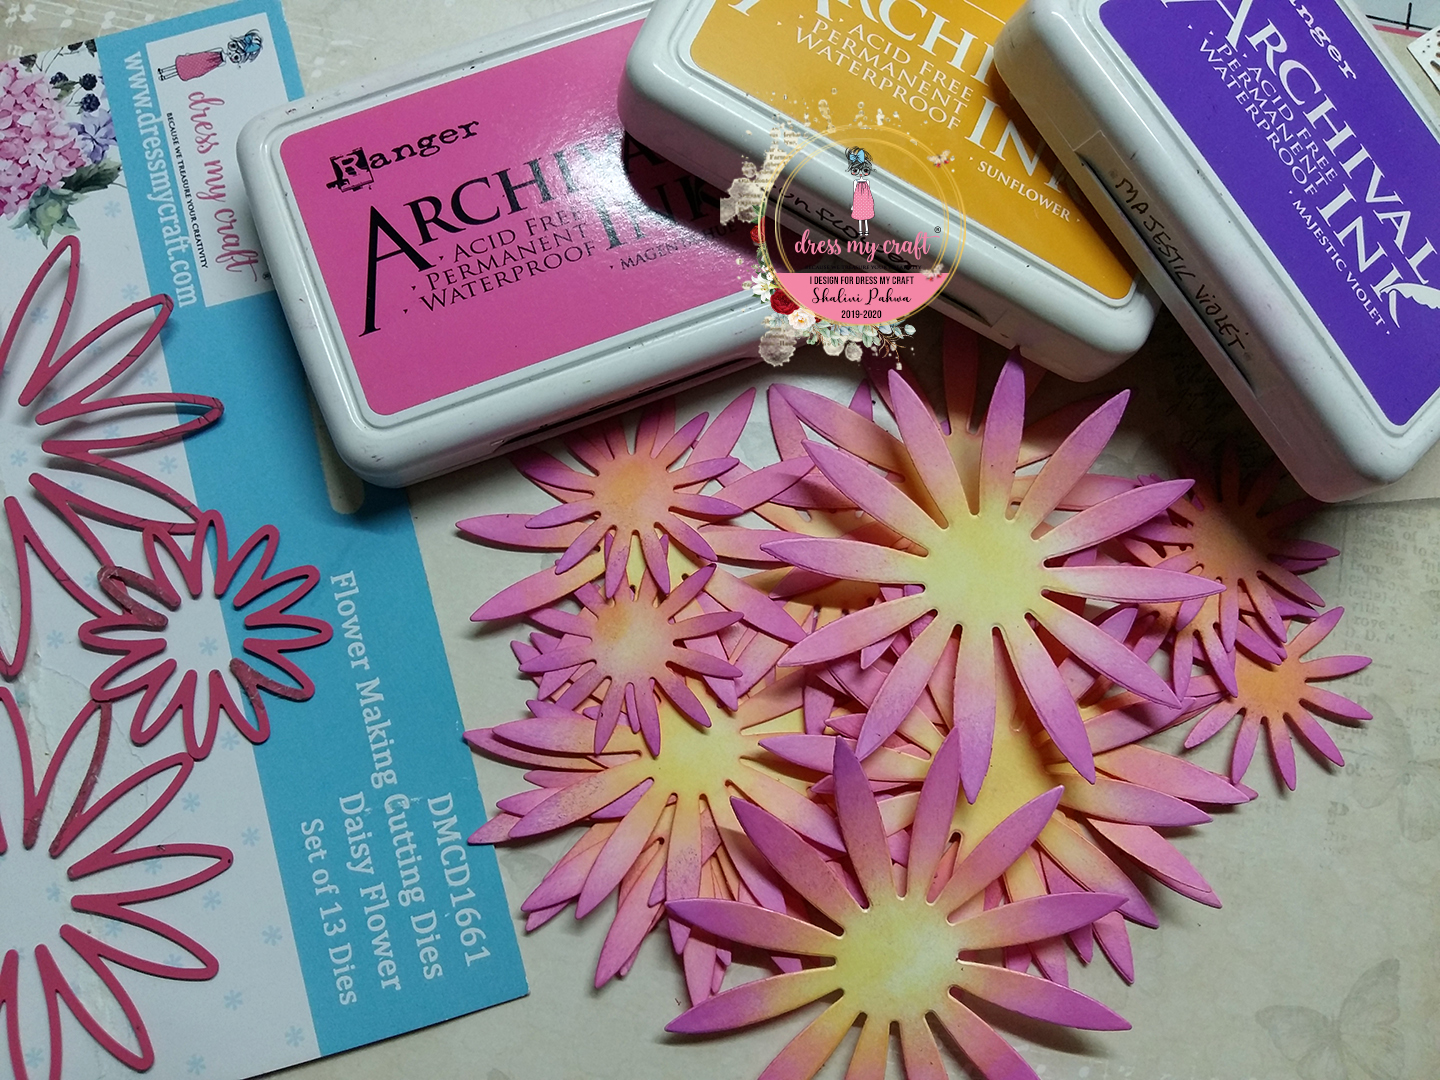
Cut few daisy die flower on Dress My Craft Soft Oriental paper and color them using archival ink-sunflower, magenta hue and majestic violet, soak them in water for few seconds and shape them using dress my craft-golf groove tool, Add flower pearls-golden at the centre.
Assemble all these elements together, add some ribbon and sequins and decoration of treat basket is ready...
I hope you all will love this tutorial and Do share your creations. Do also let me know how you like my creation.
Have A Great Day!!!
Dress My Craft Products Used:
My Blog
My Facebook
My Instagram:
My Youtube channel
Dress My Craft, Social media handles:
Dress My Craft products are available at
For wholesale or any queries please email us to info@dressmycraft.com