Showing posts with label tag punch. Show all posts

Saturday, 20 February 2021

TREAT BOXES WITH HANGING TAG PUNCH

 Hello there crafty people! This is Anu video designer at dress my craft. I hope you all are doing well.

Today I am here with another fun video. This time I am teaching you how to make quick and easy treat boxes which requires minimal efforts and materials but looks very pretty and stylish.

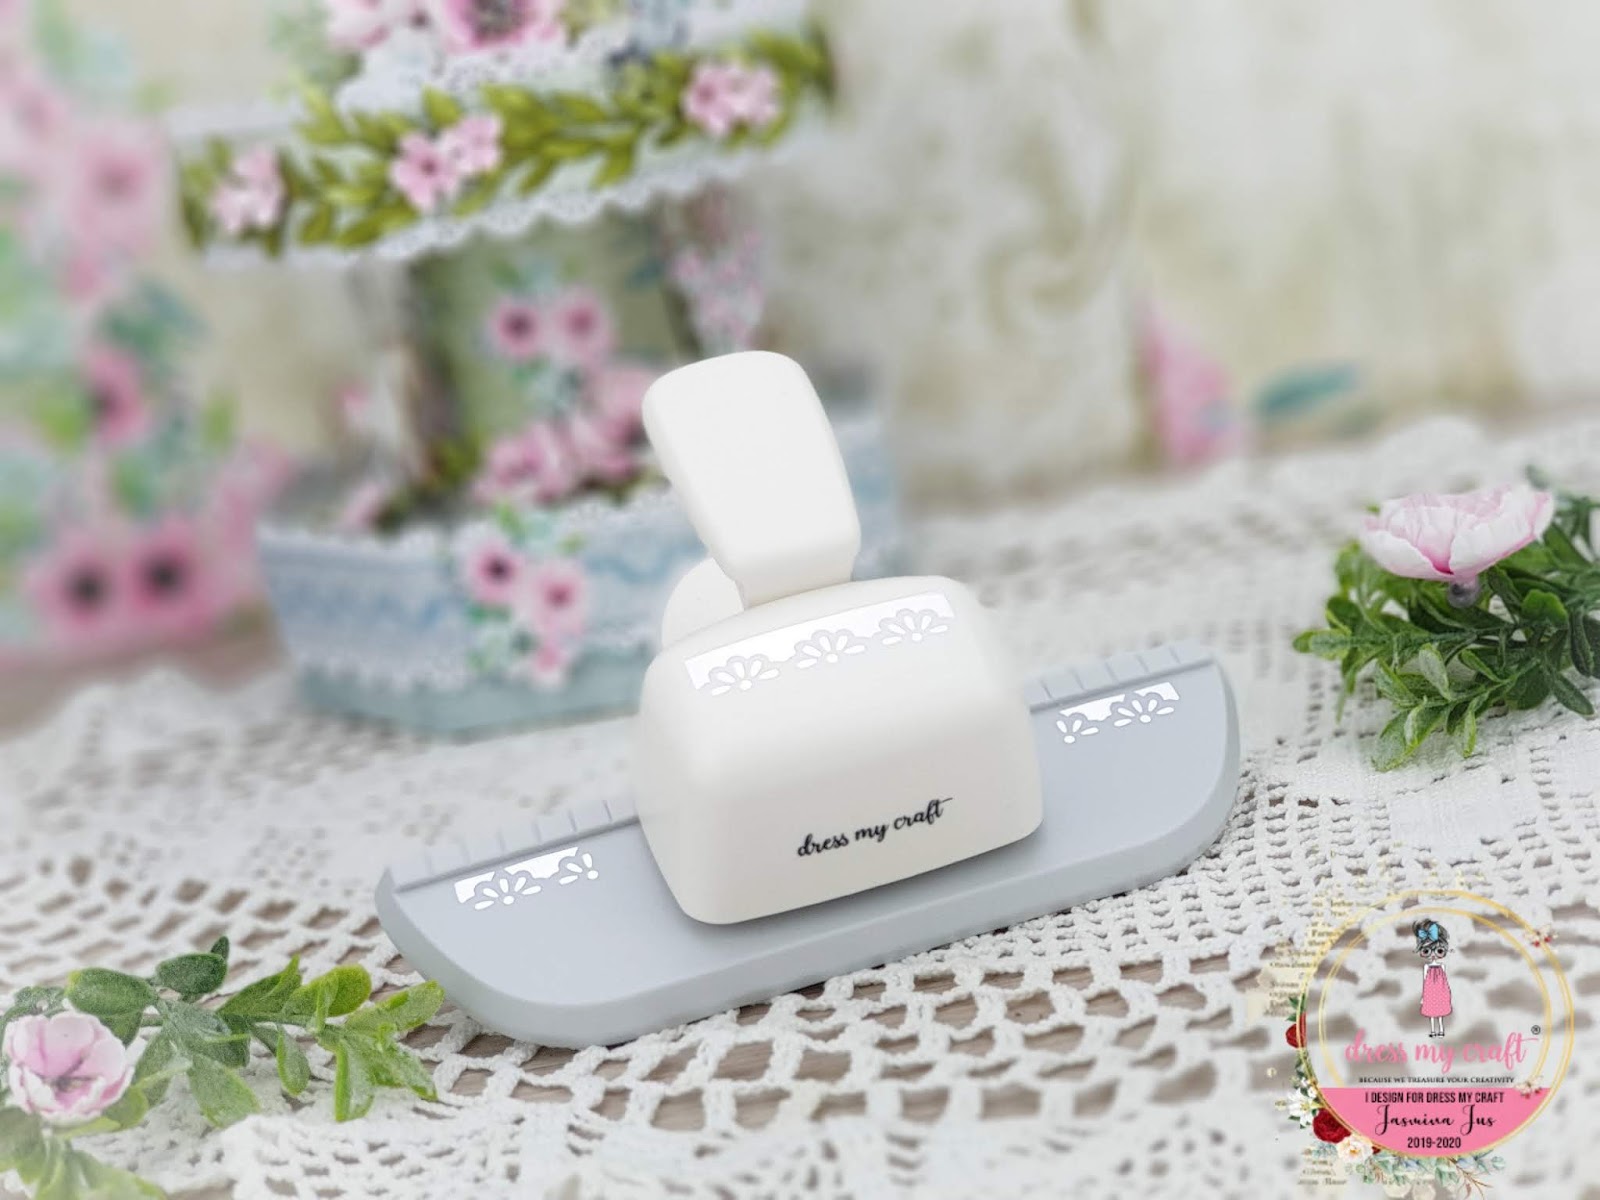
Star of this video is our newly launched HANGING TAG PUNCH

here's a close look at all the boxes:


watch the video here :


-------------

SUPPLY LIST:

hanging tag punch - https://bit.ly/3doo39g

sweet treats 6x6 pack - https://bit.ly/3k5Akk3

mini score board - https://bit.ly/2NLKB8X

scallop circle punch 1.5" - https://bit.ly/3aAHLNh

heart punch 1" - https://bit.ly/3bhI3HU

white ribbon - https://bit.ly/3dvrxXI


I hope you enjoy this video, do comment & let me know how you like it.

until next time happy crafting :)

Crafter Anu

Sunday, 1 March 2020

Wine Bottle Gift Box

Howdy, friends!  It's me - Amanda Fitterer - back with another fun project to share with you!  This is a gift box for a wine/champagne/liquor bottle!

Find me on Instagram: @craftyandcreativevibes
YouTube channel: Amanda Fitterer


I started with a recycled box.  This box was actually a box of wine and I just opened it up and took out the bag inside!  Because it was a box of wine, it's VERY sturdy and can easily hold the weight of any bottle of wine, liquor, or champagne!

I used my favorite paper collection from Dress My Craft - Whispering Love!
For the background, I started with some embossing paste and the Artist Canvas stencil.  Then, I used the Tropical Swirls die , Foliage and Leaves #7 die and the Foliage and Leaves #8 die for behind my tags.

To make the flowers, I used the Soft Floral Oriental Paper and the Six Petal Flower die.  I used the Pink Flower Pearls for their centers.


I used the Banner punch to create 2 little flags.  The punch is able to make 3 different size flags all in one tool!  I used the Circle Chain Border Punch to create a little border to place on top of my flags.


For this side of the box, I created 2 tags with the Rounded Tag Punch.  This punch can also create 3 different sizes of tags, all in one tool!  I used a distressing tool to distress the edges.  The "HUGS" graphic and the black lace border are from the motif sheets from the paper collection.


The "LOVE" Graphic is also from the motif sheets.  I fussy cut it out and used a distressing tool on it as well.  In the background, you can see I used Foliage and Leaves #3 die.  The flowers were cut using the Curved Flower dies.


For the background of this side, I used the Flowers Era stencil and some embossing paste.


Here are some more photos of the finished project!


Thank you so much for scrolling along with me!
xoxo, Amanda

Dress My Craft:


Dress My Craft products are available at:
For Indian customers - www.crafterscorner.in
For international buyers - www.scrapbook.com

www.dressmycraft.com (FREE SHIPPING ABOVE $150 WORLDWIDE)

For wholesale or any queries, please email us: info@dressmycraft.com

Saturday, 28 December 2019

Bottle hanger feat. My Gentleman paper collection + How to create a paper rose

Hello, Crafty friends!

Jasmina today on the blog to share with you my newest inspiration.

You can follow me on my channels:
Fb page: Jasmina
Instagram: HandmadebyJasmina
Youtube: Handmade by Jasmina
Blog: Jasmina


For my last project this year, I created a bottle hanger. I had tons of fun while creating it. My Gentleman paper collection is absolutely amazing and perfect for masculine projects. 

I have prepared a video tutorial in which you can see, how to create a quick and easy gift for a man. You can also learn how to make a rose using the amazing Dress My Craft Soft Floral Oriental Collection and Groove Tools.


I created tags with Rectangular Tag Punch and complemented them with Hole Reinforcement Punch. I added some details using black cardboard and Flower Chain Border Punch.


And here is the video:


Enjoy watching!


List of all products I used for this project:

Papers:

Cutting dies:

Embellishments: 

Thank you for your visit and hope you like my project! 
Jasmina


Dress My Craft, Social media handles: 
Youtube: ​https://www.youtube.com/dressmycraft

Dress My Craft products are available at:
For Indian customers -​www.crafterscorner.in 
For International buyers - www.scrapbook.comwww.dressmycraft.com​ ( FREE SHIPPING ABOVE 150$ WORLDWIDE)

For wholesale or any queries please email us to info@dressmycraft.com.


Friday, 13 December 2019

Spring garden feat. Magnolias Paper Collection

Hello, crafty friends!

Jasmina today on the blog to share with you my newest inspiration.

You can follow me on my channels:
Fb page: Jasmina
Instagram: HandmadebyJasmina
Youtube: Handmade by Jasmina
Blog: Jasmina


I have something to admit. I don't like winter. I am more of a spring and autumn person, where the temperatures are not too low or too high. When the temperatures dropped here in my country, I came up with this idea. I wanted to create something that would remind me of spring. 


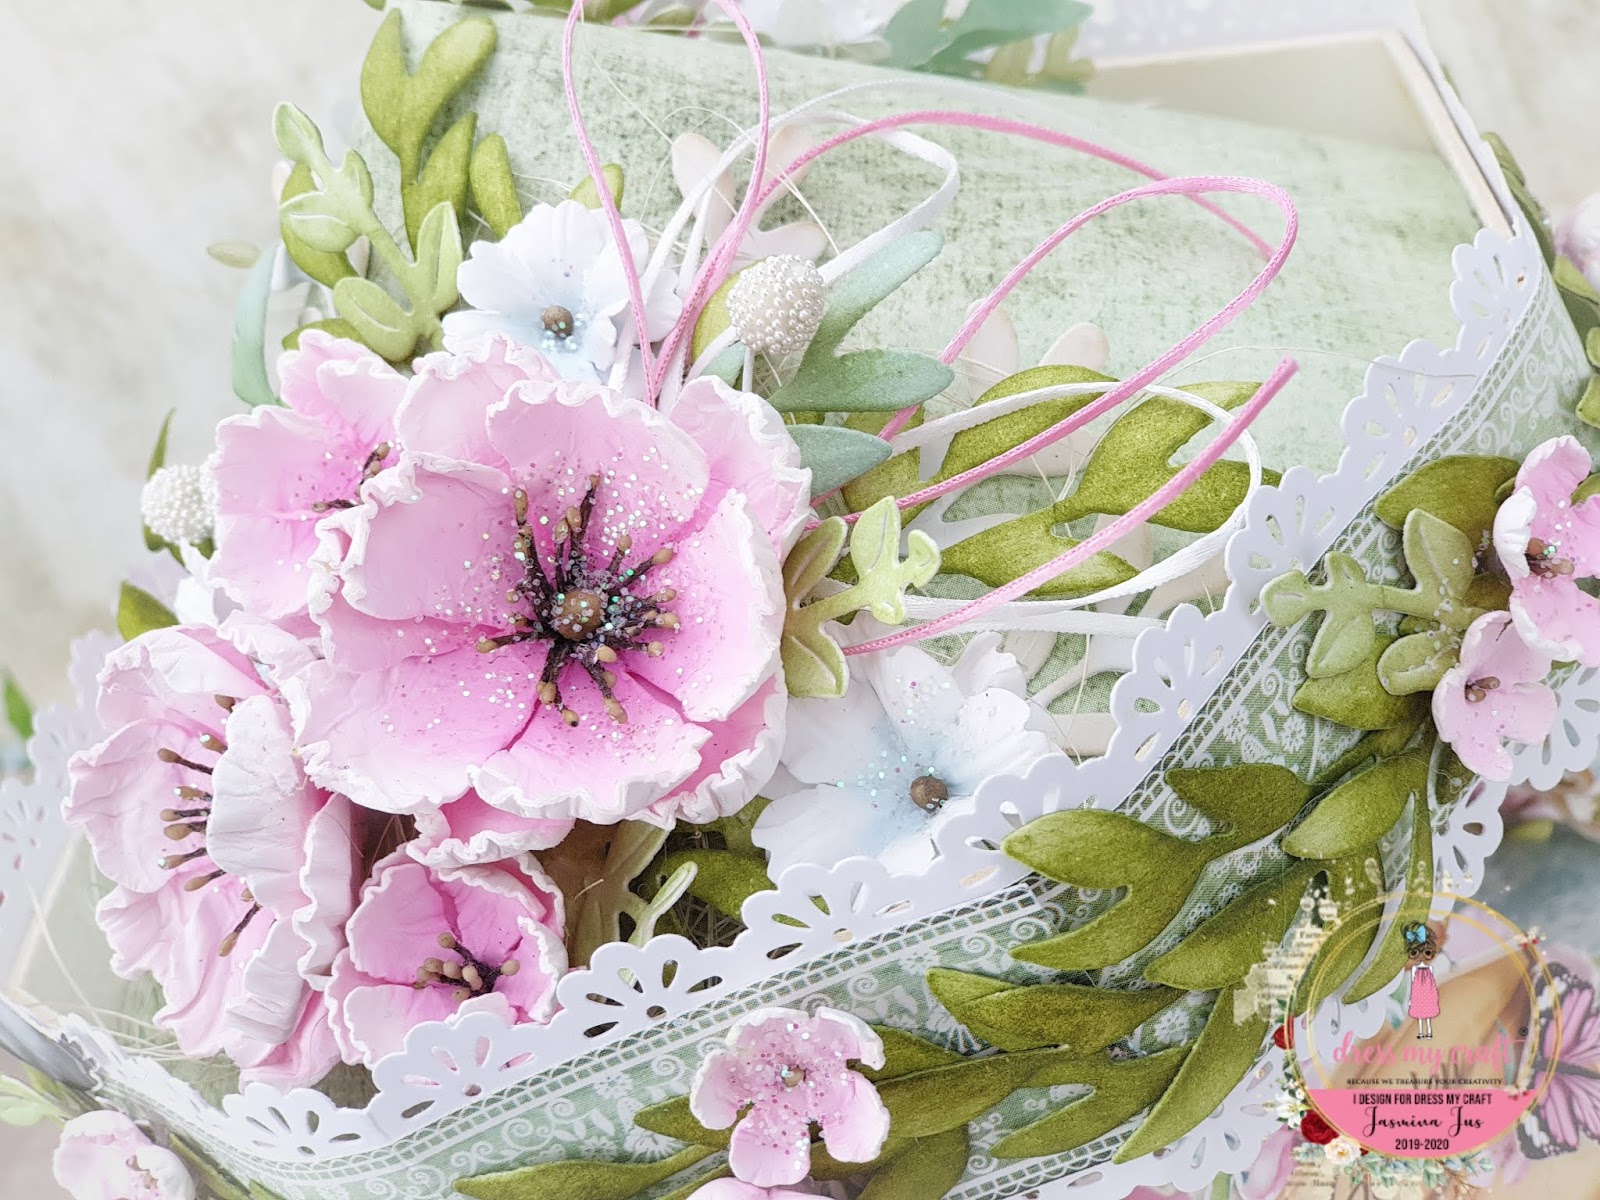
I have turned a carousel box into a spring garden. I decorated it with lots and lots of flowers. Every time I will look at it, it will warm up my heart.

For this project, I have used a beautiful paper collection, called Magnolias. It contains a lot of flowers, flower bouquets, birds and other motifs that remind me of spring. I also used 5 different punches, which helped my project to become more beautiful and special.


Pink magnolias are made with Floral Oriental Collection and Curved flower dies. For the center, I used Micro mini thread pollen and Drop shape Wire Pollen 3, which I colored in the dark brown tone.


Fo the smaller blue flowers I used Soft Floral Oriental Collection and Six Petal Flower set. For the center, I used Drop Shape Wire Pollen 1, which I also colored in the dark brown tone.


For the greenery, I used two cutting die sets: Foliage & Leaves # 5 and # 8.


I added a couple of butterflies from Romantic Roses Motif Sheets.


For little more detailing I added satin ribbon in off white and pink color, a couple of white Styrofoam Buds, covered with White Pearls and springled all the flowers with Rainbow Glitter.


There is also a mini-album, hidden inside the box. I have made double-sided double tags and bounded them with pink Satin Ribbon Twine. 


List of all the products I used for this project:
Papers:

Cutting dies:

Embellishments:

Tools:

Thank you for your visit and hope you like my project! 
Jasmina

Dress My Craft, Social media handles: 
Youtube: ​https://www.youtube.com/dressmycraft

Dress My Craft products are available at:
For Indian customers -​www.crafterscorner.in 
For International buyers - www.scrapbook.com
www.dressmycraft.com​ ( FREE SHIPPING ABOVE 150$ WORLDWIDE)

For wholesale or any queries please email us to info@dressmycraft.com.

Wednesday, 21 November 2018

Treat Boxes - Tag Punches + tutorial

Hello Crafty Folks,

The Festive season has ended and now we await for a brand new year, with new hopes and new possibilities and with lot of scope for learning and teaching! I can't wait for the new year and soak in all the positivity and the new resolutions!!

I'm here today with an idea inspiration to make some treat boxes for the coming gifting season using the newly launched Dress My Craft punches. I have used the tag punch to make my treat boxes and to show how versatile we can be with our ideas, I have 3 different kinds of embellishment done on each box to capture the essence of all the varied kinds of boxes we can create.

Lets check out a picture of how these 3 boxes looks like before heading onto learn, on how to make these boxes. I have tried boxes with varied sizes and yes, altered a box a little to have a little surprise hidden inside one of those.
Of course, these are to be filled with treats (as the name suggest), but I went a step further to convert one into a surprise box as well.


Lets learn how to make these boxes. I have a picture tutorial on  how to make the base for these and then let your imagination take a turn while embellishing the boxes.


 1.  Take a piece of cardstock measuring 4.25*10.5 inch and score it as per the measurments in the pic above. We would be making the treat boxes to be of 2.5 inch in LB and will variate the height . 2.5 is taken since our punch has the max capacity to take a paper whose width is 2.5 inchs.
In these treat boxes, we would be making the base seperate and then put up individual pattern paper on each of the outer side to make the boxes.
I have 2 of such boxes measuring as in the above pic.


2. Take another cardstock measuring 5.75 *10.5 inches and score it as shown in the above pic, taking the reference from the top cardstock panel as in the pic.
the below 1.5 inch in all the 3 boxes is where the boxes would be closed at the base.


3. Now fold the base of the boxes and then your bases are ready!! Now cut pattern papers of the size 6*2.5 and then punch then as use them to cover the sides of the boxes and you are then ready to embellish the boxes.

Checkout on how my boxes turned out to be!

I made one box to go along with the Mixed media theme and another on a kiddish theme.


Remember the 3rd box? Lets checkout what I did with that little one.


I converted this little one into a explosion box!!! Darn good idea, right.. lets check on the inside of this little one.

I wanted to make a little cake inside, but this being a small treat box, I made a small collated platform where I could add my embellishments and loved the tiny details added to this one.


I also added few tags made with the tag punch on the sides to write down some messages.


I hope you liked the treat boxes and would want to try them out soon.

1. Rectangular Tag Punch
2. Circle 2 inch punch
3. Bubblegum stars
4. Magnolia 12*12 paper pack
5. Charming baby girl 12*12
6. Cherry Blossoms
7. Curved Roses


DMC products are available at www.crafterscorner.in for India customers and at www.dressmycraft.com for the International customers.

Orders over 150$ are eligible for Free shipping internationally.