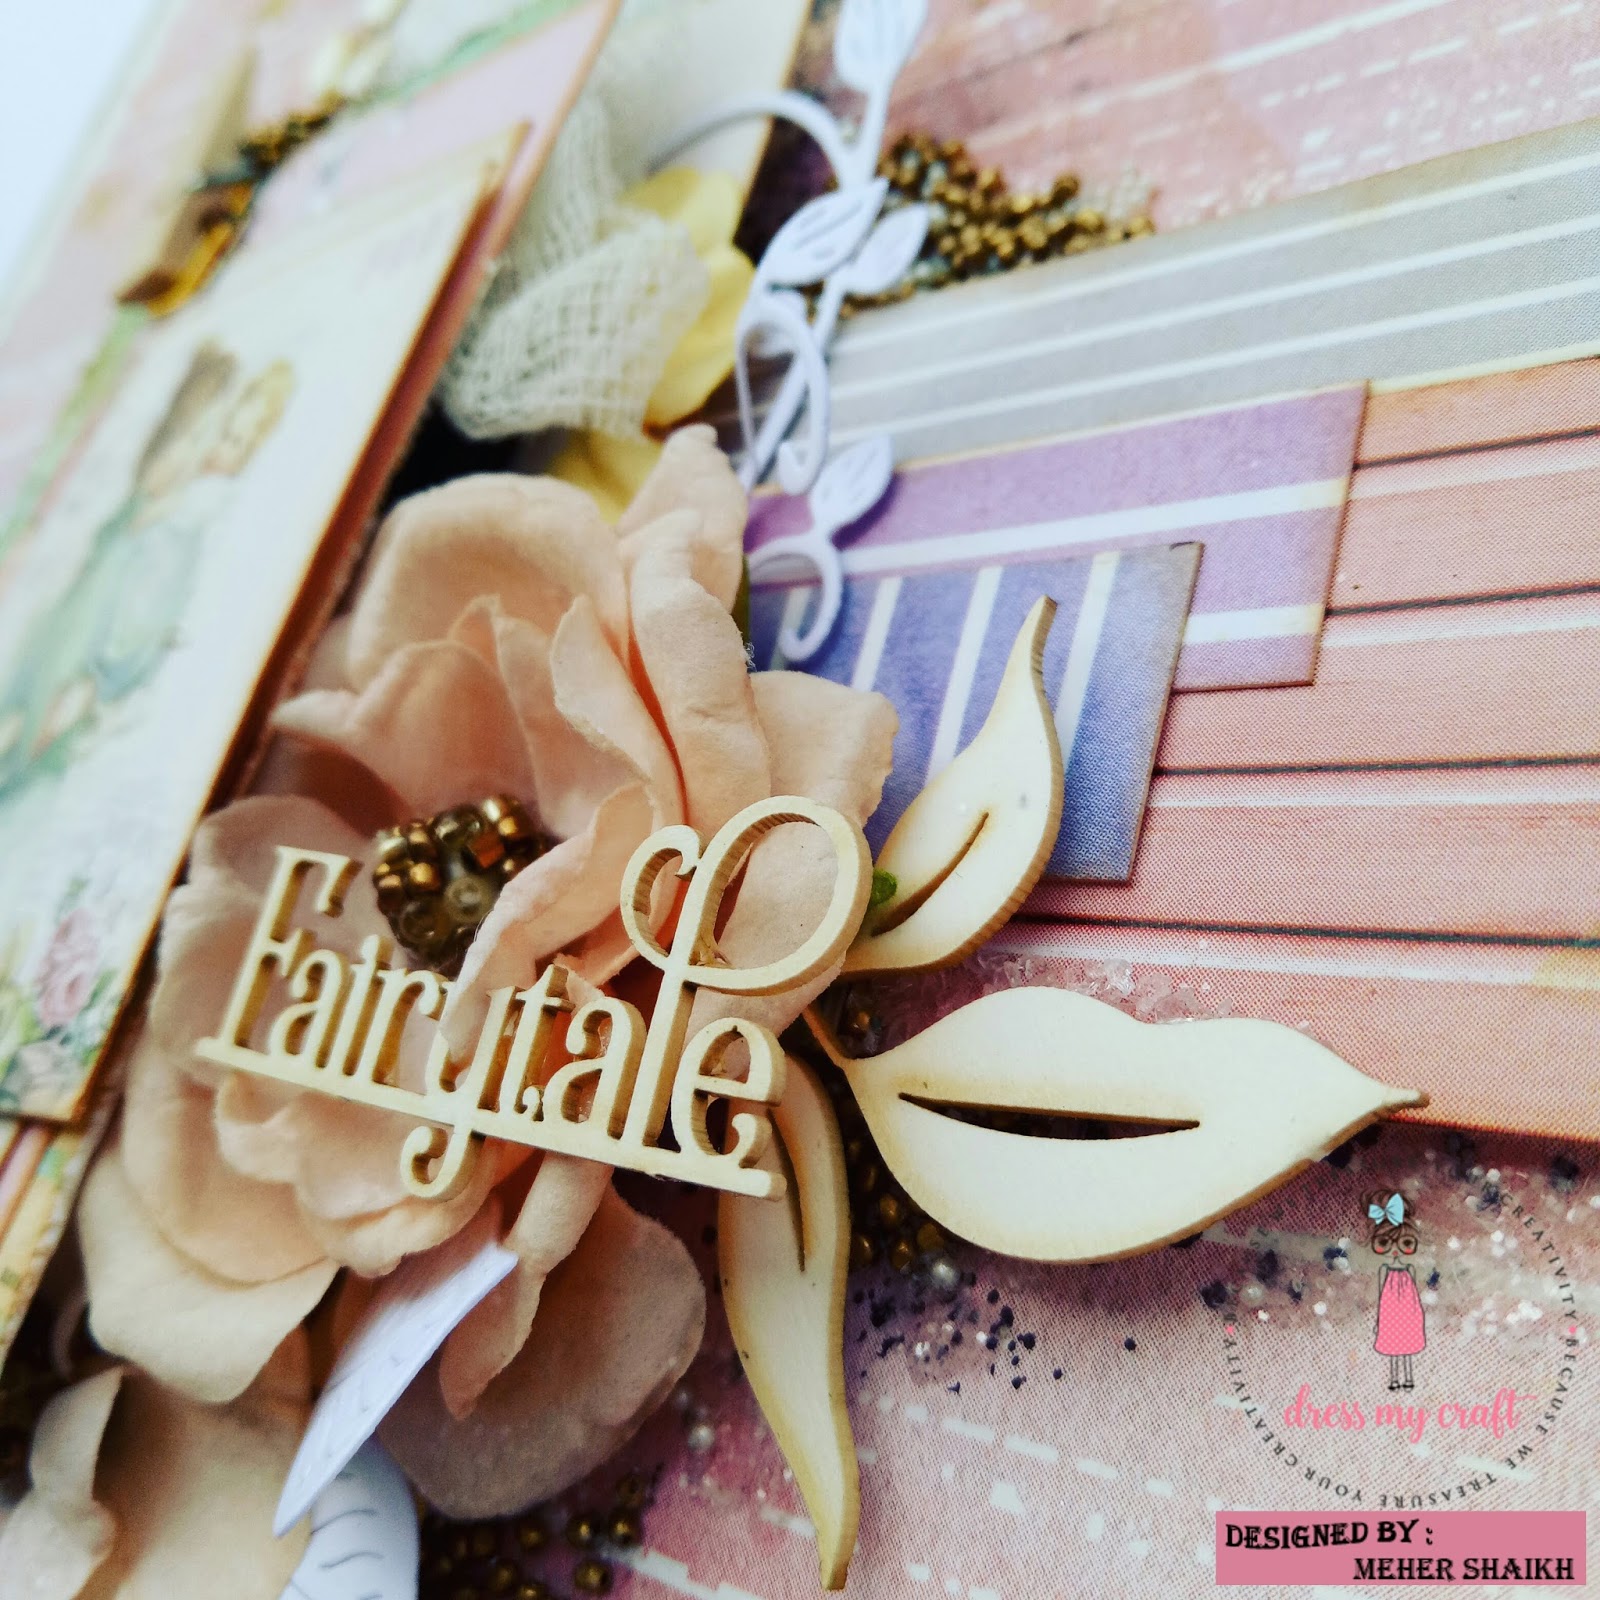
Hello Crafty Folks,
Another year is coming to an end and we have a brand new year to welcome shortly!! Wow, what an year 2018 had been!! It had been a super magical in terms of learning and growing!! Here's a cheers to the going year and a bigger one to the coming one!
Dress My Craft has grown leaps and bounds as a brand and it feels exhilarating to be accompanying this little baby take baby steps and seeing it grow leaps and bounds!! It all starts with a vision, a vision to create BIG and DREAM !!
As you all know that Dress My Craft introduced Dies this year and I'm so in awe of the varied varieties of the flower dies Dress My Craft has to offer !
To check out the complete range, you can check the Crafters Corner website.
My projects features the Curved Flower Die today which you can view here : CURVED FLOWER DIE.
I was looking for opportunities to play around with the flower making with the Fomarian Foam and these dies are crisp and cuts the foamrian foam like butter!! The dies can actually cut 4 foam sheets together thus saving a lot of time die cutting!! Totally loved this feature.
Lets check out the projects that I made!
1. Name Initial Frame.
I made this Frame for my little darling daughter whoze name starts with J. I had this frame for the longest time I can remember and now that she has a room of her own, I decided to transform it into a Name initial frame!

All I needed was a few handmade foam flowers and some chipboard elements. Checkout a few more pictures below!


Project 2: FLORAL SPRAYS!
I love the idea of floral sprays and these can surely pep up your decor.
All you need is some flowers, pollens, a floral wire and you can combine them to make a gorgeous cluster of floral sprays which can be used Lapel floral sprays.


Another year is coming to an end and we have a brand new year to welcome shortly!! Wow, what an year 2018 had been!! It had been a super magical in terms of learning and growing!! Here's a cheers to the going year and a bigger one to the coming one!
Dress My Craft has grown leaps and bounds as a brand and it feels exhilarating to be accompanying this little baby take baby steps and seeing it grow leaps and bounds!! It all starts with a vision, a vision to create BIG and DREAM !!
As you all know that Dress My Craft introduced Dies this year and I'm so in awe of the varied varieties of the flower dies Dress My Craft has to offer !
To check out the complete range, you can check the Crafters Corner website.
My projects features the Curved Flower Die today which you can view here : CURVED FLOWER DIE.
I was looking for opportunities to play around with the flower making with the Fomarian Foam and these dies are crisp and cuts the foamrian foam like butter!! The dies can actually cut 4 foam sheets together thus saving a lot of time die cutting!! Totally loved this feature.
Lets check out the projects that I made!
1. Name Initial Frame.
I made this Frame for my little darling daughter whoze name starts with J. I had this frame for the longest time I can remember and now that she has a room of her own, I decided to transform it into a Name initial frame!

All I needed was a few handmade foam flowers and some chipboard elements. Checkout a few more pictures below!


Aren't the floral bunch just gorgeous!! I used the styrofoam circle bunch and coated them with the glitter to make the flower center!


Project 2: FLORAL SPRAYS!
I love the idea of floral sprays and these can surely pep up your decor.
All you need is some flowers, pollens, a floral wire and you can combine them to make a gorgeous cluster of floral sprays which can be used Lapel floral sprays.


Project 3: ALTERED BOTTLE.
Here's a bottle transformation that I tried and it came out really very well.


I totally loved making these flowers and I'm going to happily do so in the future as well. It's a breezeto make the foam flowers and I loved the texture these foam sheets from Dress My Craft has.
I hope you did liked the projects!
Do drop in to give me some love and thanks or dropping by!!
Supplies used;
DMC products are available at www.crafterscorner.in for India customers and at www.dressmycraft.com for the International customers.
Facebook : www.facebook.com/dressmycraft
Instagram : https://www.instagram.com/dressmycraftLIVE Facebook Videos: https://www.facebook.com/crafterscornerlivetvYoutube : https://www.youtube.com/channel/UCExYyDP3Ag_uJk1MkxRz38w
Orders over 150$ are eligible for Free shipping internationally.
Orders over 150$ are eligible for Free shipping internationally.