Showing posts with label gesso. Show all posts

Friday, 4 September 2020

Decorating Containers using Transfer Me Sheets

Hey crafty friends!!  Are these Transfer Me sheets amazing or what?  You can put them on anything to spruce it up!  I just grabbed some plain containers from around my house and now they're gorgeous!

To see all the Transfer Me sheets (and good luck trying to choose!!), click here:  Dress My Craft Transfer Me 

Please don't forget to follow me on Instagram!  

To create this beautiful bucket, I grabbed a silver tin bucket (from IKEA) and covered the outside with white Gesso.  I had to apply 2 coats to get good coverage.  After it was completely dry, I grabbed the Vintage Door Transfer Me and cut out the image I wanted.  I took of the clear top coat and then submerged it in water for 15 seconds.  Once it was good and ready, I placed it on the bucket and used my fingers to push down and rub the white backing.  Then, I slowly pulled the white backing down to reveal the transferred image!  

For the green and blue paint specks you see on the bucket, I used a water brush and distress oxides.  I used Pine Needles and Broken China.  I also added twine for a handle using a hot glue gun.


Because this vase already had a rough finish on it, I didn't need to prime it at all.  I just cut my images from the Dream Door Transfer Me sheet and placed them on the vase using the same technique as mentioned above.  I used the same distress oxides and the same twine.  With embossing paste and the Carte Postal stencil, I created a few textured spots around the vase.


For my last container, I used a glass wide mouth canning jar.  For this jar, I used the Vintage Fruits #1 Transfer Me sheet.  I used all the same techniques as mentioned above.


I had so much fun sprucing up these boring old containers!  Thank you so much for stopping by the Dress My Craft blog and reading my post!  I hope you are inspired!  

Have you made anything with Transfer Me sheets?  Comment on this blog post with links so I can see your creations!

Xoxo, Amanda

Products Used:
Transfer Me - Vintage Fruits #1 https://www.dressmycraft.com/dmcdp1366
Transfer Me - Dream Door https://www.dressmycraft.com/dmcdp1421
Carte Postal - Stencil https://www.dressmycraft.com/carte-postal-stencil


Dress My Craft, Social media handles:
Facebook: www.facebook.com/dressmycraft 
Instagram: https://www.instagram.com/dressmycraft 
Youtube: ​https://www.youtube.com/dressmycraft


Dress My Craft products are available at

For Indian customers -​www.crafterscorner.in 
For International buyers - www.scrapbook.com

​www.dressmycraft.com​ ( FREE SHIPPING ABOVE 150$ WORLDWIDE)

Friday, 24 November 2017

Shabby Chic Patio! (Tutorial)

Bonjour my fellow crafters!

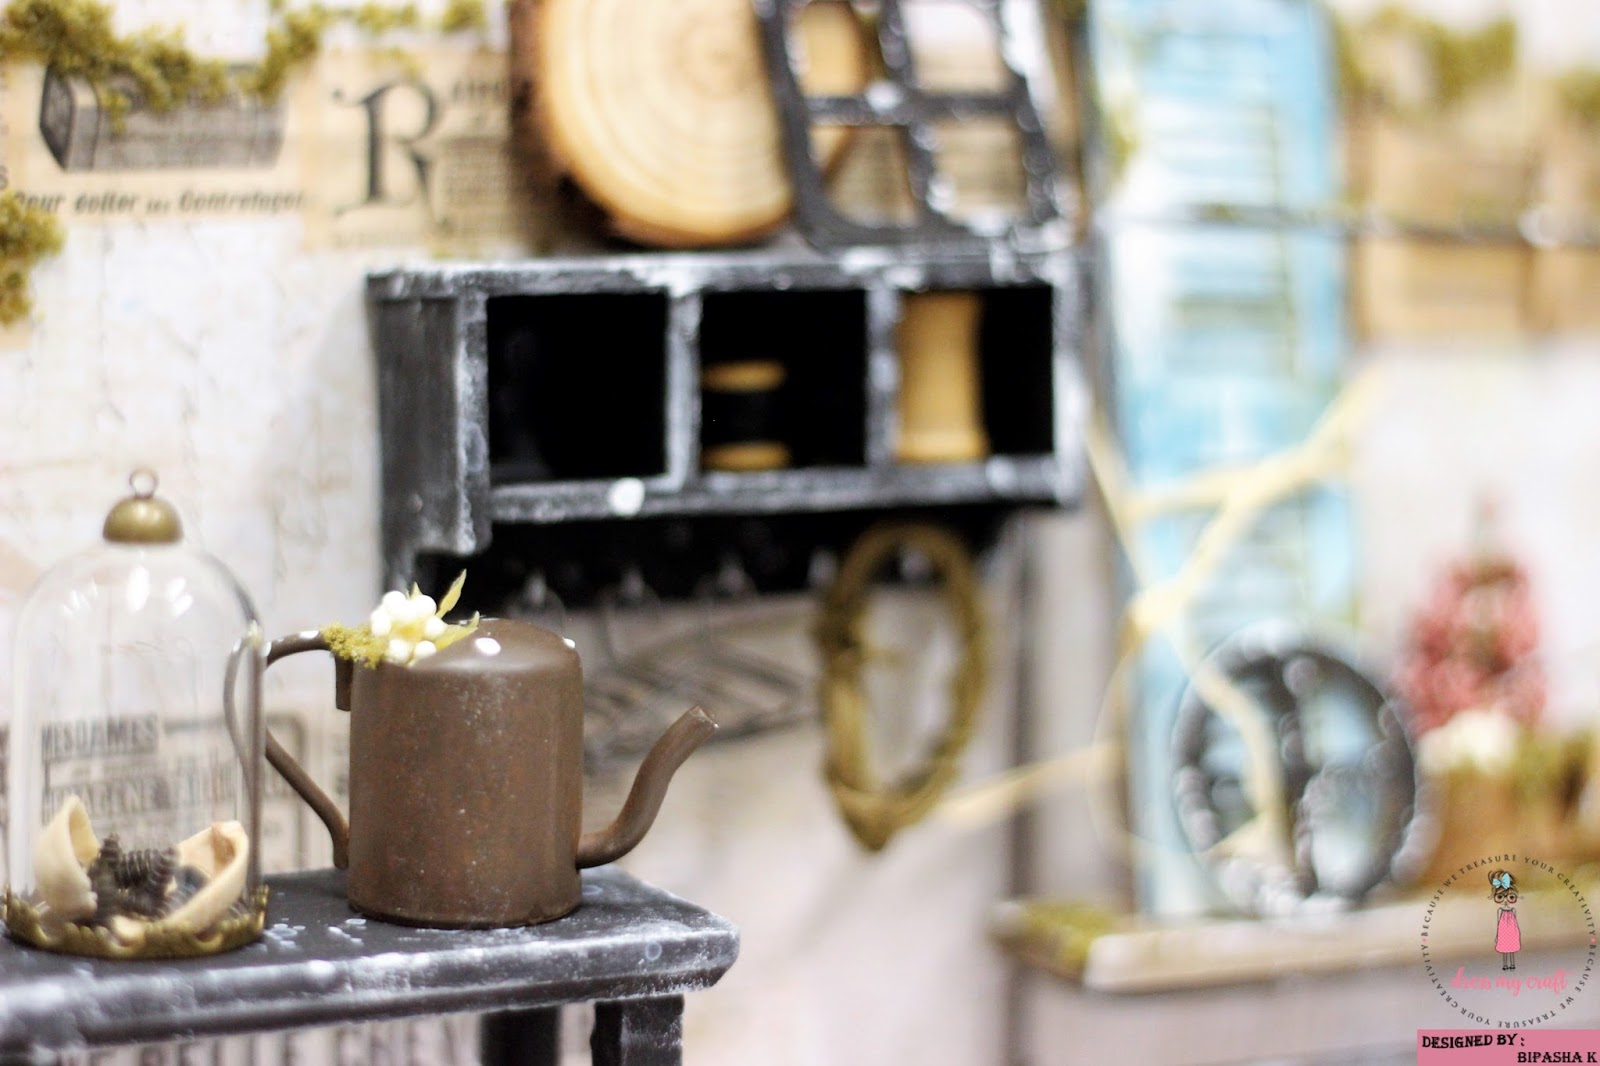
I guess I've been a bit addicted to French style lately and hence what could have been a better idea than creating a shabby chic patio using the gorgeous DressMyCraft Miniatures!
It is summer in Australia, the time for enjoying fresh air outside and we are all striving for some sunlight, breeze and other joys of this season. This is the best time to decorate your terrace, porch, patio or any other outdoor space you own but if not or if you want to change the décor a little, we are here to offer you the sweetest and the most laid-back style for décor – shabby chic! Oh well in miniature scale though ;)!

As they say, decorating a shabby chic terrace or patio in real life isn’t that tricky and won’t cost a pretty penny, so choosing this style you’ll save some money and renovate a lot of old things you were going to throw away.

Shabby chic style is about wood and metal mostly, all of them should be aged, distressed, weathered or given a worn look in some other way. Make a weathered wooden deck, paint the walls with whitewash paint and add delicate forged furniture. Colors are the softest and most relaxed ones: white, cream. Buttermilk, light grey, dusty blue and pink, all other kinds of pastels and neutrals, I’m sure that you’ll get inspired with the following diorama of my shabby chic patio!


I used the following Products from DMC:


MINI TIPS & TECHNIQUES :

Creating weathered wooden door panel:


- Whitewash the wooden panel with gesso and drybrush it using some acrylics in blue to create a distressed effect
- Add Prima Artisan powder in brown along with some coffee stains to give it an additional aged look

Creating distressed shelves:


- I used black gesso to prime the base of the shelves.
- Use a sponge to add some white chipped wood effect on the shelf rims 

Some random wood panels:


- Cut some ice-cream sticks to create some wooden fencing for a detailed vintage look, distressed with some distress crayon/ distress ink or oxides in shades of brown.

Here is the project (it's a picture heavy post, so sit back with a cuppa and enjoy!)


Accessories make up shabby chic style, so don’t be afraid to rock them all – you just can’t use too many! The accessories may add some touches of other styles, for example, of rustic style – go for baskets, jugs instead of vases, antlers, and buckets as planters. If you want something more refined, try French chic style and choose a crystal chandelier, lace and floral covers, canopy over the bench and maybe find an antique fountain, it may not work but will be sufficient for décor. Remember about flowers – you can grow them in pots around, and flowers are an indispensable part of shabby décor.


Products used from DMC:


Thanks for scrolling all the way till the end ;), 
hope you are inspired to create your miniature world now!
Hugs,
Bipasha