
Hi Friends
I am so excited with the reveal of Magnolia papers at DressMyCraft. They are such a delight to work with ! The blues and the pinks with some garden papers are such a beautiful mix of colors along with the jaw dropping images , the car loaded with flowers, dream catchers, window panes with flower buckets..ooh .. simply droolworthy <3 <3
There are also co ordinating motif sheets that are absolutely amazing for some easy fussy cutting when you do not want to waste the paper and also gives you a very good size of the image.
Another new introduction are the flower pearls, these are gorgeous colored beads that can be used in so many ways , especially with mixed media madness, they are a must have !
Moving to my creation for today, I made an explosion box in mixed media style ! The papers, motif sheets and a lot of fussy cutting are really the highlight, the papers and prints do the ,agic and combine it with flower pearls and DMC sequins, viola ..its done ! I have a step by step process for you to enjoy !
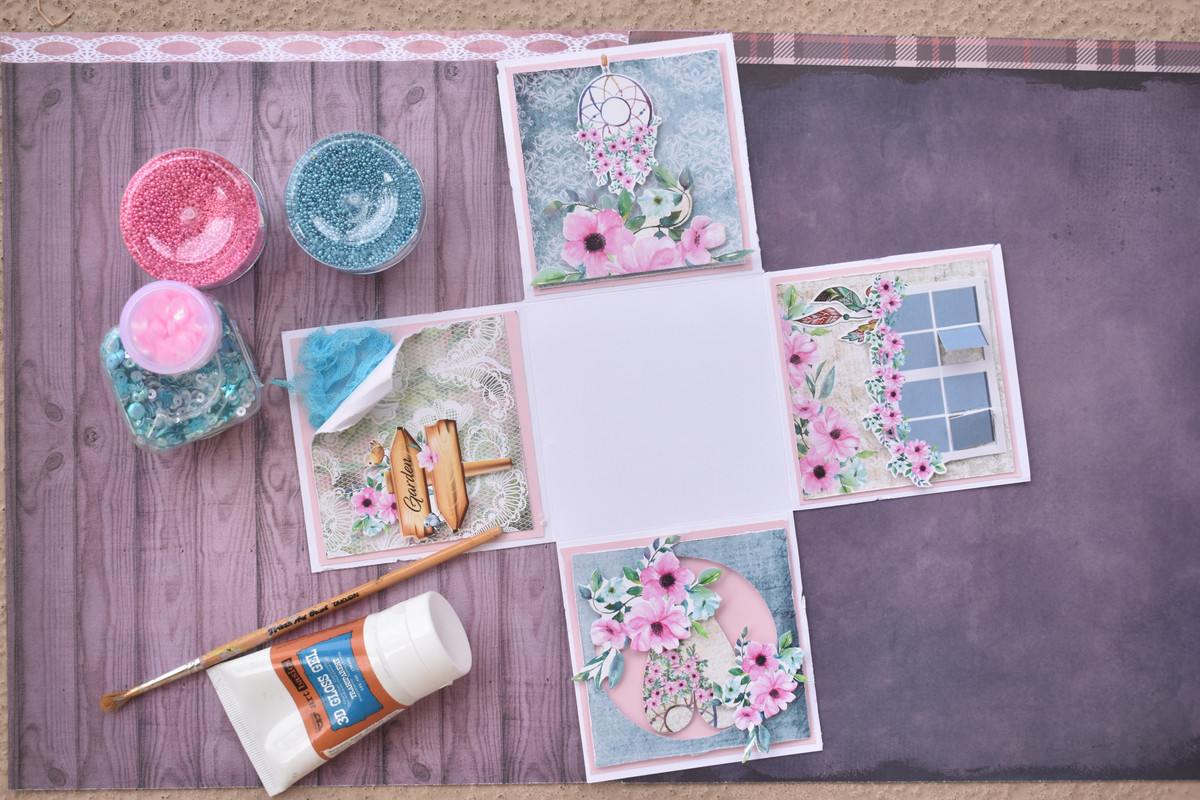
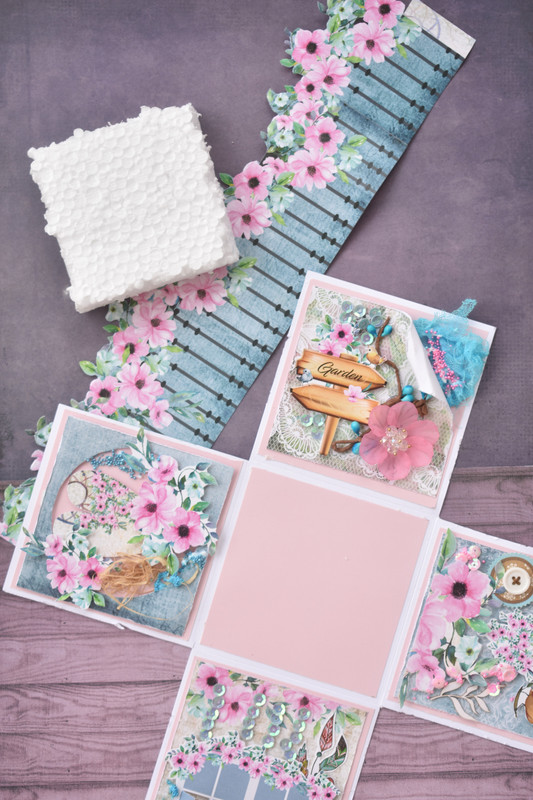
Here is what I made , following this would be how I made : )

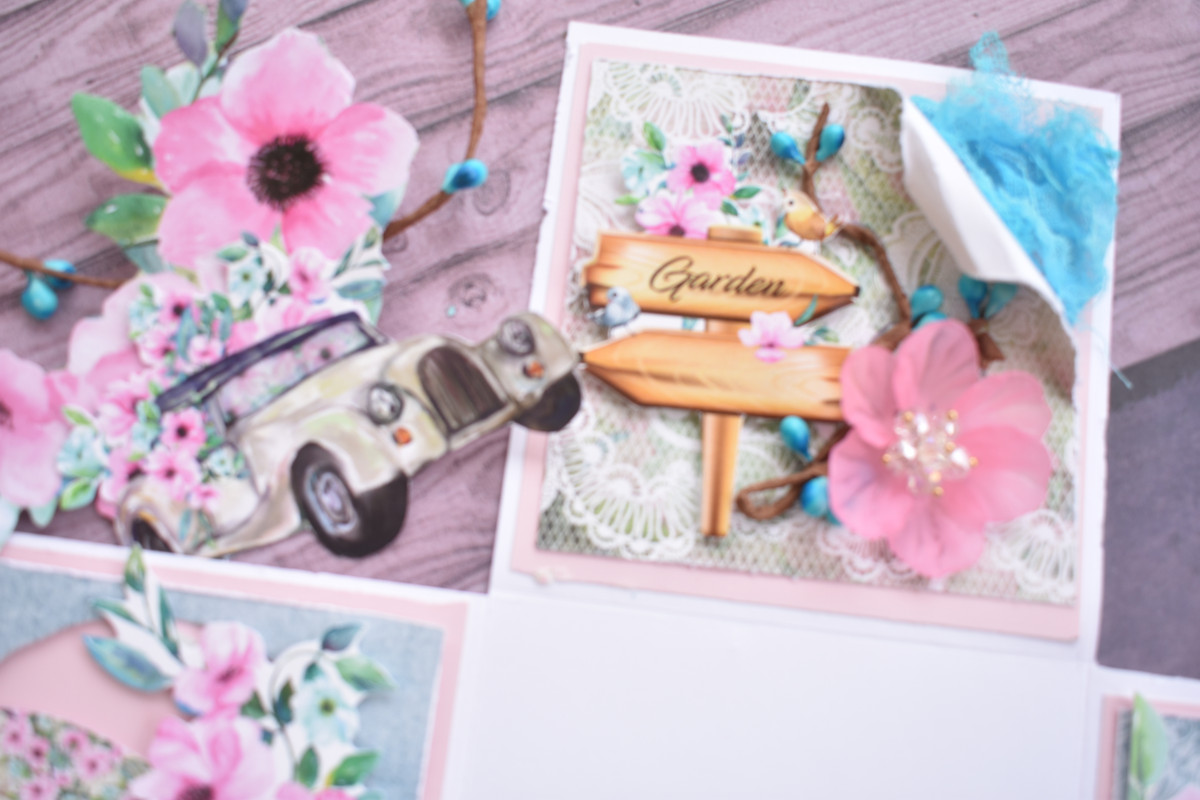
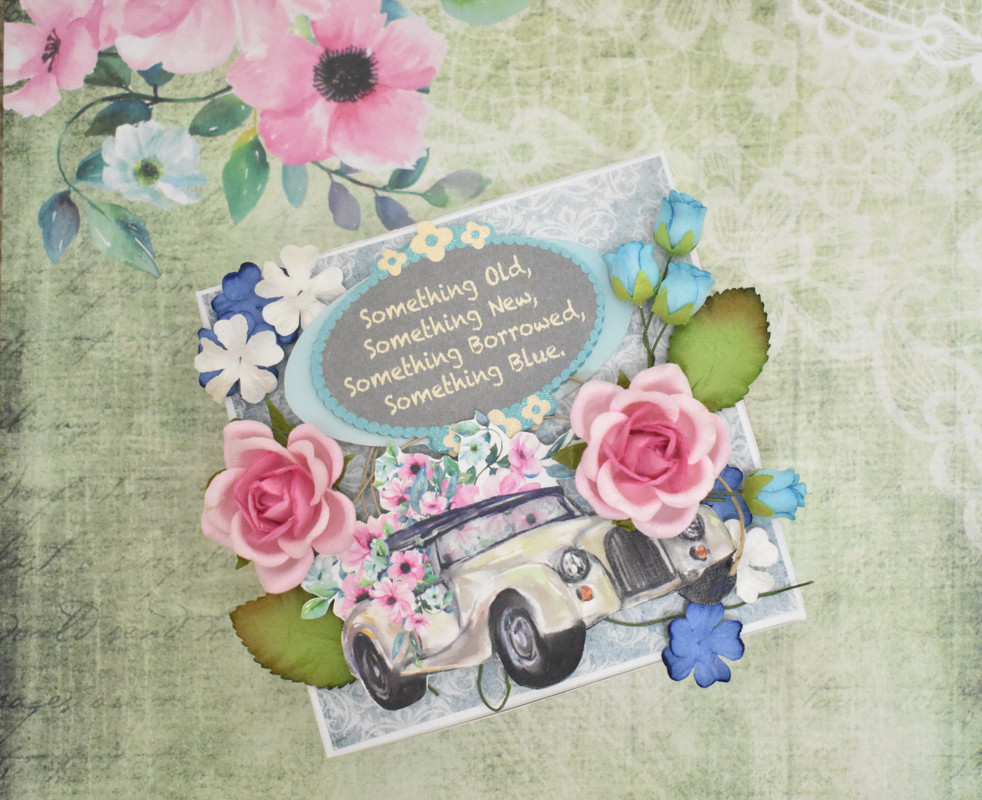
For me, the cutest image was this car and I just kept thinking of a spring wedding when I looked at it ! Luckily I had a sentiment that conveyed exactly how I was feeling .

Like I said, the flowers and all other motifs from the paper itself , stole the show :P

Instructions:
Step1:
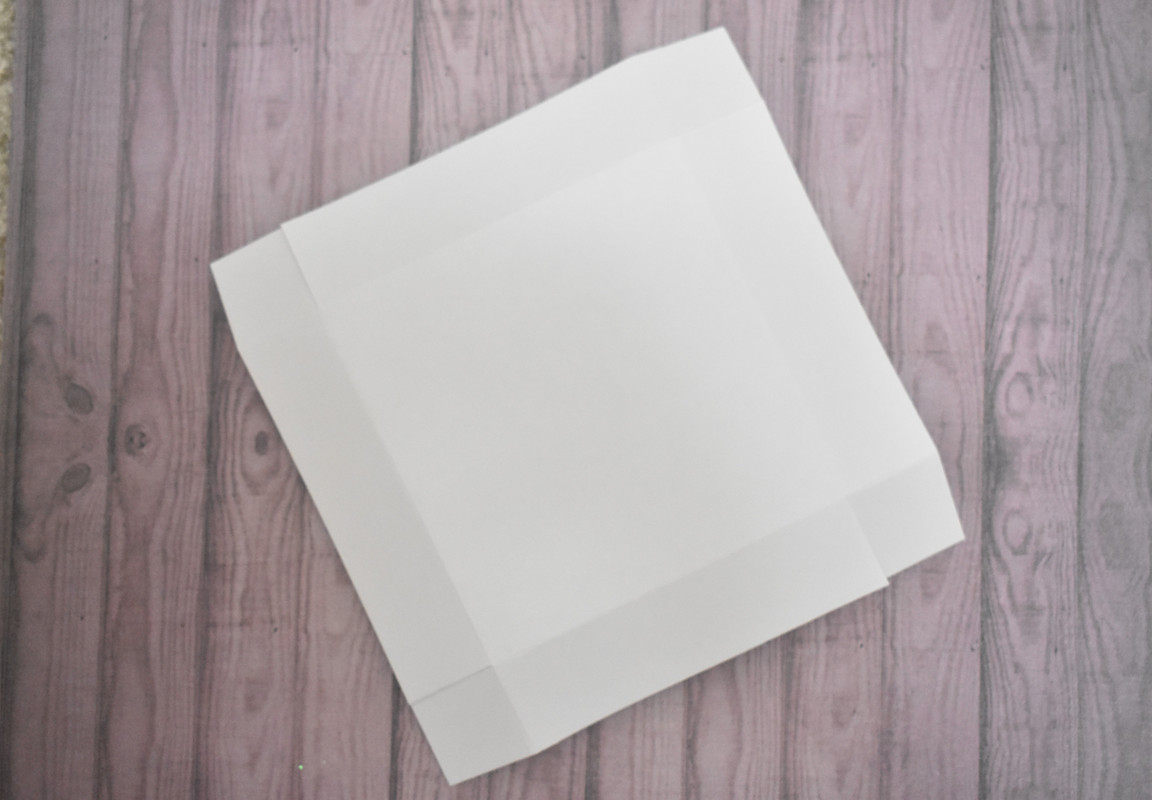
The explosion box measures 12x12 inches when open and 4x4 inches when closed with a lid, like a box. So I started with a 12x12 inches sheet of white cardstock and scored at 4" & 8" on both the sides of the paper.
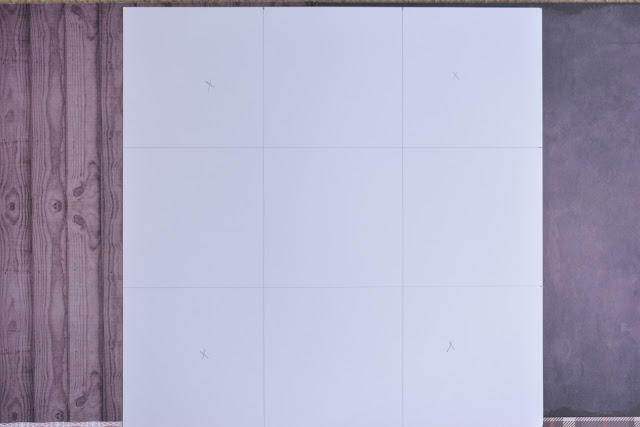
The squares marked 'X' at the 4 corners were removed and I scored rest of the lines to form the box.

Step2:
Next I have cut a plain pink cardstock as a base on the white cardstock , just to add some interest and layered it with Magnolia papers

Step3:
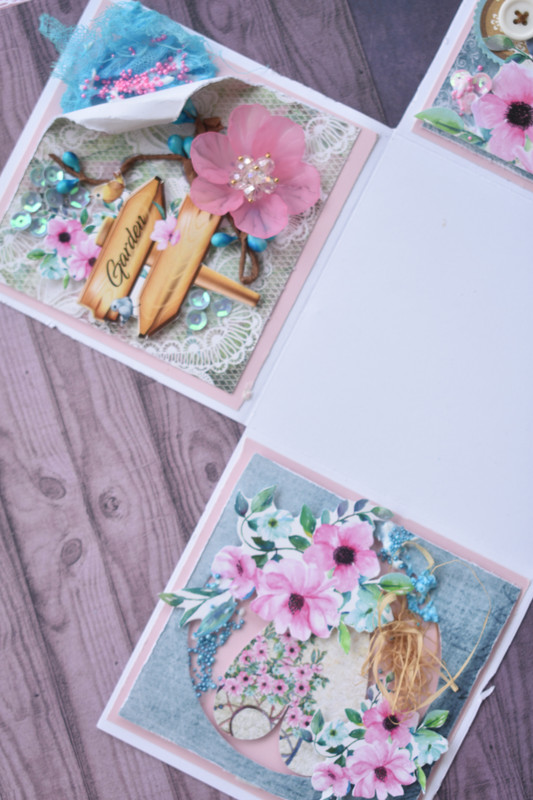
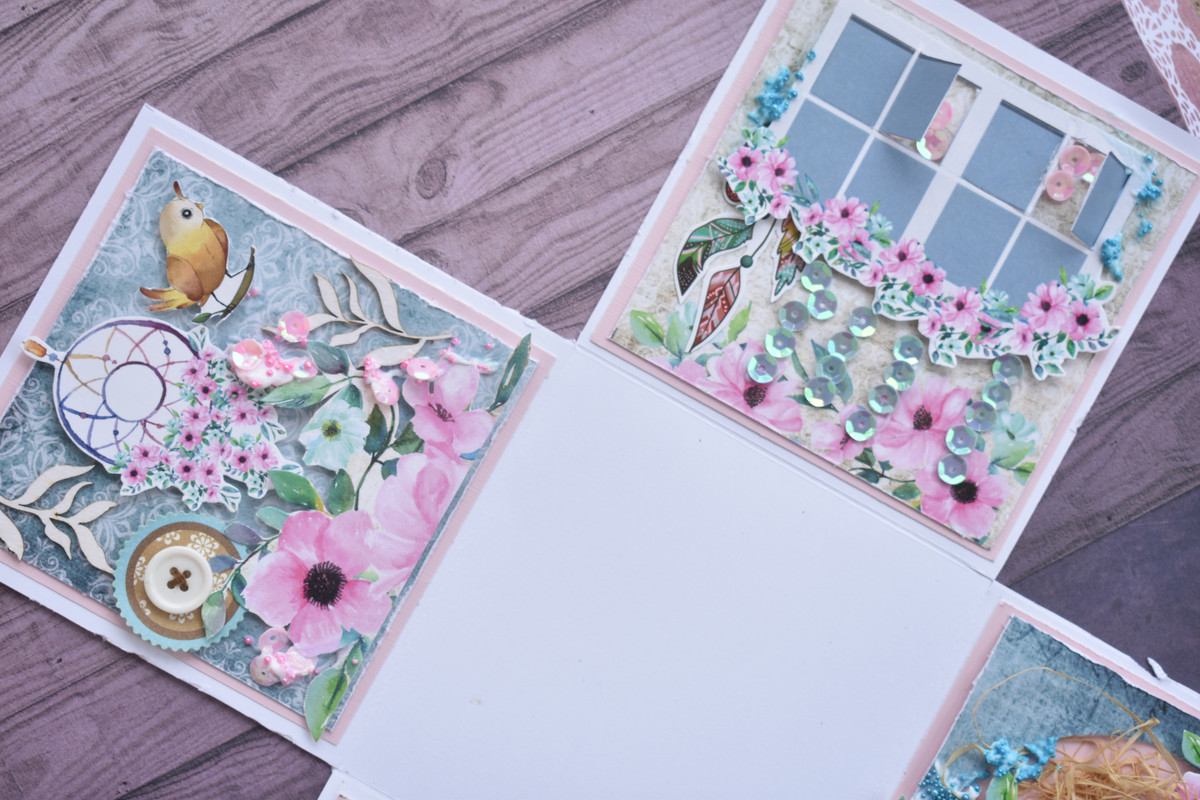
Step 3 was to start putting together each of the 4 squares and embellish with some fussy cut images, I will post a separate picture of each square so you can notice what I have done

I have distressed the edges of pattern paper with a scissors and added some cheesecloth sprayed with Lindy's mist.

This fussy cut image from the motif sheet has the windows opened using a cutter so later I can add some sequins/ glitter/ beads.
 Fussy cut flowers and a heart shape form the center of this square.

And the 4th one has a fussy cut dream catcher from the motif sheet again along with flowers cut from one of the papers
Step 4:
To each side I now added a sticker/ rufia/ pollen and for that mixed media finish, I added flower pearls and sequins
Step 5:
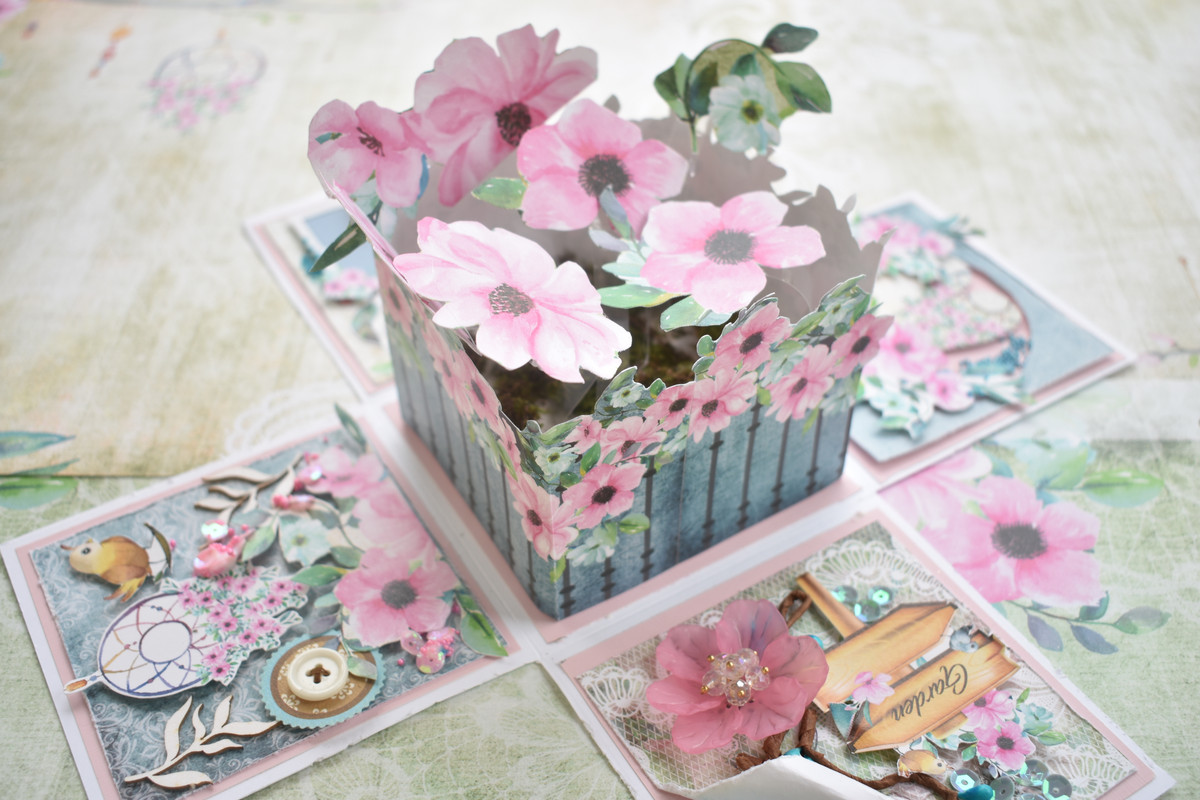
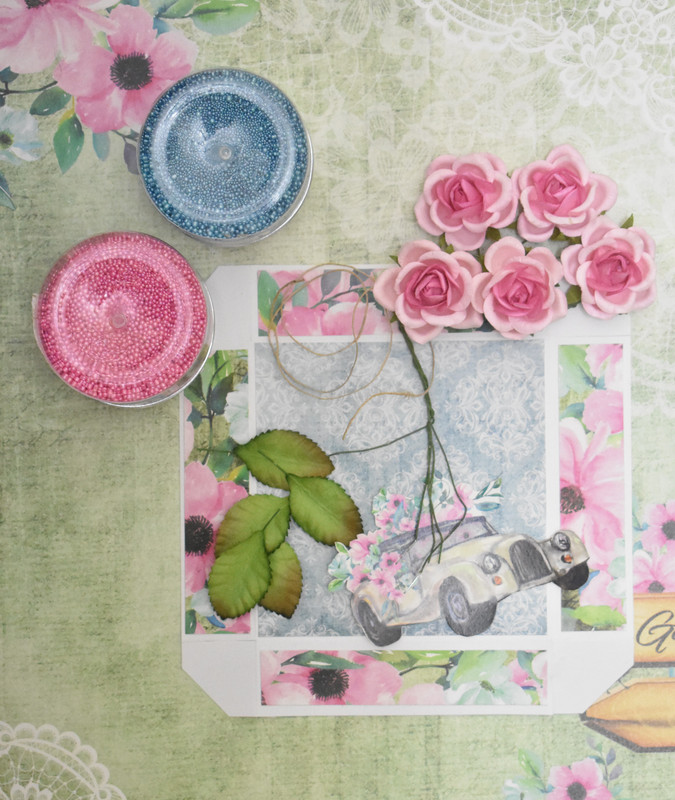
To make the center of the explosion box, I took a piece of thermocol a little smaller than the center (4x4 inches) and wrapped a fussy cut fence around it from the Magnolia papers
I made some cuts in the thermocol with a cutter and added thinly cut transparent sheet to which I wanted to add some fussy cut flowers.
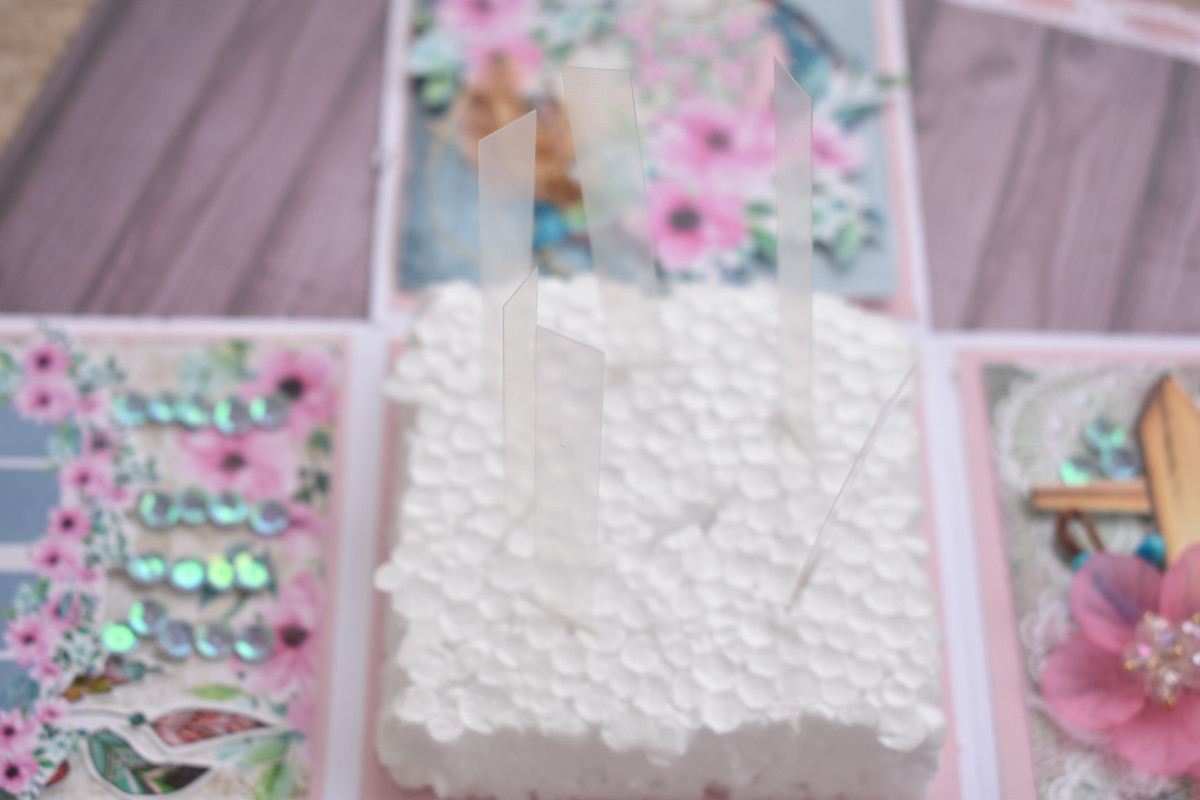
Here is how it turned out
Step 6:
Here is how I finally arranged it
Ta da ..!! Its done ! I hope you like it, do check out the supplies list below
Magnolia papers
Flower pearls
Leaves
Roses
Sequins
Fairy flowers
Magnolias motif sheet
Ciao
Shubhra
I am so excited with the reveal of Magnolia papers at DressMyCraft. They are such a delight to work with ! The blues and the pinks with some garden papers are such a beautiful mix of colors along with the jaw dropping images , the car loaded with flowers, dream catchers, window panes with flower buckets..ooh .. simply droolworthy <3 <3
There are also co ordinating motif sheets that are absolutely amazing for some easy fussy cutting when you do not want to waste the paper and also gives you a very good size of the image.
Another new introduction are the flower pearls, these are gorgeous colored beads that can be used in so many ways , especially with mixed media madness, they are a must have !
Moving to my creation for today, I made an explosion box in mixed media style ! The papers, motif sheets and a lot of fussy cutting are really the highlight, the papers and prints do the ,agic and combine it with flower pearls and DMC sequins, viola ..its done ! I have a step by step process for you to enjoy !
Here is what I made , following this would be how I made : )

For me, the cutest image was this car and I just kept thinking of a spring wedding when I looked at it ! Luckily I had a sentiment that conveyed exactly how I was feeling .

Like I said, the flowers and all other motifs from the paper itself , stole the show :P

Instructions:
Step1:
The explosion box measures 12x12 inches when open and 4x4 inches when closed with a lid, like a box. So I started with a 12x12 inches sheet of white cardstock and scored at 4" & 8" on both the sides of the paper.

The squares marked 'X' at the 4 corners were removed and I scored rest of the lines to form the box.

Step2:
Next I have cut a plain pink cardstock as a base on the white cardstock , just to add some interest and layered it with Magnolia papers

Step3:
Step 3 was to start putting together each of the 4 squares and embellish with some fussy cut images, I will post a separate picture of each square so you can notice what I have done

I have distressed the edges of pattern paper with a scissors and added some cheesecloth sprayed with Lindy's mist.

This fussy cut image from the motif sheet has the windows opened using a cutter so later I can add some sequins/ glitter/ beads.


And the 4th one has a fussy cut dream catcher from the motif sheet again along with flowers cut from one of the papers
Step 4:
To each side I now added a sticker/ rufia/ pollen and for that mixed media finish, I added flower pearls and sequins
Step 5:
To make the center of the explosion box, I took a piece of thermocol a little smaller than the center (4x4 inches) and wrapped a fussy cut fence around it from the Magnolia papers
I made some cuts in the thermocol with a cutter and added thinly cut transparent sheet to which I wanted to add some fussy cut flowers.
Here is how it turned out
Step 6:
For the lid, I used a 6x6 inches paper, score at 1" from all four sides.
I did some fussy cutting and added flowers , leaves from DMC to complete the lid
Ta da ..!! Its done ! I hope you like it, do check out the supplies list below
Magnolia papers
Flower pearls
Leaves
Roses
Sequins
Fairy flowers
Magnolias motif sheet
Ciao
Shubhra
No comments:
Post a Comment