Showing posts with label Magnolia. Show all posts

Monday, 23 September 2019

Mixed Media Tags | Video Tutorial


Hello crafty peeps,

Video design team member Jaishree this side!
My Facebook - http://bit.ly/JK_FB

Today I am sharing a video tutorial on how to make mixed media tags using pattern papers, stencils, dies and much more.


I have tried to create layers as always using multiple embellishments. I have also added some texture in the background using Dress My Craft's mixed media stencil. So without much await, let's watch the tutorial right here - 


I hope you enjoyed watching this tutorial and are inspired to make your own mixed media tags. Do share your creations by tagging us on social media we love to see them. 


Until Next Time 
Happy Crafting
Jaishree Bansal

--

Supplies Used - 
Paper Trimmer - http://bit.ly/2ZdhVGi
Non-Stick Craft Mat, Thick - http://bit.ly/2WAj8XH
Romantic Roses 12x12 Pattern Paper - http://bit.ly/2kUapll
Magnolias 12x12 Pattern Paper - http://bit.ly/2Q3nO5K
Magnolias Motif Sheet - http://bit.ly/2VoL7rD
Honeycomb Stencil - http://bit.ly/2lYpwdQ
Foliage and Leaves #10 Die Set - http://bit.ly/2mt2Kej
Black Flower Pearls - http://bit.ly/2lIbJYr
Snow White Flower Pearls - http://bit.ly/2ks99pj

--
Dress My Craft, Social media handles:
--
Dress My Craft products are available at

For Indian customers -​www.crafterscorner.in
For International buyers - www.scrapbook.com

​www.dressmycraft.com​ (FREE SHIPPING ABOVE 150$ WORLDWIDE)

For wholesale or any queries please email us to info@dressmycraft.com 


Wednesday, 4 September 2019

Light Up Tunnel Card Using Magnolias Paper Collection


Hello Everyone, 

Payal Bhalani this side from Dress My Craft Brand Ambassador 2019-2020, This is My first Post for Dress My Craft Design Team and I am so excited to share my Creative journey with you,
My Instagram Artista_Payal
My Youtube Channel ARTista Payal

I am super excited to share My first Tutorial, light up Tunnel Card using dress My Craft Magnolias Collection Kit. 

 Here is some Photographs, Checkout the Details I included,


And Here is the video Tutorial of this Beautiful Tunnel Card:


Thank you so much for scrolling along! I hope you enjoyed watching video tutorial and don't forget to share your creation with us.


Supply Used,
Magnolias Collection Kit https://bit.ly/2ZgwLk8
Multi-Purpose Scoring Board https://bit.ly/2MDr34V   
Frosted Sugar Powder  https://bit.ly/2znchXn 
Pearls – Pink https://bit.ly/2KUTSb8


Dress My Craft, Social media handles:
Facebook : www.facebook.com/dressmycraft 
Youtube : ​https://www.youtube.com/dressmycraft


Dress My Craft products are available at

For Indian customers -​www.crafterscorner.in 
For International buyers - www.scrapbook.com

​www.dressmycraft.com​ ( FREE SHIPPING ABOVE 150$ WORLDWIDE)

For wholesale or any queries please email us to info@dressmycraft.com 


Thursday, 13 December 2018

Quick Tags with Handmade Foamiran Flowers


Hey Everyone, 
Heena here from bloomingpaperbuds.com, Today I have some quick, simple yet so pretty tags to share with Y'all.


 The dress my craft collection Packs come with a 12 by 12'' and 6 by 6'' pattern paper pads along with the coordinating motif sheets perfect to put together a card, tag or envelope in no time.
Here I have created these simple tags using the Magnolias and Floral Symphony collection and my Foamiran flowers.


For this tag, I have used pattern papers from the 12 by 12 Magnolias paper pad and the images are fussy cut from both pattern papers and the motif sheet. The flowers are created using the Dress my craft Create A flower Dies set.
I will also be posting a tutorial on how to make these pretty flowers using the DMC dies,( so make sure you subscribe to the Dress my craft Youtube Channel!)


For this Tag, I have used pattern papers from the Floral Symphony collection. The images are fussy cut from the 12 by 12 pattern papers.
 The foamiran roses are created using Dress my craft Curved Flower Dies set, Check out my previous post/tutorial to learn how to create these simple Foamiran roses.


I hope you liked the tags, thank you for stopping by!
Happy crafting, Heena xo

Supplies used:

Dress My Craft, Social media presence:

Facebook: www.facebook.com/dressmycraft
Instagram: https://www.instagram.com/dressmycraft
LIVE Facebook Videos: https://www.facebook.com/crafterscornerlivetv
Youtube: https://www.youtube.com/channel/UCExYyDP3Ag_uJk1MkxRz38w

DMC products are available at www.crafterscorner.in for India customers and at www.dressmycraft.com for the International customers.

Orders over 150$ are eligible for Free shipping internationally.


Tuesday, 5 June 2018

Courtship !

Hi Friends

Today I want to share a layout that is really precious to me, it features me and my hubby during our courtship period (and I am smiling again already !). Well you all know how this period is so fascinating, those days and those feelings of butterflies in your stomach, trying so hard to look your best everytime and just so madly deeply in love <3. Enough said about courtship,  this picture looked perfect on the magnolia papers and I loved how it came out. Take a look at some detailed shots


                   The papers are dreamy and there are so many elements that can be fussy cut !!


                         Added some texture with DMC Distressed blocks stencils


                                                              Layering with dimensions


Here is the complete look !
 
I hope you liked it !
 
Supplies Used:

Magnolias paper
Distressed blocks stencil
Magnolias motif sheet

Xoxo
Shubhra


Saturday, 26 May 2018

Magnolia Explosion box + tutorial

Hi Friends

I am so excited with the reveal of Magnolia papers at DressMyCraft. They are such a delight to work with ! The blues and the pinks with some garden papers are such a beautiful mix of colors along with the jaw dropping images , the car loaded with flowers, dream catchers, window panes with flower buckets..ooh .. simply droolworthy <3 <3

There are also co ordinating motif sheets that are absolutely amazing for some easy fussy cutting when you do not want to waste the paper and also gives you a very good size of the image.

Another new introduction are the flower pearls, these are gorgeous colored beads that can be used in so many ways , especially with mixed media madness, they are a must have !

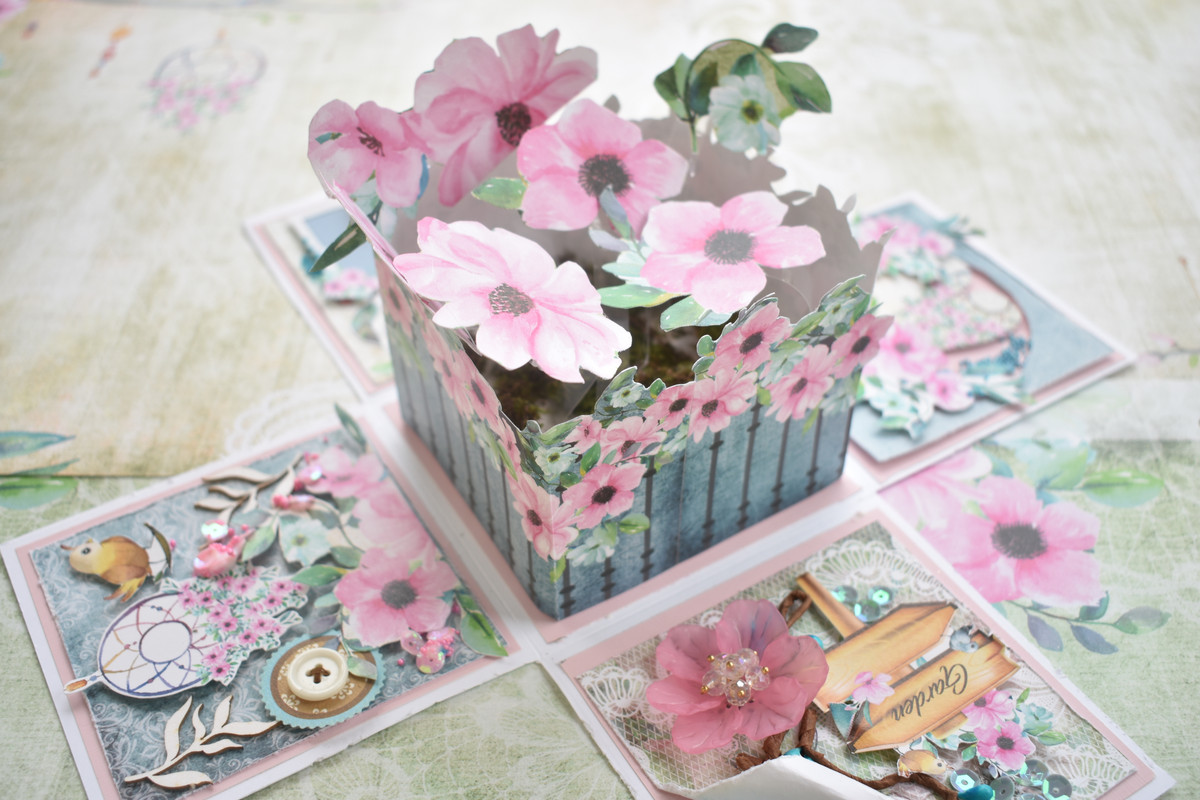
Moving to my creation for today, I made an explosion box in mixed media style ! The papers, motif sheets and a lot of fussy cutting are really the highlight, the papers and prints do the ,agic and combine it with flower pearls and DMC sequins, viola ..its done ! I have a step by step process for you to enjoy !

Here is what I made , following this would be how I made : )


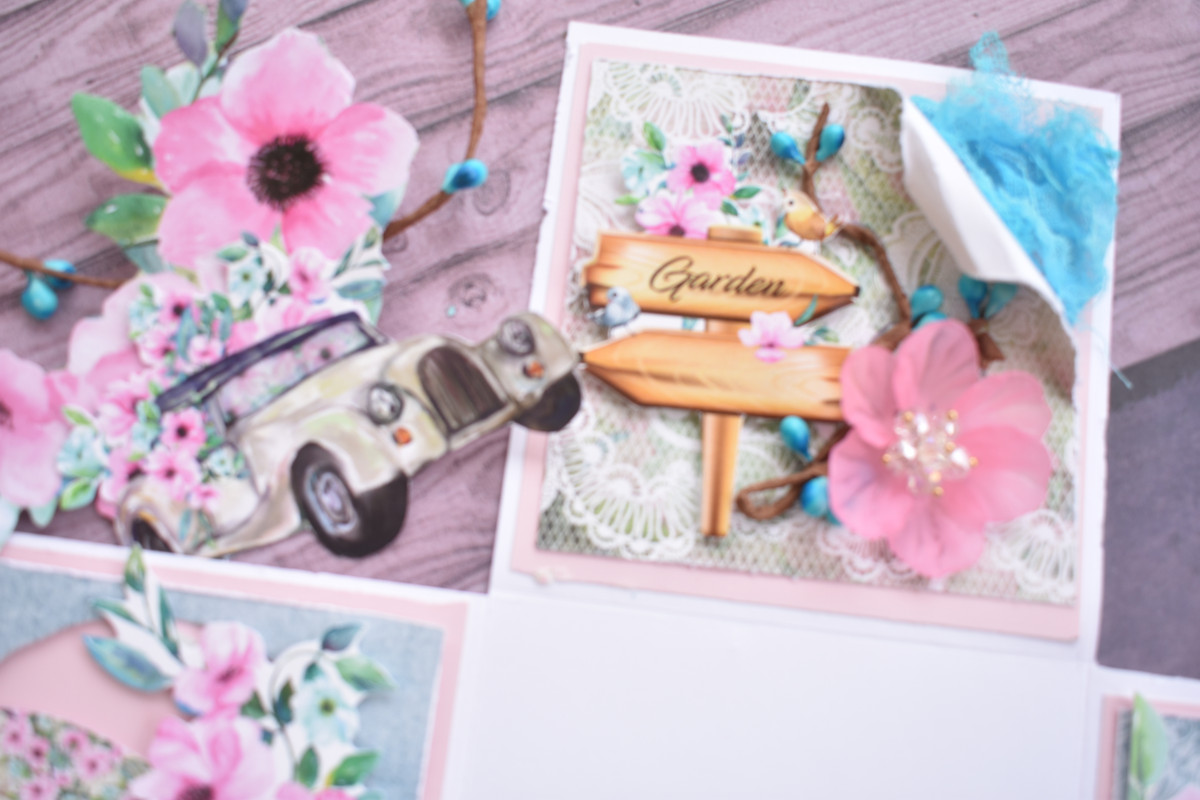
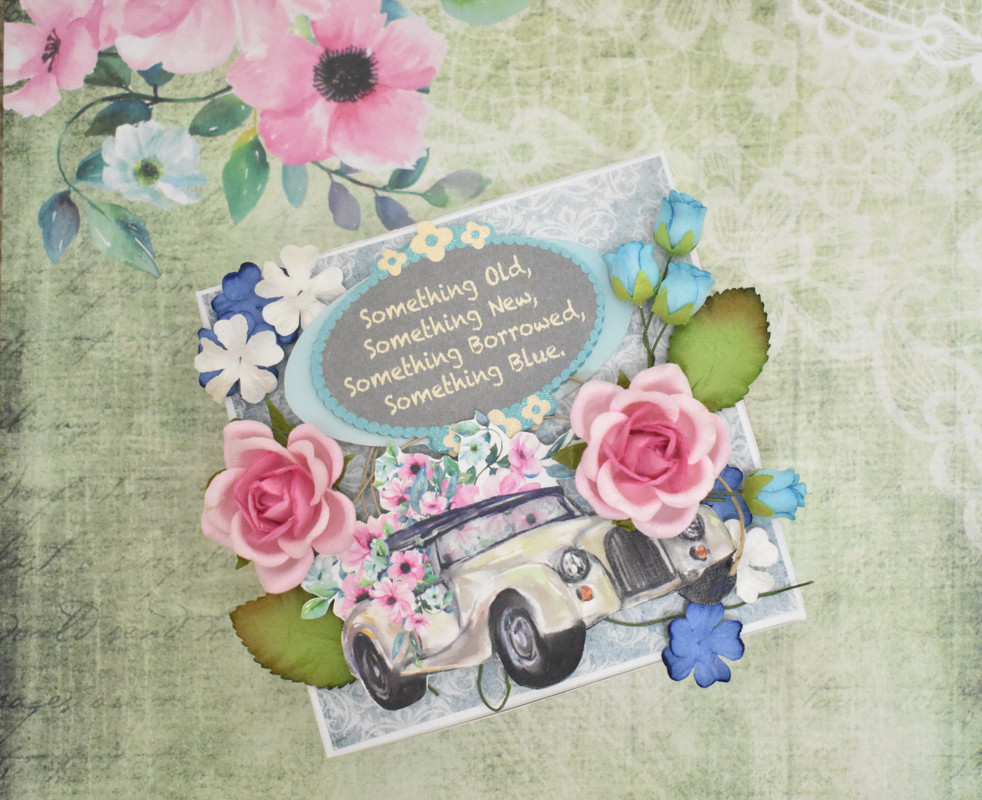
For me, the cutest image was this car and I just kept thinking of a spring wedding when I looked at it ! Luckily I had a sentiment that conveyed exactly how I was feeling .


Like I said, the flowers and all other motifs from the paper itself , stole the show :P

Instructions:

Step1:

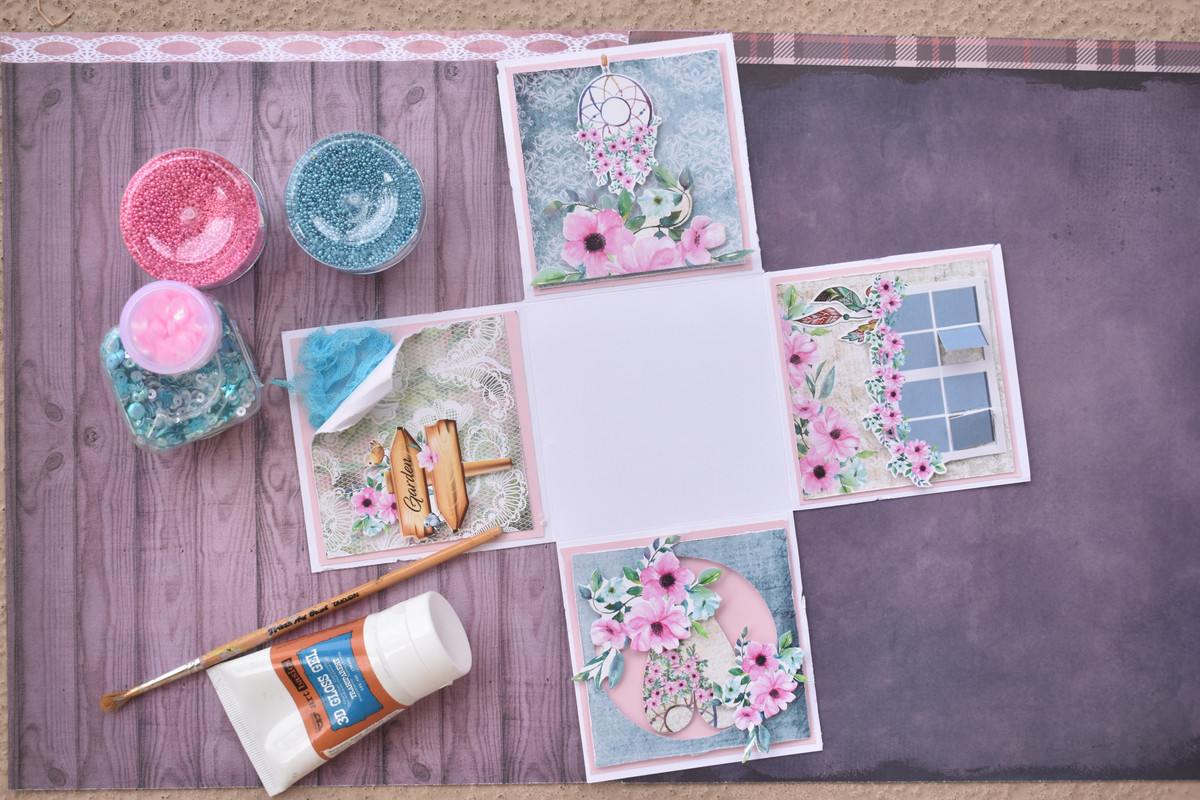
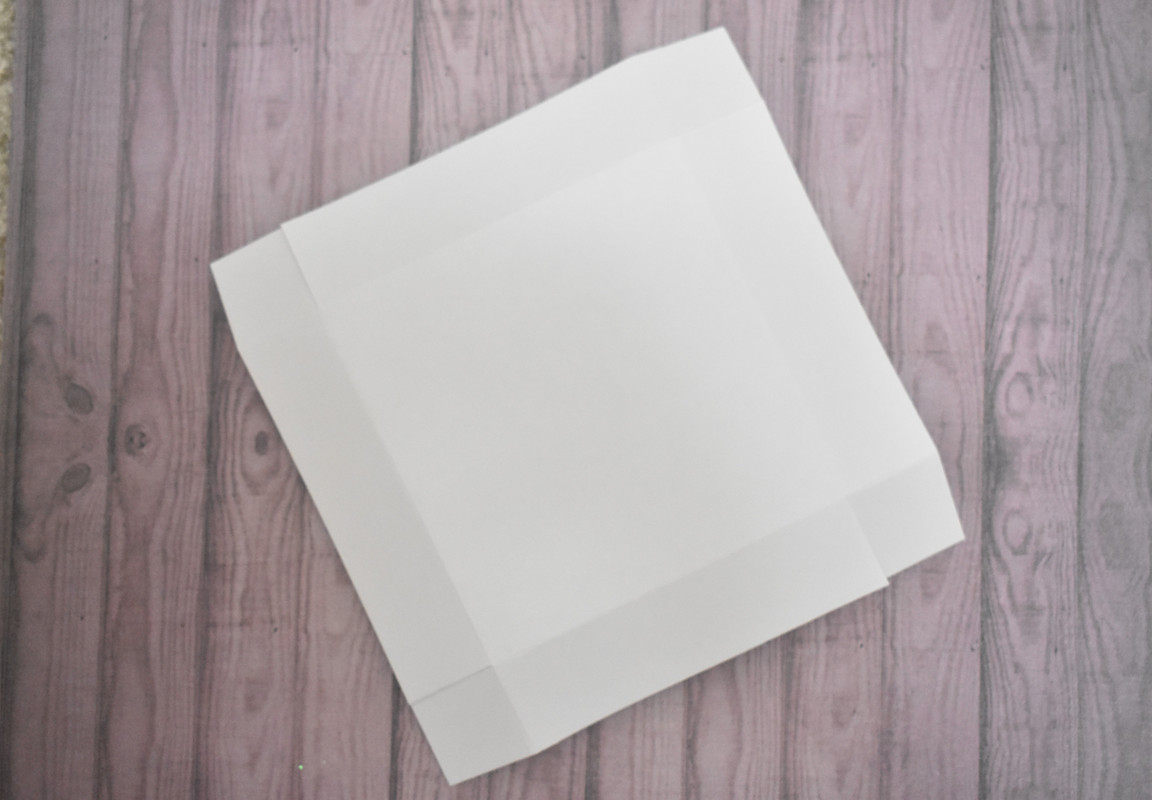
The explosion box measures 12x12 inches when open and 4x4 inches when closed with a lid, like a box. So I started with a 12x12 inches sheet of white cardstock and scored at 4" & 8" on both the sides of the paper.


The squares marked 'X' at the 4 corners were removed and I scored rest of the lines to form the box.

Step2:

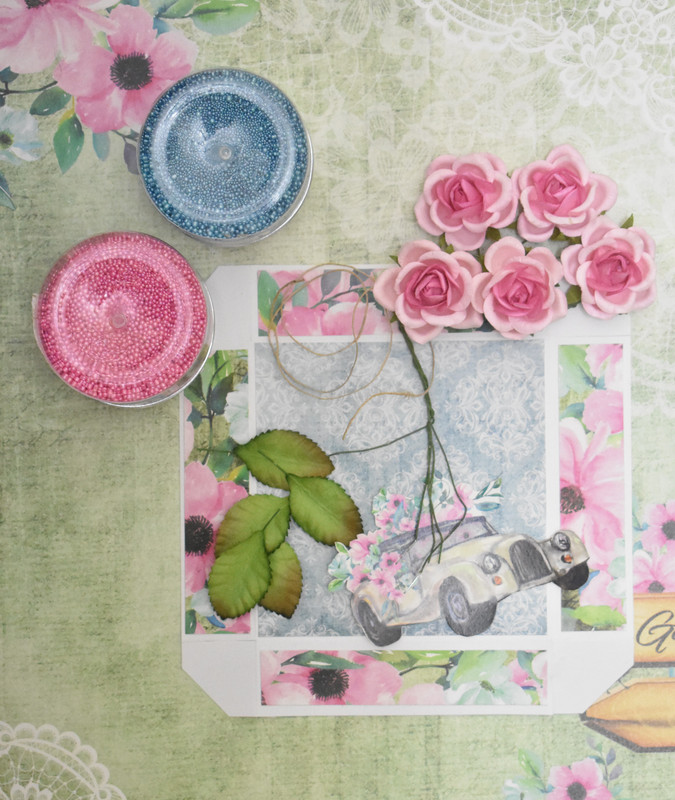
Next I have cut a plain pink cardstock as a base on the white cardstock , just to add some interest and layered it with Magnolia papers


Step3:

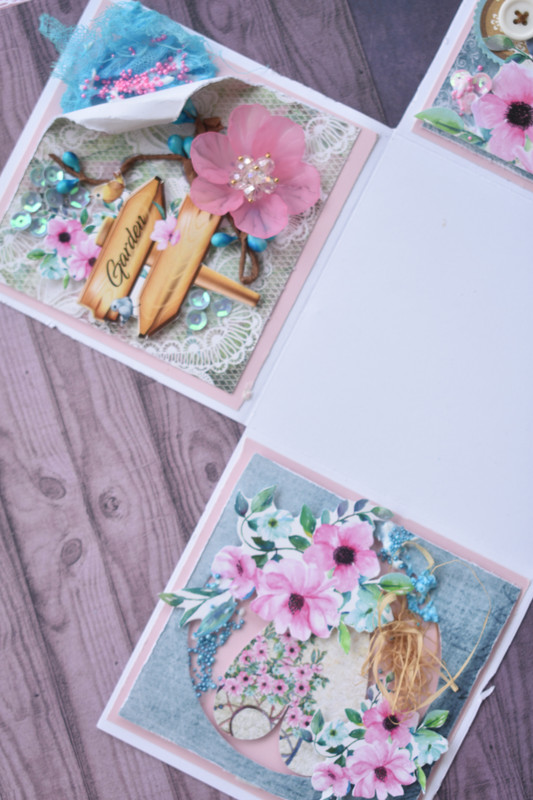
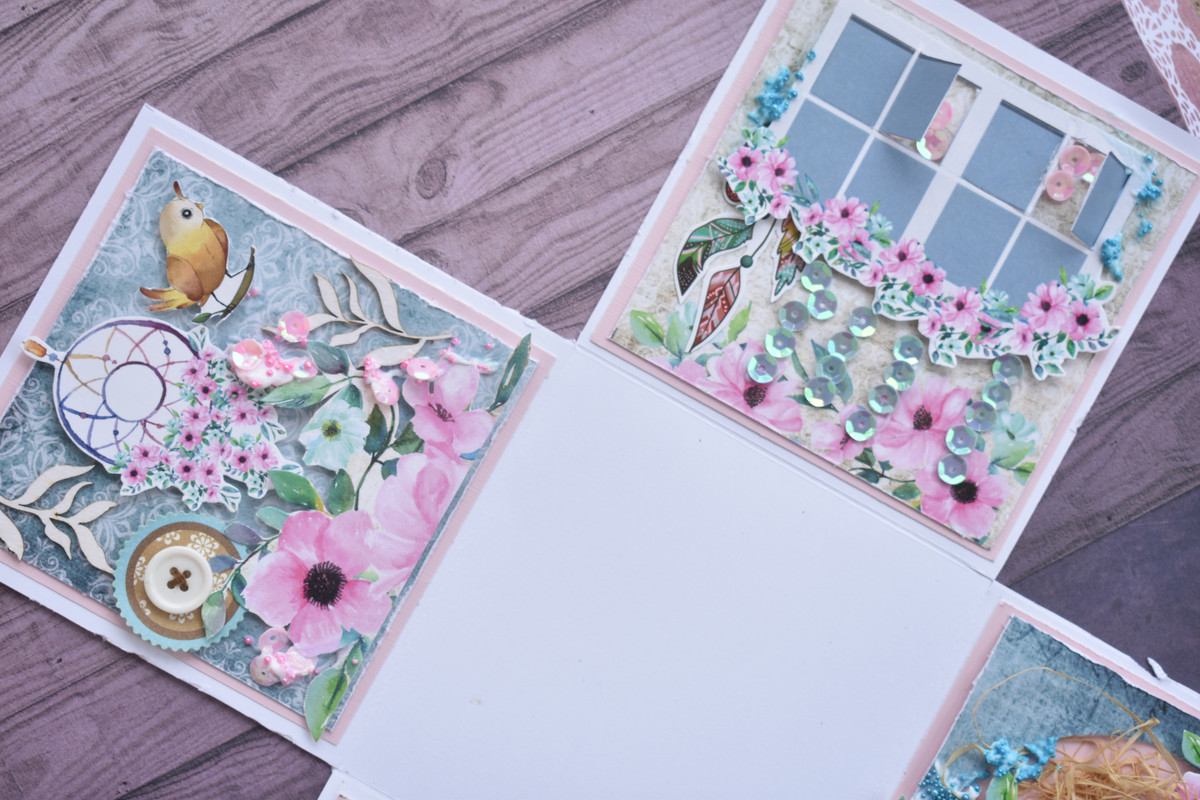
Step 3 was to start putting together each of the 4 squares and embellish with some fussy cut images, I will post a separate picture of each square so you can notice what I have done


I have distressed the edges of pattern paper with a scissors and added some cheesecloth sprayed with Lindy's mist.


This fussy cut image from the motif sheet has the windows opened using a cutter so later I can add some sequins/ glitter/ beads.

Fussy cut flowers and a heart shape form the center of this square.


And the 4th one has a fussy cut dream catcher from the motif sheet again along with flowers cut from one of the papers

Step 4:

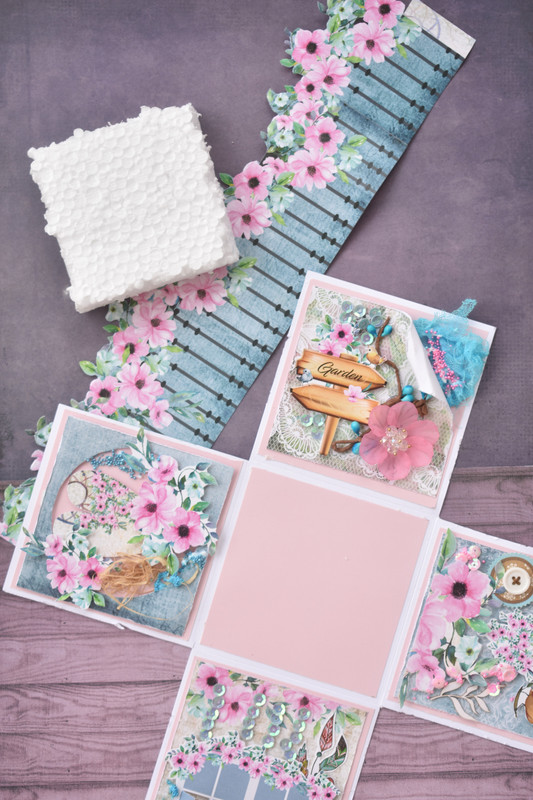
To each side I now added a sticker/ rufia/ pollen and for that mixed media finish, I added flower pearls and sequins


Step 5:

To make the center of the explosion box, I took a piece of thermocol a little smaller than the center (4x4 inches) and wrapped a fussy cut fence around it from the Magnolia papers


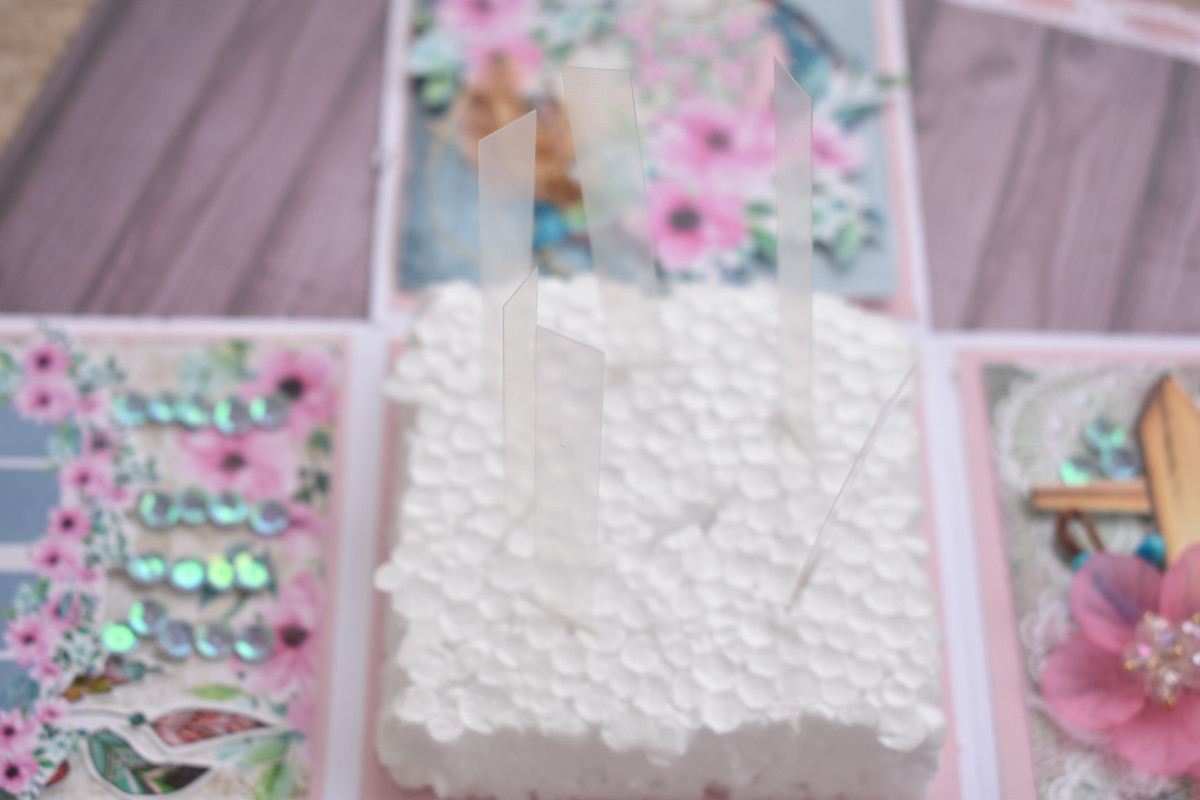
I made some cuts in the thermocol with a cutter and added thinly cut transparent sheet to which I wanted to add some fussy cut flowers.


Here is how it turned out


Step 6:

For the lid, I used a 6x6 inches paper, score at 1" from all four sides.


I did some fussy cutting and added flowers , leaves from DMC to complete the lid


Here is how I finally arranged it


Ta da ..!! Its done ! I hope you like it, do check out the supplies list below

Magnolia papers
Flower pearls
Leaves
Roses
Sequins
Fairy flowers
Magnolias motif sheet


Ciao

Shubhra