Showing posts with label micro beads. Show all posts

Thursday, 16 July 2020

Shaker baby banner | Props | Dress my craft shaker elements

Hello everyone,
I hope you are doing great. This is Meher from Meher Creations. 
Find the links to my social media accounts here: 
Today I have a beautiful shaker banner and some shaker props to share with you. I created them using the dress my craft pattern papers and shaker elements. There are yen number of ways to use the sequins and shaker slices. It is endless and everybody loves to create shakers. Some people use foam tape to make space for the shakers and some layer all the panels together. If you are using 250gsm cardstock then 6 layers are sufficient to make a room for the shakers. I have layered all the pannels together to ensure that the banner lasts long as it is for a baby's room. 
Well, let's get started with how to create the banner.

Step by step instructions:
  • Cut 4*6 banners on a white cardstock
  • Cut from the center in the same shape to create a shaker pannel.
  • Make such 36 pannels. Each banner will have 6 layers.
  • Stick 6 panels on top of each other.
  • Add an acetate sheet on the top.
  • Flip and add some sequins, micro beads and dessert mix. 
  • Then stick the pattern paper.
  • Repeat the same for all 6 banners.
  • Cut 6 panels on a pattern paper and stick on the banners.
  • Add a satin ribbon on the back of the banner to finish it. 
  • Lastly, add two bows on the two ends. That completes the banner.

For the props I have used classic doily die mainly and trust me it gives a wonderful look to the props in parties. You can use them as a decorative element on the table and it adds so much of elegence altogether. 
Let's have a look at the pictures.


Thank you so much for stopping by.
List of materials:
Mickey faces shakers
Kiwi slices
fruit mix slices

Dress My Craft, Social media handles:
Youtube : ​https://www.youtube.com/dressmycraft

For wholesale or any queries please email us to info@dressmycraft.com 

Dress My Craft products are available at For Indian customers -​www.crafterscorner.in For International buyers - www.scrapbook.com

​www.dressmycraft.com​ ( FREE SHIPPING ABOVE 150$ WORLDWIDE)


Thank you

Thursday, 13 February 2020

"Sweet life" spring home decoration feat. Floral Symphony paper collection

Hello, my dear crafty friends!

Jasmina today again with you, sharing my first post for the month of February.

You can follow me on my channels:
Fb page: Jasmina
Instagram: HandmadebyJasmina
Youtube: Handmade by Jasmina
Blog: Jasmina


I have decorated a round wooden board and made a spring home decor. As you may already know, I love making flowers and this time was no exception. I have combined flowers from Floral Symphony Collection with flowers which I made with Soft Floral Oriental Collection.


I love making flowers because I can always color them accordingly to the papers I am using, and make in various sizes.


This time I decided to make different types of flowers, using different cutting die sets.

For these flowers I used Curved Flower die set. For the center, I used Pastel Thread Pollen in Pinkish Maroon color.


These flowers are made with Create a Flower die set. And for the center I used Drop Shape Wire Pollen 3- White and Micro Mini Thread Pollen- White.


These flowers, that remind me of daisies, are made with Six Petal Flower die set. For the center, I used Micro Mini Thread Pollen- Yellow.


I used Three Petal Pointed Flower die set to make small filler flowers and put them around the bigger flowers on the birdcage. For the center I used Drop Shape Wire Pollen 1 and 2- White.


I still think that with the combination of Soft Floral Oriental Collection and Groove Golf Tools, you can't go wrong.


List of all products I used for this project:

Papers:

Cutting dies:

Embellishments: 

Thank you for your visit and hope you like my project!
Jasmina


Dress My Craft, Social media handles: 
Youtube: ​https://www.youtube.com/dressmycraft

Dress My Craft products are available at:
For Indian customers -​www.crafterscorner.in 
For International buyers - www.scrapbook.com​www.dressmycraft.com​ ( FREE SHIPPING ABOVE 150$ WORLDWIDE)

For wholesale or any queries please email us to info@dressmycraft.com.

Wednesday, 5 September 2018

Card with vellum sleeve

Hi Craft Peeps !

This is Shubhra and I am really excited to share my creation with you today ! I have been waiting to use so many of the amazing Dress My Craft products that have been launched but I didn't get a chance to play with yet !

In this card , I have used white Vellum sheets from DressMyCraft fpr stamping and heat embossing. The quality of vellum sheets is superior and you can feel it when you touch it, drying the embossing powder was such a breeze on these sheets. So I totally recommend these for all your craft needs.


The flower pearls, micro pearls and sparkling dust have added a little magic to my creation. The pearls in a variety of sizes are a must have for card making, mixed media and scrapbooking.


I have used other teeny tiny embellishments that I'll list down below at the end of the post. Those teeny-tiny embellishments are exactly what you need to make that huge impact ! :D


For my card, I made a vellum sleeve and heat embossed it with Lindy's EP. A bunch of mini flowers from DressMyCraft and a wax seal was all that was needed to finish it up !


The card looks shimmery and glittery in person , so I  made a small video to highlight that !


Supplies Used:


Hugs
Shubhra

Saturday, 26 May 2018

Magnolia Explosion box + tutorial

Hi Friends

I am so excited with the reveal of Magnolia papers at DressMyCraft. They are such a delight to work with ! The blues and the pinks with some garden papers are such a beautiful mix of colors along with the jaw dropping images , the car loaded with flowers, dream catchers, window panes with flower buckets..ooh .. simply droolworthy <3 <3

There are also co ordinating motif sheets that are absolutely amazing for some easy fussy cutting when you do not want to waste the paper and also gives you a very good size of the image.

Another new introduction are the flower pearls, these are gorgeous colored beads that can be used in so many ways , especially with mixed media madness, they are a must have !

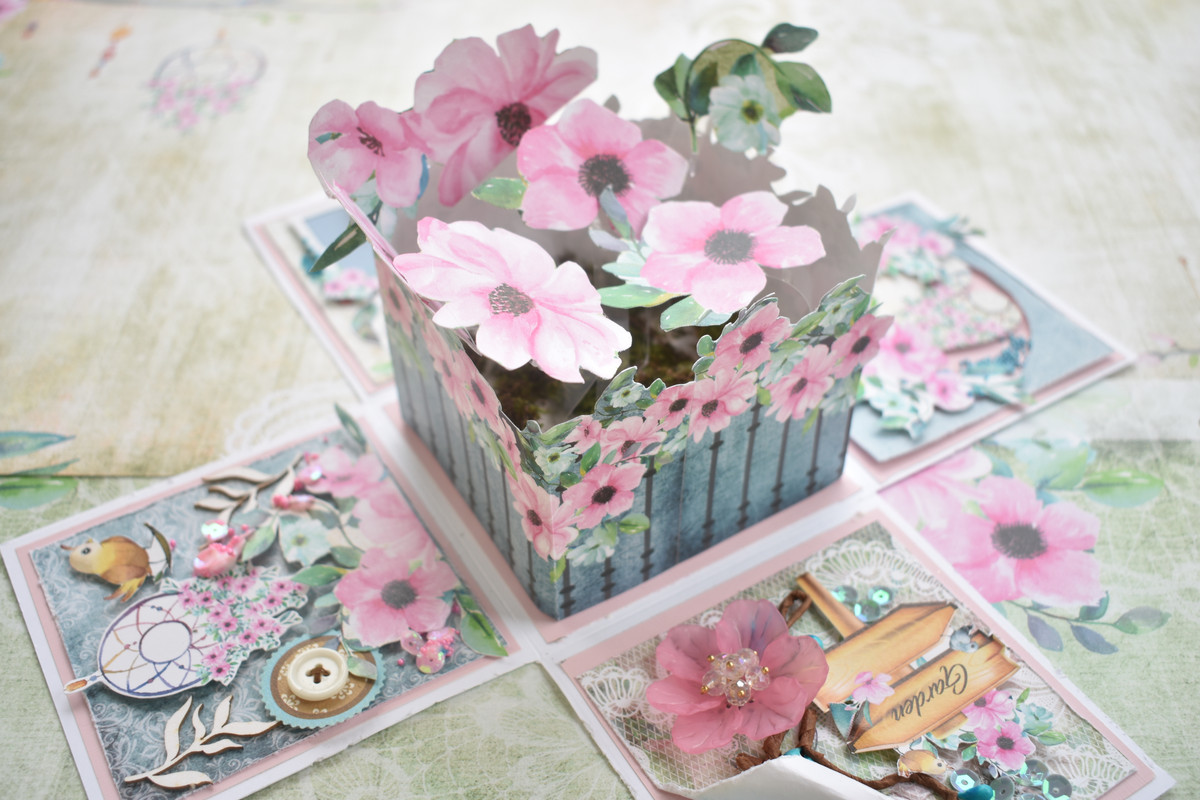
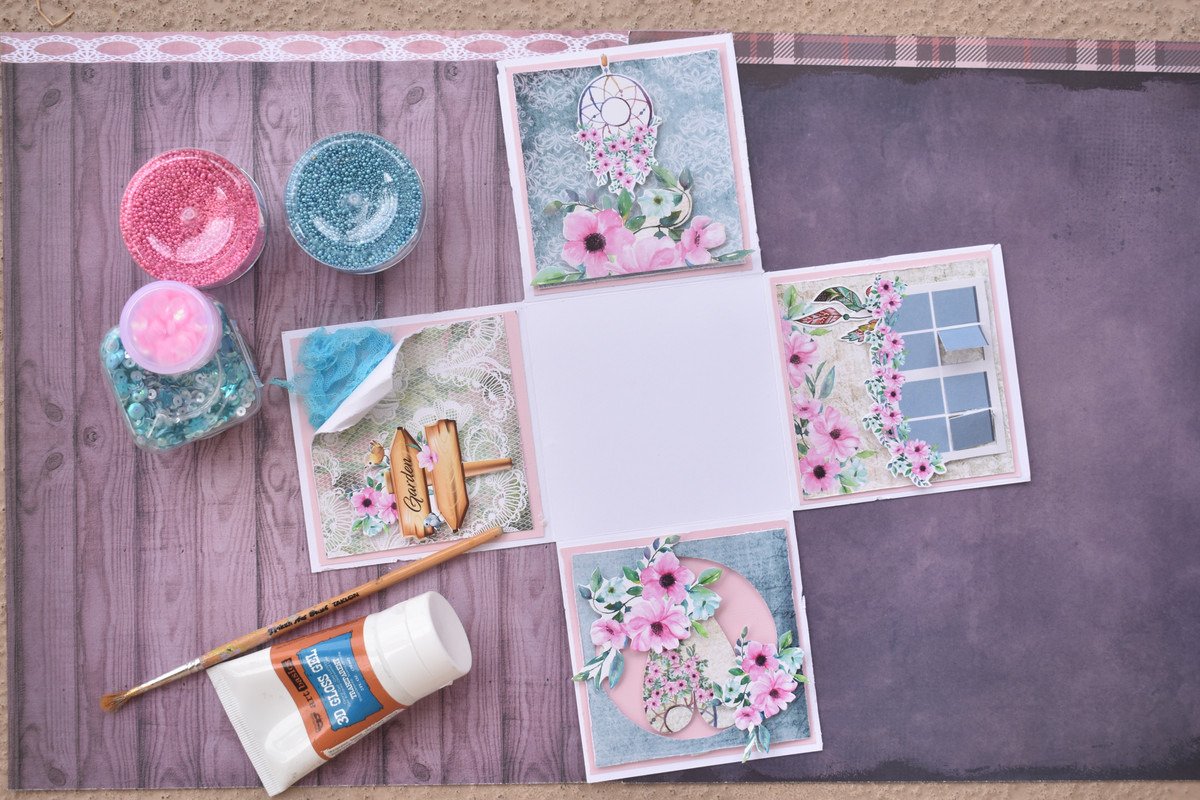
Moving to my creation for today, I made an explosion box in mixed media style ! The papers, motif sheets and a lot of fussy cutting are really the highlight, the papers and prints do the ,agic and combine it with flower pearls and DMC sequins, viola ..its done ! I have a step by step process for you to enjoy !

Here is what I made , following this would be how I made : )


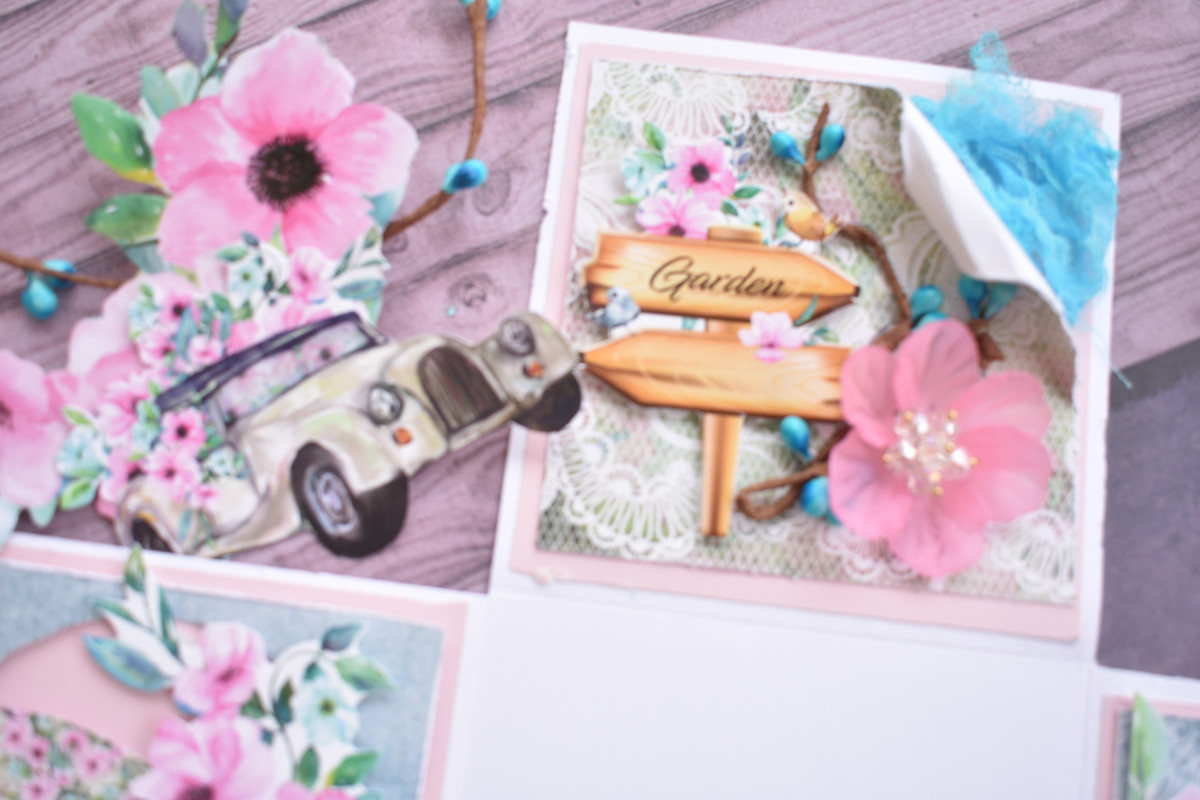
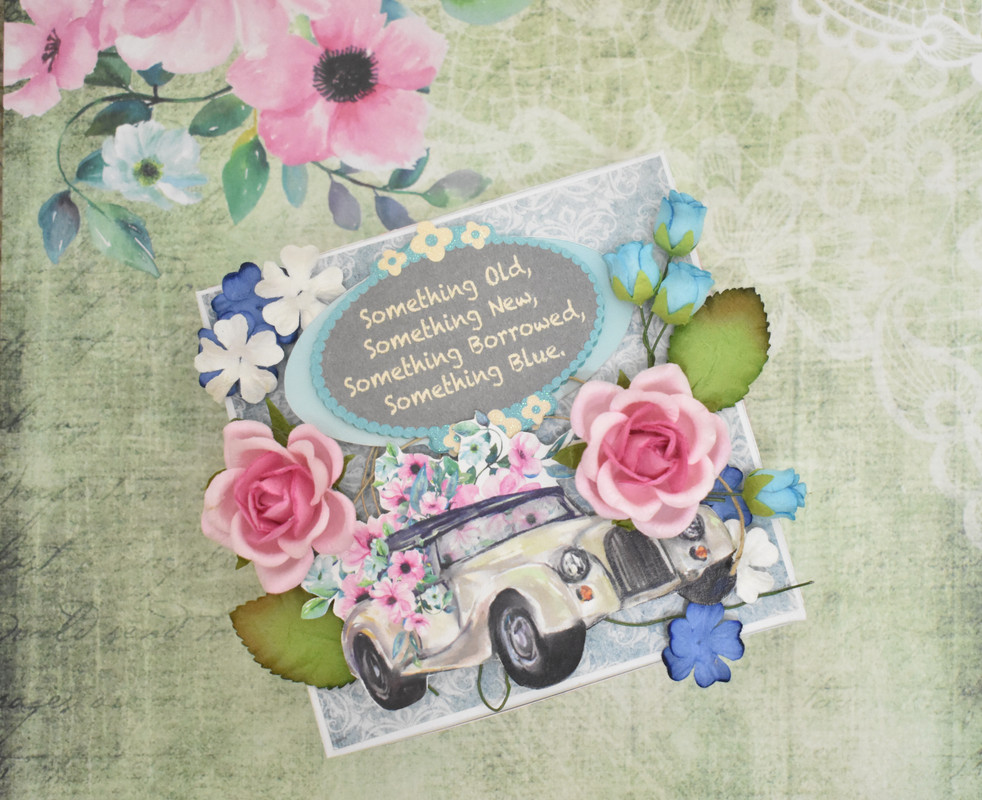
For me, the cutest image was this car and I just kept thinking of a spring wedding when I looked at it ! Luckily I had a sentiment that conveyed exactly how I was feeling .


Like I said, the flowers and all other motifs from the paper itself , stole the show :P


Instructions:

Step1:

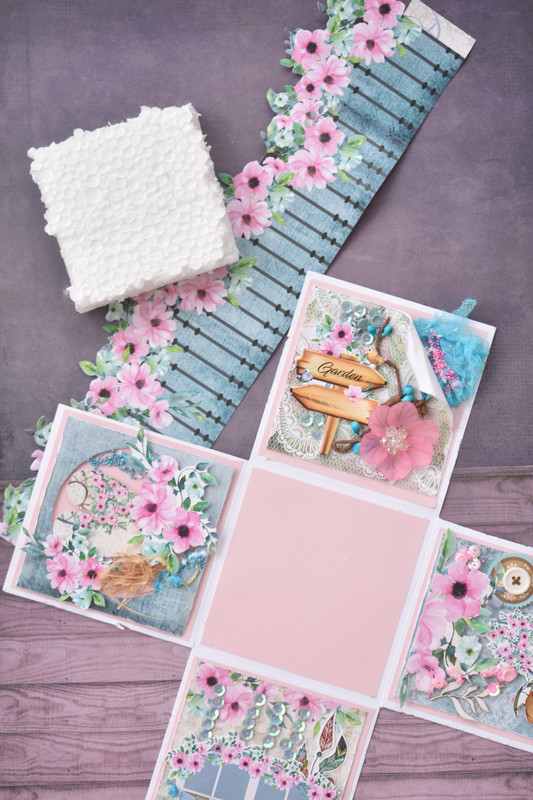
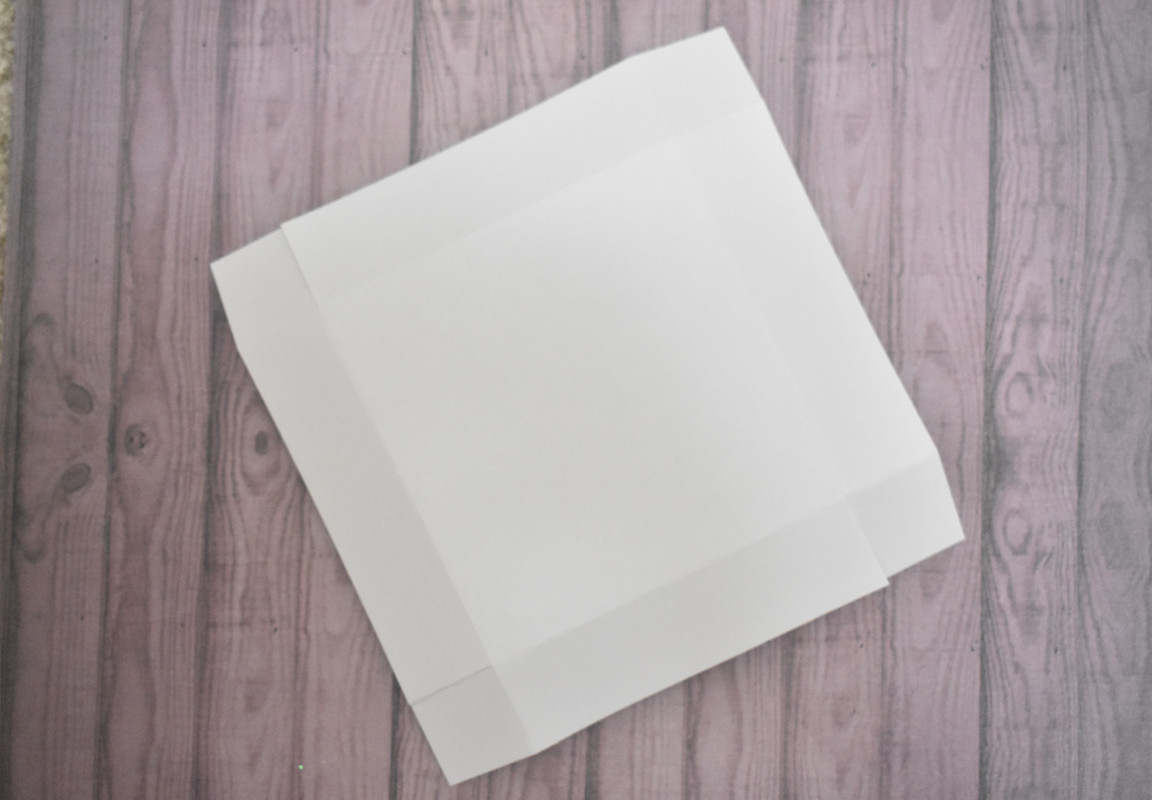
The explosion box measures 12x12 inches when open and 4x4 inches when closed with a lid, like a box. So I started with a 12x12 inches sheet of white cardstock and scored at 4" & 8" on both the sides of the paper.


The squares marked 'X' at the 4 corners were removed and I scored rest of the lines to form the box.


Step2:

Next I have cut a plain pink cardstock as a base on the white cardstock , just to add some interest and layered it with Magnolia papers


Step3:

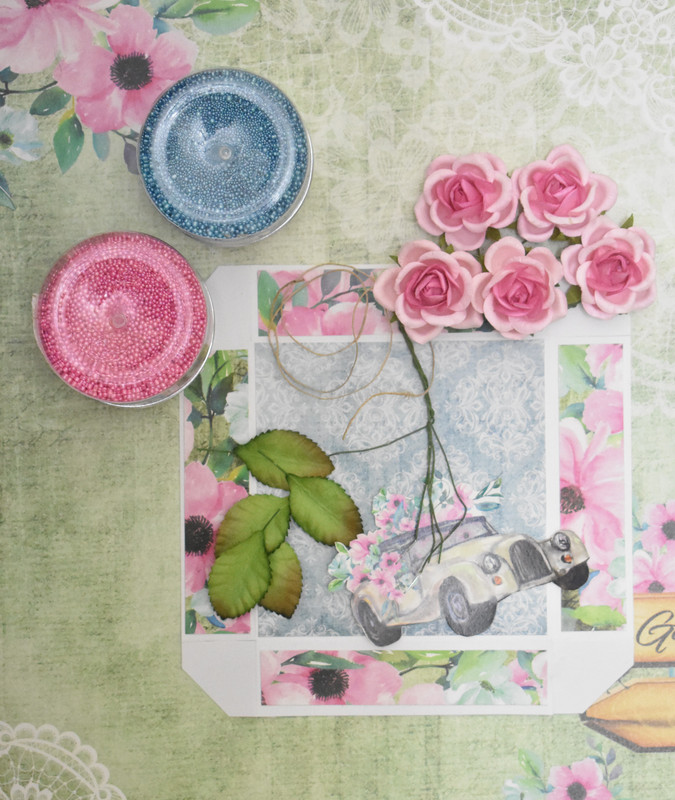
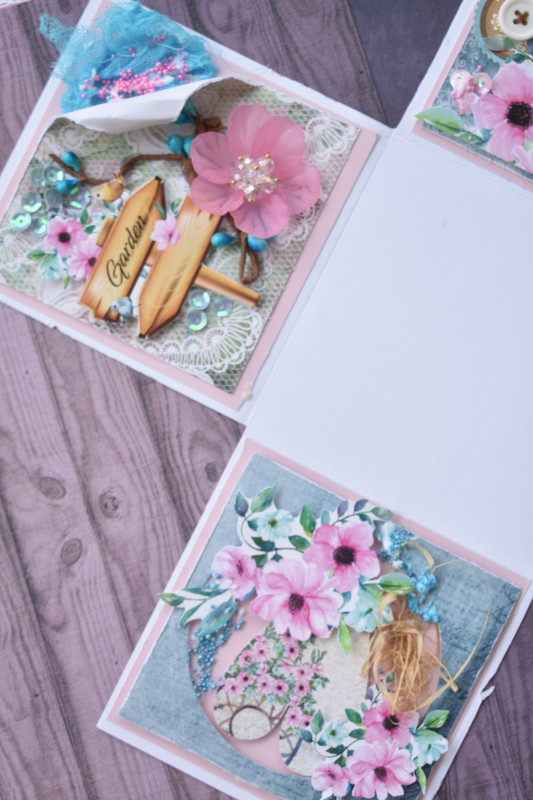
Step 3 was to start putting together each of the 4 squares and embellish with some fussy cut images, I will post a separate picture of each square so you can notice what I have done


I have distressed the edges of pattern paper with a scissors and added some cheesecloth sprayed with Lindy's mist.


This fussy cut image from the motif sheet has the windows opened using a cutter so later I can add some sequins/ glitter/ beads.

Fussy cut flowers and a heart shape form the center of this square.


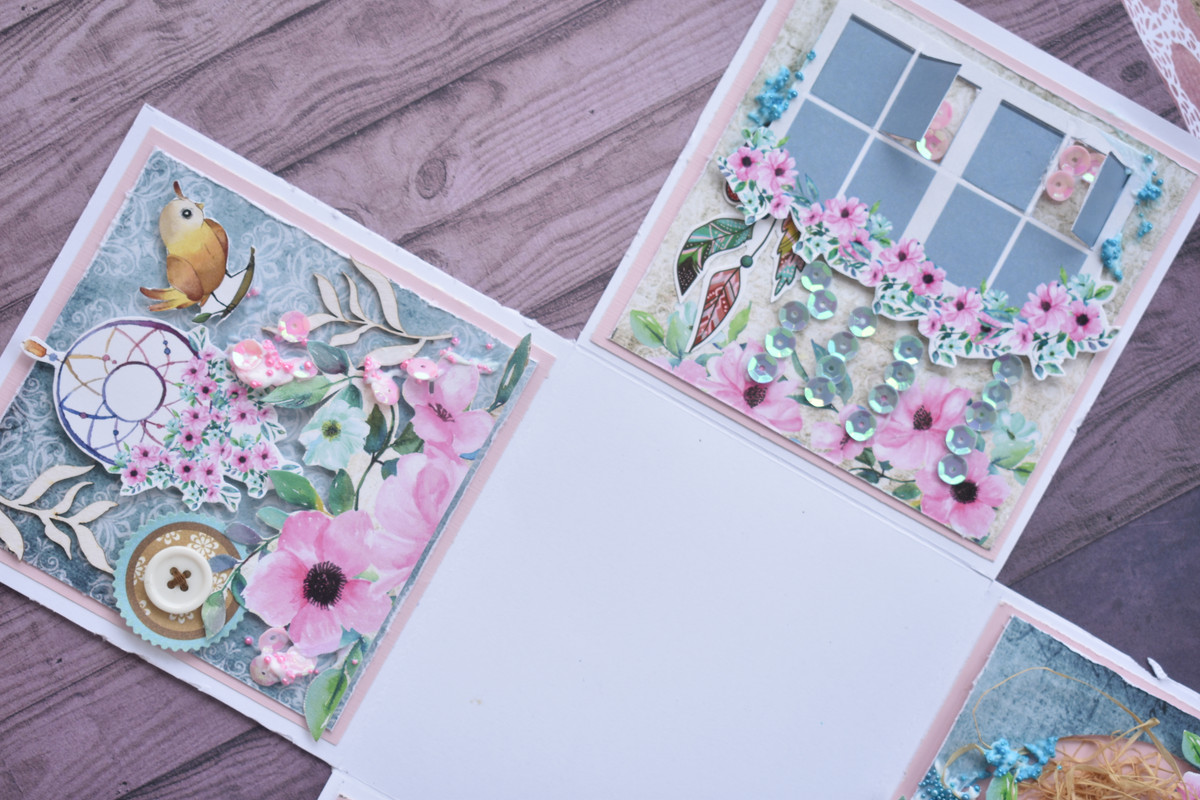
And the 4th one has a fussy cut dream catcher from the motif sheet again along with flowers cut from one of the papers

Step 4:

To each side I now added a sticker/ rufia/ pollen and for that mixed media finish, I added flower pearls and sequins


Step 5:

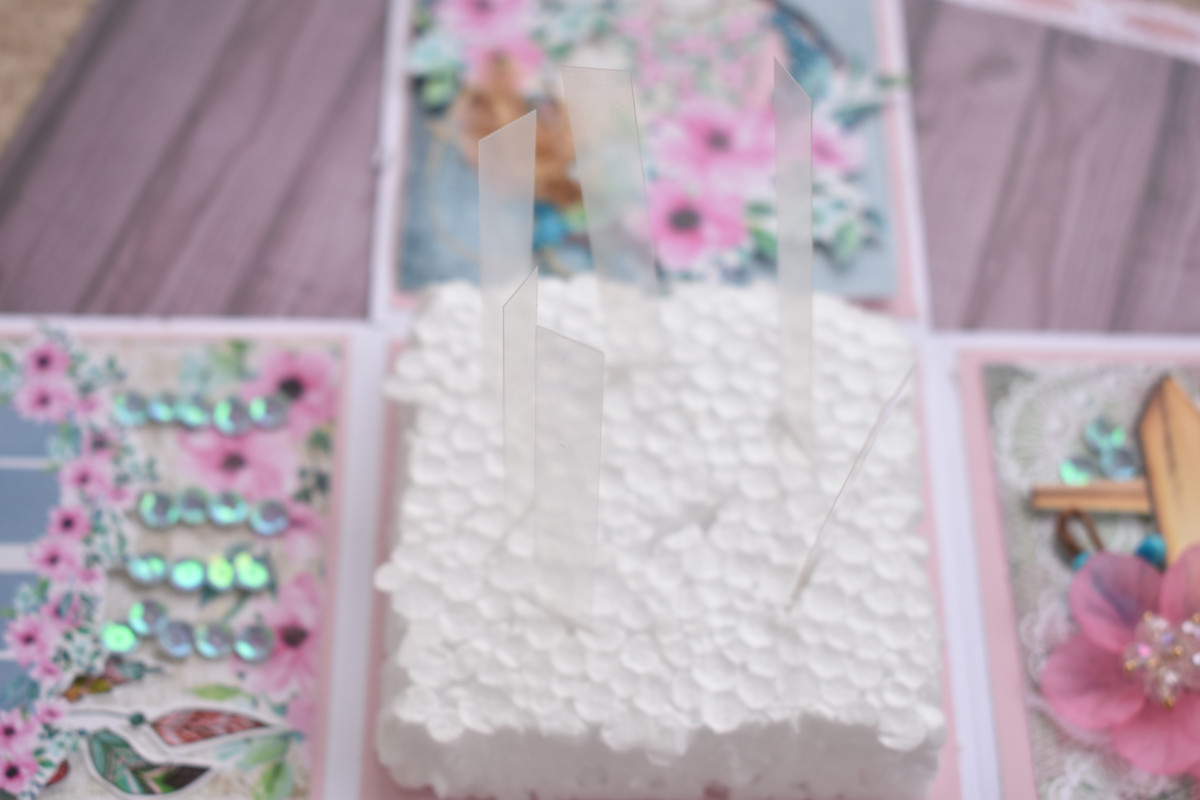
To make the center of the explosion box, I took a piece of thermocol a little smaller than the center (4x4 inches) and wrapped a fussy cut fence around it from the Magnolia papers


I made some cuts in the thermocol with a cutter and added thinly cut transparent sheet to which I wanted to add some fussy cut flowers.


Here is how it turned out


Step 6:

For the lid, I used a 6x6 inches paper, score at 1" from all four sides.


I did some fussy cutting and added flowers , leaves from DMC to complete the lid


Here is how I finally arranged it


Ta da ..!! Its done ! I hope you like it, do check out the supplies list below

Magnolia papers
Flower pearls
Leaves
Roses
Sequins
Fairy flowers
Magnolias motif sheet


Ciao

Shubhra

Saturday, 19 May 2018

Miniature room

Happy Saturday!
Hope you are doing great. I'm back with another miniature post created using a lot of miniatures from Dress my craft. This is a shadow box with bedroom concept. On the right hand side I've used DMC miniature furniture as cabinet in the room and attached the miniature Bathroom shelf to the cabinet so that the room looks well furnished. On the left hand side,  I've created a bed using chipboards and some fabric. I've also used some shabby chic lace to create the curtains and tied it with the DMC satin twine.

The beautiful peach baskets are from DMC and I've filled them up with beads, flowers and cheese cloth. I've also filled the cocoon with a flower and DMC charm to make it look like a show piece on the shelf


I have used a message bottle and filled it with some flowers in order to make a flower vase. I've placed the miniature parrot on the table to give a detailed look.

I created a door mat using silver glitter and and placed a chair on it. The table behind is created using the tim holtz blending tool. I've added a golden satin cloth on it to match it with the colors. 


I've attached a basket on the right side filling it with some laces, flowers, bottles and other miniatures.


Hope you like it and thank you for stopping by. 
Hugs,
Meher