Showing posts with label shadow box. Show all posts

Thursday, 6 August 2020

Mixed Media Wall Art

Hello there,
This is Ujjwal and today I am sharing a gorgeous mixed media altered frame with you using the newly released Image transfer sheets, My Vintage Lady collection, and the wonderful dies from Dress My Craft.

Before I share the details on the project, I just wanted to share my social media handles so you can connect with me if you'd like to. You can easily find me at,
Instagram: Handmade with Love

For today's project, I decided to alter the broken lid of an old MDF box, and even though I was struggling with the design in the beginning. I am so pleased with the final results.


I used some plastic mesh from the hardware store for the background along with black gesso and some clear gesso for added texture. I then used some distress paint for the splatter and also added a bit of gold as highlights.


I used the image transfers and applied then to the beautiful papers from the My Vintage Lady Collection. It is such a fun project and I love the outcome. I also used a variety of dies to use as the embellishments and have listed them all below. Final touch, of course, is the Microfine glitter.


I then layered and arranged all the elements until I was satisfied with the result. I hope you like this project as much as I do.


All the products featured in this project are as follows:

Dress My Craft, Social media handles:

Facebook: www.facebook.com/dressmycraft
Instagram: https://www.instagram.com/dressmycraft
Youtube: ​https://www.youtube.com/dressmycraft


Dress My Craft products are available at

For Indian customers -​www.crafterscorner.in 


For International buyers - www.scrapbook.com​www.dressmycraft.com​ ( FREE SHIPPING ABOVE 150$ WORLDWIDE)

Tuesday, 15 October 2019

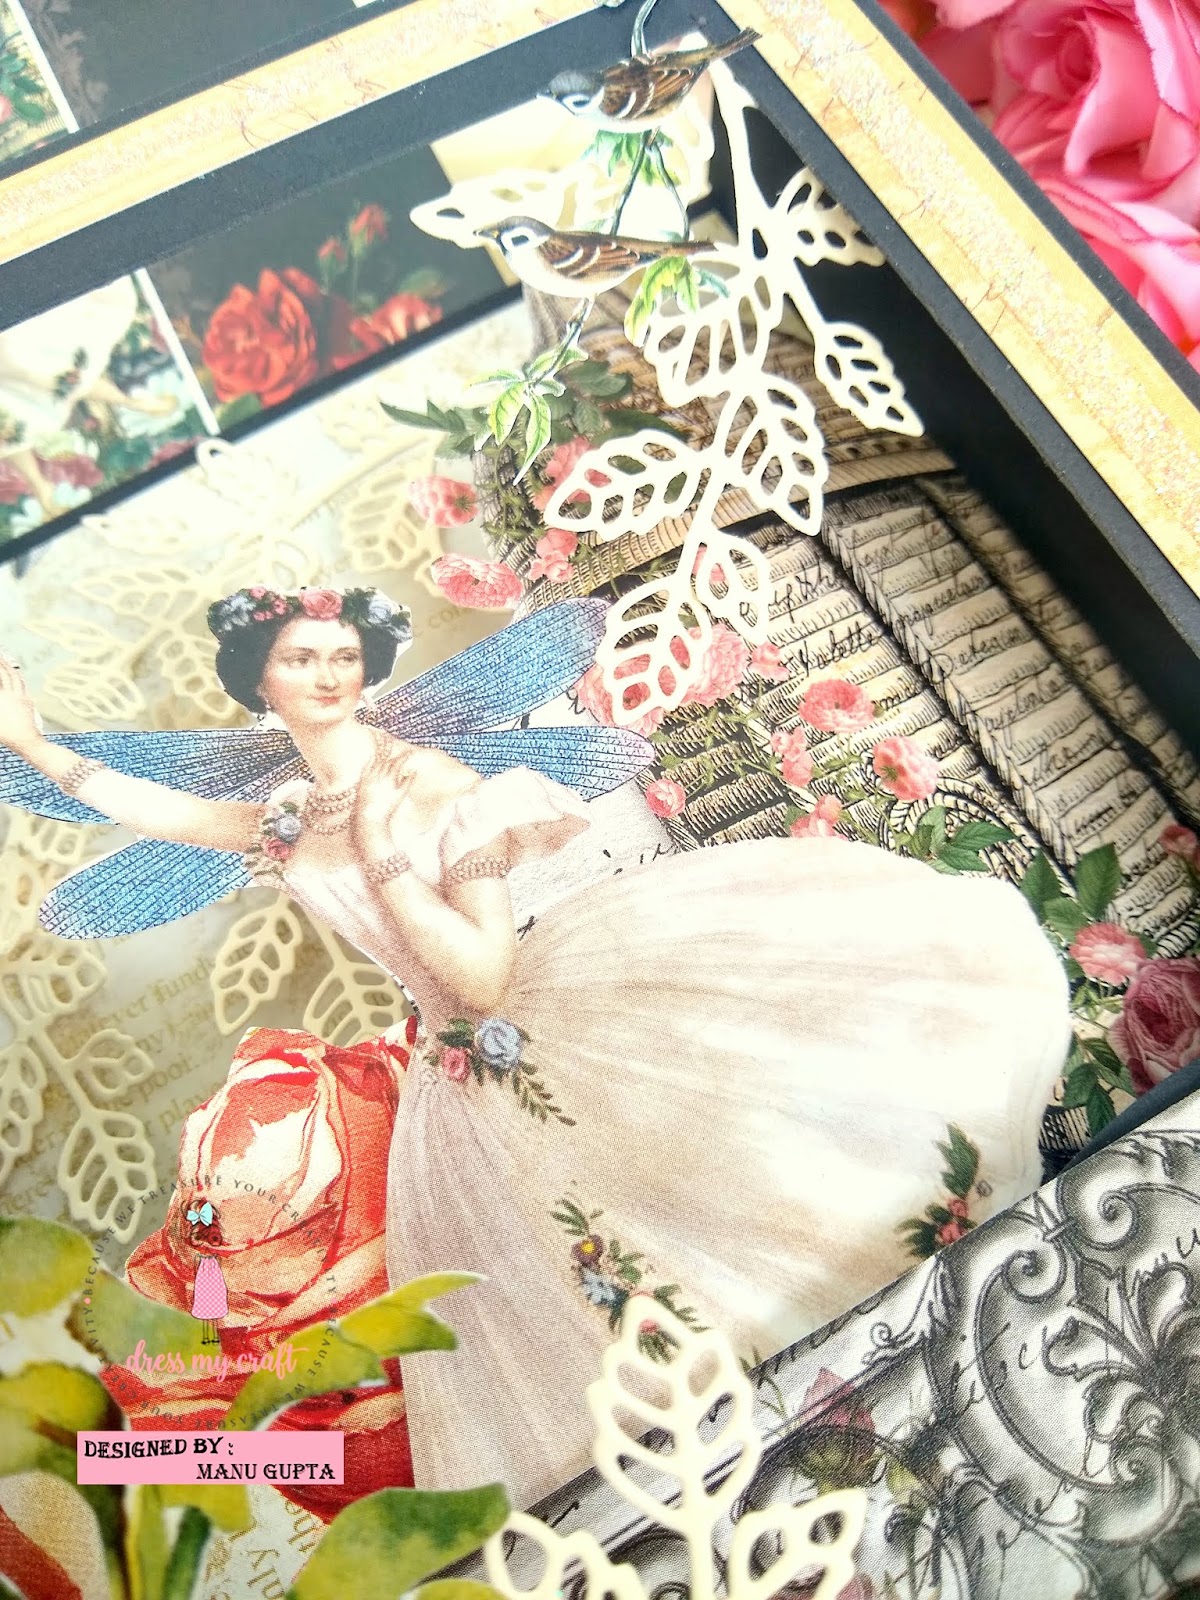
Shadow Box Frame featuring the Romantic Roses Collection

Hello all!!
It's Brand Ambassador Amanda Fitterer here with a video tutorial featuring the Romantic Roses Paper Collection!

Find me on Instagram: @craftyandcreativevibes
Subscribe to my YouTube channel: Amanda Fitterer


Scroll to the bottom for a list of the products used.
Here are some photos of the project:


Here's the video tutorial:

Products used:

Romantic Roses Paper - 6x6
Copper Mix sequins
Vintage Hearts Stencil
Five Petal Flower dies
Foliage and Leaves #10 , #11 , #13 Dies
Birthday Tags Die
Flower Pearls
Pastel Thread Pollen - Cream
Craft Mat - Thick


Dress My Craft:


Dress My Craft products are available at:
For Indian customers - www.crafterscorner.in
For international buyers - www.scrapbook.com

www.dressmycraft.com (FREE SHIPPING ABOVE $150 WORLDWIDE)
For wholesale or any queries, please email us: info@dressmycraft.com


Monday, 23 September 2019

Shadow Box Frame with Pink Smoke Paper Collection

Hello Everyone, 

Again, Payal Bhalani here with an amazing Shadow Box Frame, which is decorated with lovely Paper "Pink Smoke Paper Pad"

My Instagram Artista_Payal
My Youtube Channel ARTista Payal

I created this project using "Pink Smoke Paper pad". Let me tell you about paper pad, this is super quality paper pad with amazing unique designs. This is also my first time hands on "Floral Oriental Collection" paper and different dies from Dress my craft

Here are some Photographs, check out the included details.


I fussy cut some of the element from the same paper pad, which I used as an embellishment.


I used "Five Petal Flower" cutting dies with "Floral Oriental Collection" sheets to create the flowers. The quality of the paper is soft enough to embossed the flower, but at the same time it is thick enough to hold the shape. For the embossing, I used the "Embossing Foam Pad" and "Groove Golf tool set".  Dress my craft "Flower Pearls" are ideal for the center for the flowers. To make my flower arrangement complete, I used flower making cutting dies "Foliage and Leaves #5" as fillers.


I thought to introduce more dimension using "Tropical Swirls" dies


I made LOVE sentiment by using Floral Love dies. I wanted to use that sentiment as a wooden chip board , So I stick few die cuts together to make thick dimension.

Thank you so much for scrolling along! I hope you enjoyed the creation. Don't forget to share your creation with us.
Dress My Craft, Social media handles:
Youtube : ​https://www.youtube.com/dressmycraft


Dress My Craft products are available at

For Indian customers -​www.crafterscorner.in 
For International buyers - www.scrapbook.com

​www.dressmycraft.com​ ( FREE SHIPPING ABOVE 150$ WORLDWIDE)

For wholesale or any queries please email us to info@dressmycraft.com 

Wednesday, 4 September 2019

Light Up Tunnel Card Using Magnolias Paper Collection


Hello Everyone, 

Payal Bhalani this side from Dress My Craft Brand Ambassador 2019-2020, This is My first Post for Dress My Craft Design Team and I am so excited to share my Creative journey with you,
My Instagram Artista_Payal
My Youtube Channel ARTista Payal

I am super excited to share My first Tutorial, light up Tunnel Card using dress My Craft Magnolias Collection Kit. 

 Here is some Photographs, Checkout the Details I included,


And Here is the video Tutorial of this Beautiful Tunnel Card:


Thank you so much for scrolling along! I hope you enjoyed watching video tutorial and don't forget to share your creation with us.


Supply Used,
Magnolias Collection Kit https://bit.ly/2ZgwLk8
Multi-Purpose Scoring Board https://bit.ly/2MDr34V   
Frosted Sugar Powder  https://bit.ly/2znchXn 
Pearls – Pink https://bit.ly/2KUTSb8


Dress My Craft, Social media handles:
Facebook : www.facebook.com/dressmycraft 
Youtube : ​https://www.youtube.com/dressmycraft


Dress My Craft products are available at

For Indian customers -​www.crafterscorner.in 
For International buyers - www.scrapbook.com

​www.dressmycraft.com​ ( FREE SHIPPING ABOVE 150$ WORLDWIDE)

For wholesale or any queries please email us to info@dressmycraft.com 


Thursday, 22 August 2019

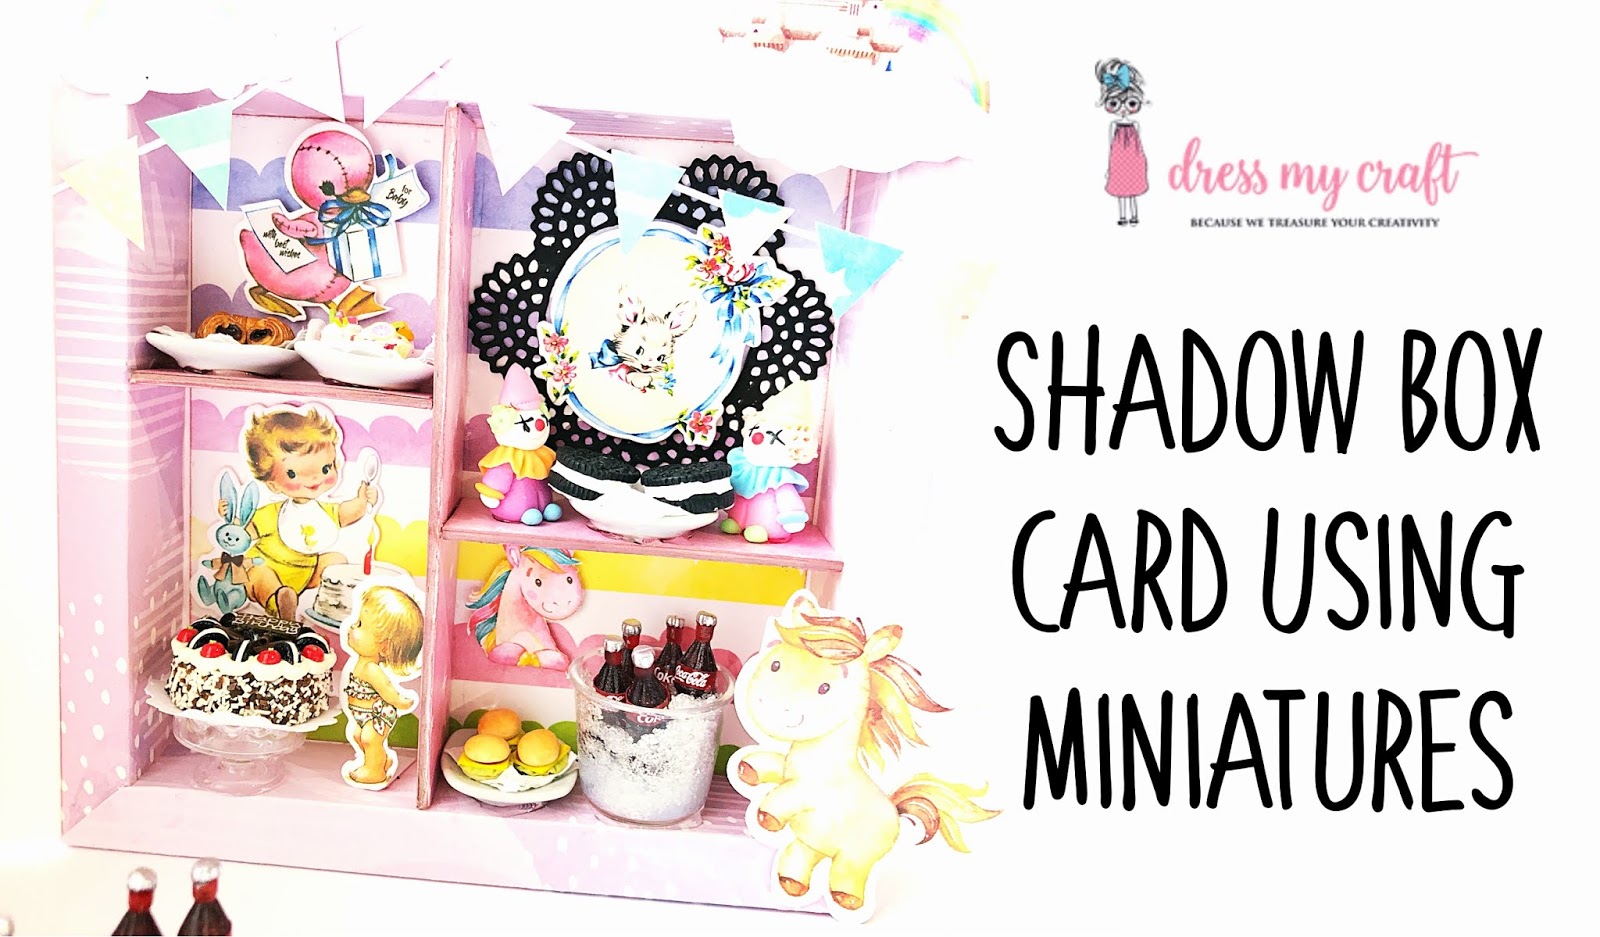
Shadow Box Card Using Miniatures

Hola crafty peeps,

Jaishree this side from video design team. And I am back with a super duper cute project for you all.
I have created a birthday theme shadow box card using the amazing and very cute miniatures from Dress My Craft.


I had so much fun creating this project. In the video tutorial you learn how to make the shadow box along with setting up all the miniatures. You can use this as a birthday card or even as an invitation card to birthdays. With so many miniatures at your disposal at dress my craft you can customize this as per occasions and requirements.
So let's dive right into the video!


I hope you enjoyed watching this tutorial and are inspired to make your own altered hoops. Do share your creations by tagging us on social media we love to see them. 

Until Next Time Happy CraftingJaishree Bansal

--

Supplies Used -

Non Stick Craft Mat Thick - http://bit.ly/2WAj8XH Multi Purpose Score Board - http://bit.ly/2J3MmLf Classic Doily Die - http://bit.ly/2LtuueZ Magical Unicorns - http://bit.ly/2JHRF3q Magical Unicorn Die Cuts - http://bit.ly/2Wadsaz Little Miracle Die Cuts - http://bit.ly/2HFDSIv Miniature Cake Stand - http://bit.ly/2WvefCd Miniature Cake - http://bit.ly/2HFv9FZ Miniature burgers - http://bit.ly/2VX1P1T Miniature Clown - http://bit.ly/30KXMZY Miniature Cocacola with Crate- http://bit.ly/2MeivCd Miniature Square Plates - http://bit.ly/2MdFfCs Frosted Sugar Powder - http://bit.ly/2K8P3Ll Microfine Glitter powder - http://bit.ly/2XhAdWJ

Thursday, 21 February 2019

3D Diorama using the Vintage Saga + Tutorial

Hello Crafty Folks,

Manu here and I hope you are having a good time exploring all the new crafty stuff that Dress My  Craft has launched in the previous months. Dress My Craft  have had a very diversified collections this time with a lot of dies, gorgeous paper packs and some new punches. I'm sure you all must have had a good look at these by now and have already added the lovely collections to your stash!

I have a 3D diorama card and a tutorial on how to make it using the Vintage Sage paper pack. This paper pack comes in two sizes, 12*12 and a 6*6 paper pack along with a super gorgeous Motif sheet. The motif sheets are such a added bonus and the lovely flower elements adds another charm to your projects. 
Lets checkout a glimpse of the Diorama card before we learn it and then the post would have the complete look of this beauty for you.


This sure looks too tempting to learn, right.
Lets hop on!!


1. Take 2 cardstock pieces, 12*8 inches.


Score at both of the 12*8 cardstock piece at 2" and 10". This part we will overlap with one another to form a box.


Now take one 12*8 piece and score at 2.75" and 9.25" inches (Basically .75" inside of the 2" and the 10" marks we did so that we can have a little boundary)
Flip over the cardstock and again score at .75" and 7.25" and now you will see that there is a .75" boundary on all the sides. 
Now cut this inside of the carstock to have a little window as in the below pic.


Now take a cardstock piece of 2.5*10" and score at 1" and 9" mark and fold from the two ends. Also make a little mountain and valley fold and adhere these at the window frame, leaving a little gap from the window. Similarly cut another piece and adhere it at a little gap from the first piece.

You will now have a window with two cardstocks at a little gap.
Now adhere your back portion to this window panel to make a box.


Now comes the most interesting part, embellishment!!

Below is a WIP picture of how the box looks like before the final finish.


 Lets checkout the complete pics!! I totally loved making this little box!


Checkout the uniform glitter at the edges.
I used my 6 mm tacky tape to get this uniform sheen, Adhere the tacky tape and then pour glitter over it, wipe using the finger (This helps in getting rid of the extra and also firmly adhering the glitter)


I love making these  shadow boxes since they are so cute and it's super duper easy to make them.


I hope you liked the shadow box and would have been inspired to make one for yourself.
Give it a go!!

Products used from the store.
5. Trimmers
6. Scoreboard
7.Smooth Black Cardstock - 240   

DMC products are available at www.crafterscorner.in for India customers and at www.dressmycraft.com for the International customers.

Facebook : www.facebook.com/dressmycraft

                                  Orders over 150$ are eligible for Free shipping internationally. 

Happy Crafting 
Manu


Saturday, 19 May 2018

Miniature room

Happy Saturday!
Hope you are doing great. I'm back with another miniature post created using a lot of miniatures from Dress my craft. This is a shadow box with bedroom concept. On the right hand side I've used DMC miniature furniture as cabinet in the room and attached the miniature Bathroom shelf to the cabinet so that the room looks well furnished. On the left hand side,  I've created a bed using chipboards and some fabric. I've also used some shabby chic lace to create the curtains and tied it with the DMC satin twine.

The beautiful peach baskets are from DMC and I've filled them up with beads, flowers and cheese cloth. I've also filled the cocoon with a flower and DMC charm to make it look like a show piece on the shelf


I have used a message bottle and filled it with some flowers in order to make a flower vase. I've placed the miniature parrot on the table to give a detailed look.

I created a door mat using silver glitter and and placed a chair on it. The table behind is created using the tim holtz blending tool. I've added a golden satin cloth on it to match it with the colors. 


I've attached a basket on the right side filling it with some laces, flowers, bottles and other miniatures.


Hope you like it and thank you for stopping by. 

Hugs,
Meher