Showing posts with label baby cards. Show all posts

Monday, 19 October 2020

Paper Basket- full of surprises feat. Me Collection Papers by Ruchi’s Crafeteria

 Hello Everyone!

Ruchi here from Ruchi's Crafeteria and I'm back with another project as Brand Ambassador for Dress My Craft.

First, I'm sharing my social media links where you can explore my crafty work.
YouTube
Blog
Facebook
Instagram
Pinterest
Twitter

So let's move to today's post. I've created some Paper Baskets full of crafty goodies like cards, bookmarks, pocket album and a ring binding album with lots of tags & embellishments 😊 Used Dress My Craft Me Collection paper pack for that.

Here are they...


I've used My Princess and Little Star paper packs from Dress My Craft Me Collection. Created a purse/ basket/ favor box and filled it with a Note Card, Bookmark, Mini Pocket Album, and a Ring Album with lots of tags inside. Plenty of room to paste your photos 😊


My previous post with Transfer Me with a video tutorial is HERE
Pop up Box Card with Mini Moo papers- Video Tutorial
Home decor- Altered photo frame feat. Dream Door paper collection is HERE
A mini album using MY SUPERHERO paper pack is HERE
How to decoupage with Rice Paper', Video Tutorial is HERE
Favor Bags with WHISPERING LOVE papers are HERE
An album 'Treat To Eyes' with SWEET TREATS paper pack is HERE
A set of Masculine Cards with a video tutorial is HERE 
A Christmas Gift Box with a video tutorial is HERE
A Framed Layout with a video tutorial is HERE to watch. Used 'Pink Smoke' paper pack for that.
I've created a set of shabby chic cards using a gorgeous 'Romantic Roses' paper pack with a video tutorial. You can find the post HERE

You can watch my DT kit reveal video HERE   ..I'm sure you will enjoy watching a flip through of this beautiful paper collection by Dress My Craft.


Supplies used:

Papers-

Tools-

Dies-

Beads & Sequins-

I hope you like today's project.
Happy Crafting!!
Ruchi

Dress My Craft, Social media handles:
Facebook: www.facebook.com/dressmycraft
Instagram: https://www.instagram.com/dressmycraft
Youtube: https://www.youtube.com/dressmycraft

Dress My Craft products are available at
For Indian customers -www.crafterscorner.in
For International buyers - www.scrapbook.com

www.dressmycraft.com ( FREE SHIPPING ABOVE 150$ WORLDWIDE)

Friday, 2 October 2020

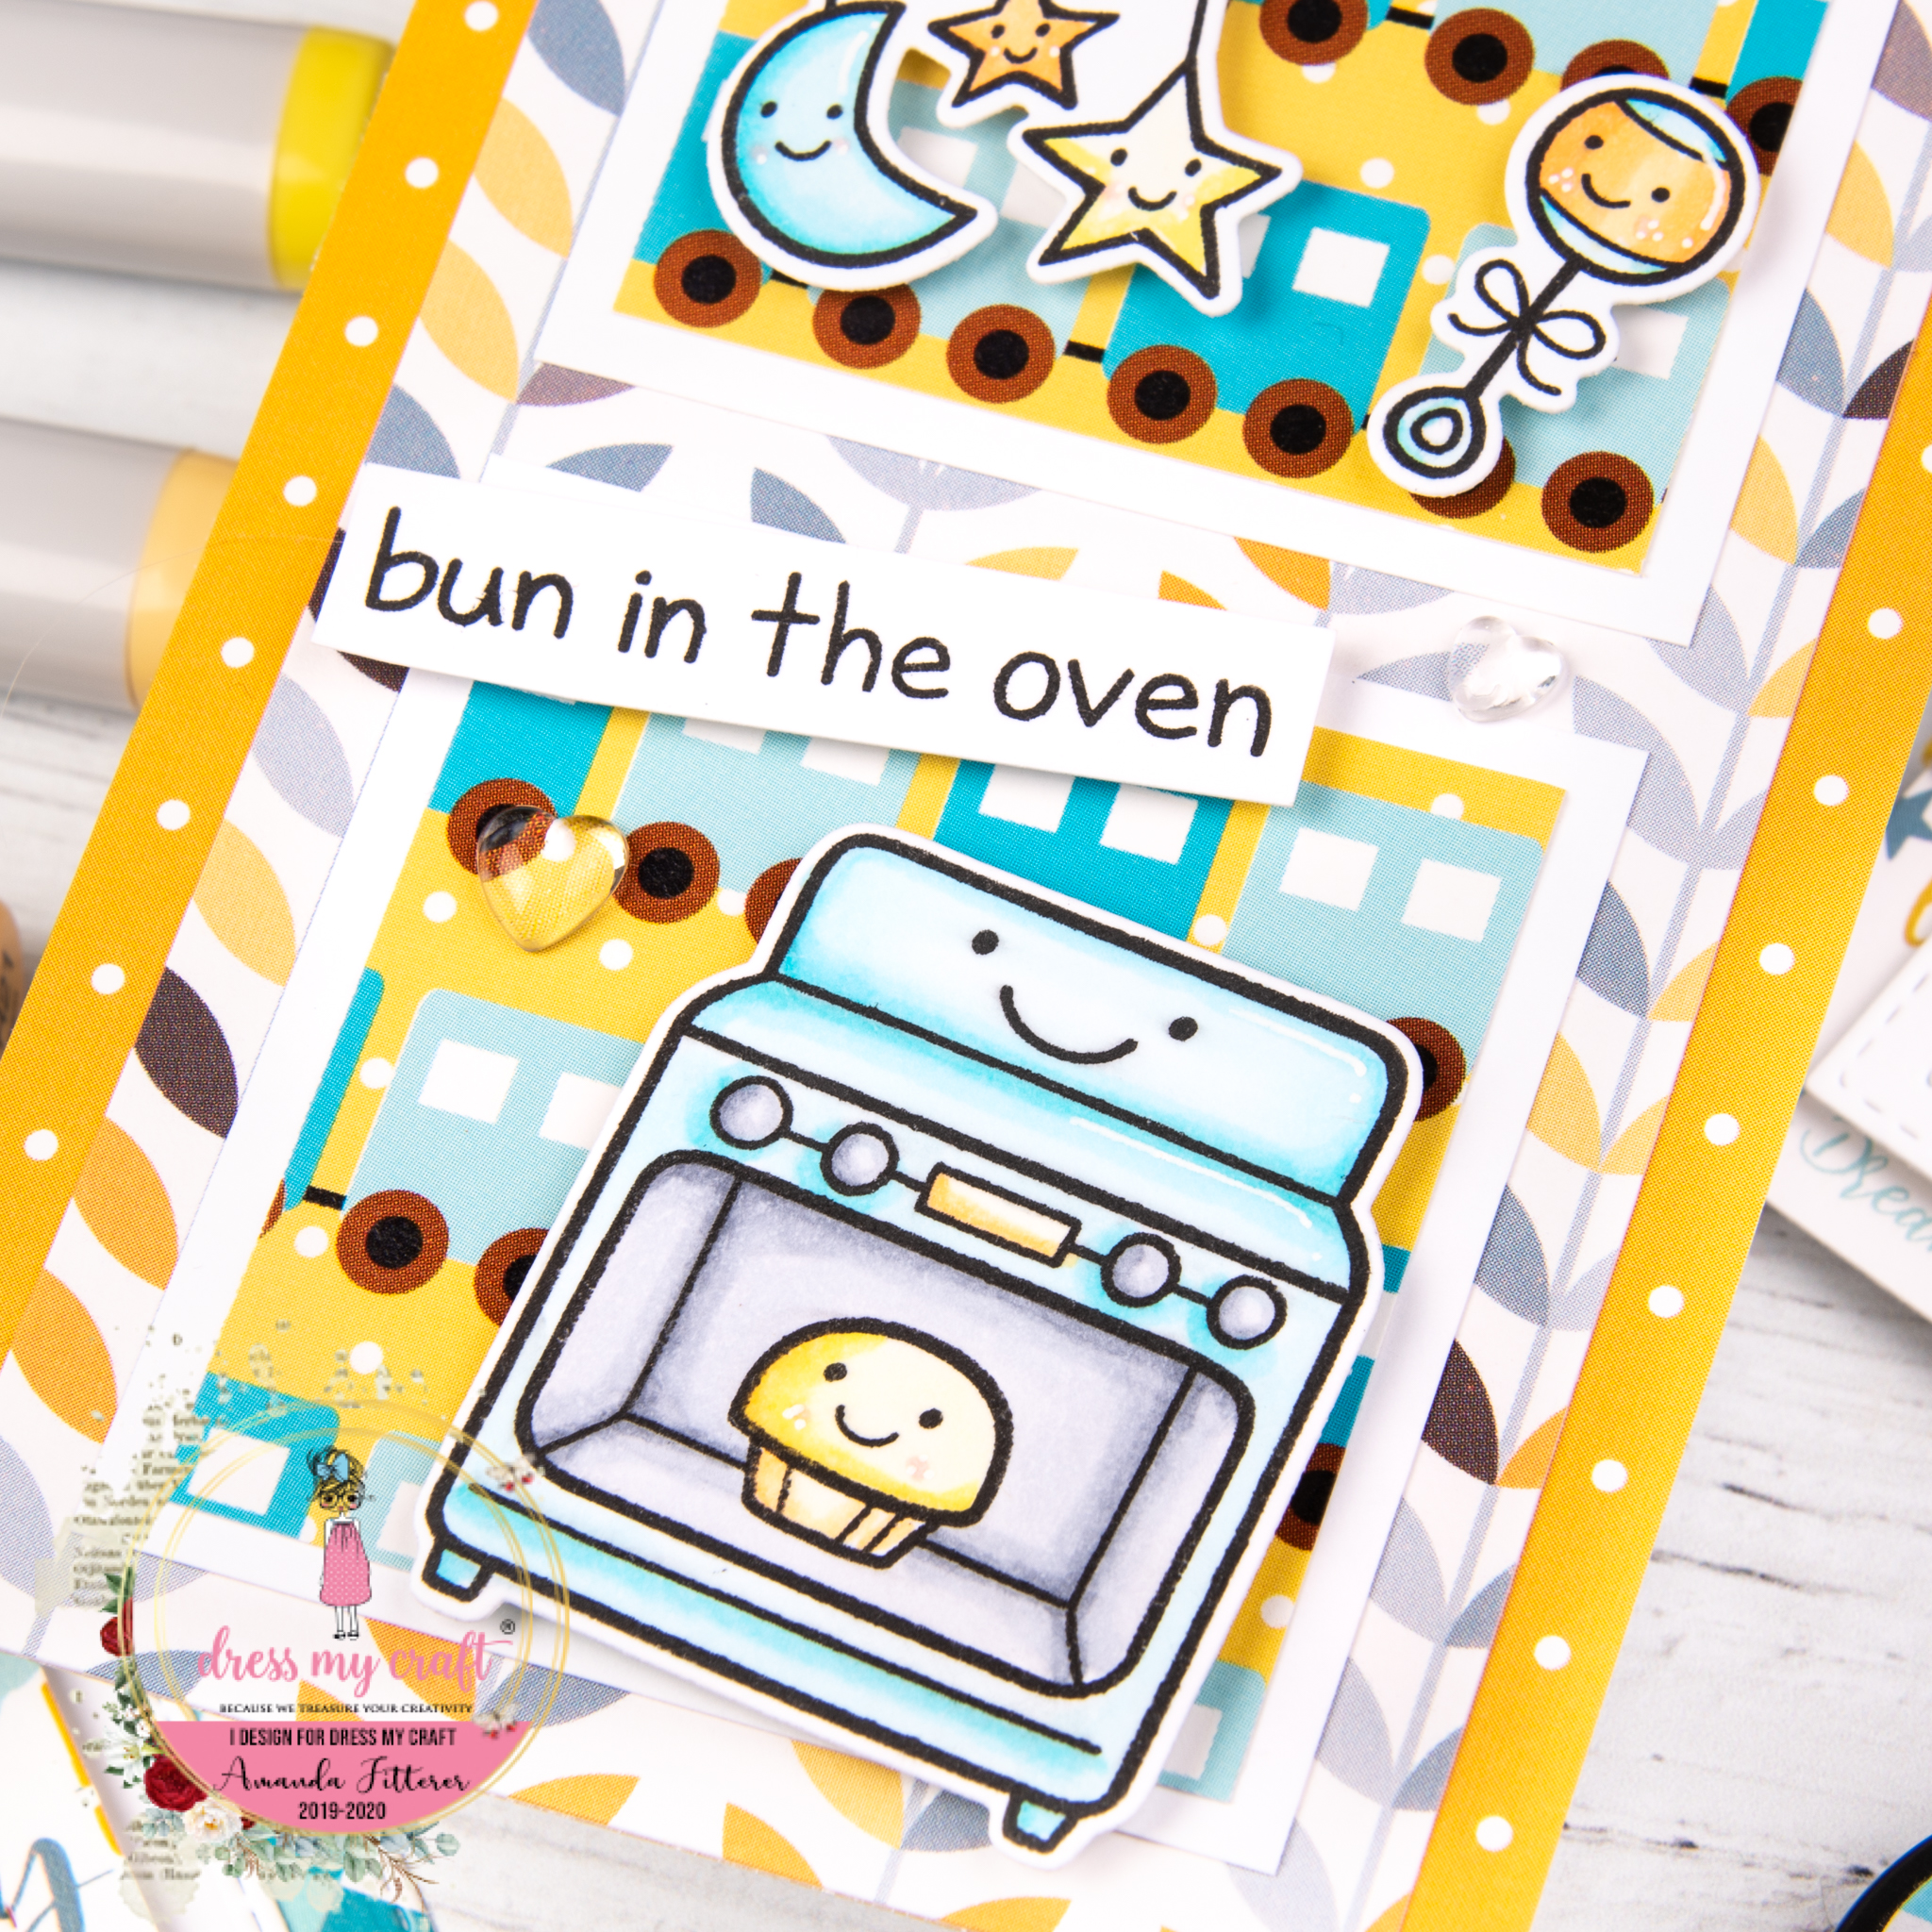
4 Baby Cards using the "Little Star" ME Collection

 Hello and Happy Friday to all of you happy crafters!  It's Amanda here sharing 4 adorable and sweet cards!

For each of these cards, I used the Little Star Paper Collection.  This paper pad has to be the cutest collection for baby cards, scrapbooks, and DIY projects!  It's SO sweet!


For this shaker card here, I used the Lemon Sprinkle Mix as my shaker element.  I also added a few Heart Droplets.


For this sweet card, I used the Rounded Tag Punch and the Reinforcement Hole Punch to create my tag in the center.


The Heart Droplets are such a subtle way to add interest!  I love them!


Thank you so much for stopping by the Dress My Craft blog!  I hope you were inspired!
Xoxo, Amanda

Sunday, 20 September 2020

Video Tutorial: Pop up Box Card feat. Mini Moo Paper Collection

 Hello Everyone!

Ruchi here from Ruchi's Crafeteria and I'm back with another project as Brand Ambassador for Dress My Craft.

First, I'm sharing my social media links where you can explore my crafty work.
YouTube
Blog
Facebook
Instagram
Pinterest
Twitter

So let's move to today's post. I've created a set of Pop up Box cards on a baby theme using the cutest and adorable MINI MOO paper collection. It's a video tutorial for you and you'll get the link at the end of this post.


For Baby Boy...


For Baby Girl...


A video tutorial is here to explore...


Some of my other creations with Dress My Craft products-
DIY projects with TRANSFER ME sheets are HERE
Home decor- Altered photo frame feat. Dream Door paper collection is HERE
A mini album using MY SUPER HERO paper pack is HERE
How to decoupage with Rice Paper', Video Tutorial is HERE
Favor Bags with WHISPERING LOVE papers are HERE
An album 'Treat To Eyes' with SWEET TREATS paper pack is HERE
A set of Masculine Cards with a video tutorial is HERE 
A Christmas Gift Box with a video tutorial is HERE
A Framed Layout with a video tutorial is HERE to watch. Used 'Pink Smoke' paper pack for that.
I've created a set of shabby chic cards using a gorgeous 'Romantic Roses' paper pack with a video tutorial. You can find the post HERE 

You can watch my DT kit reveal video HERE   ..I'm sure you will enjoy watching a flip through of this beautiful paper collection by Dress My Craft.

Supplies used:

Tools-

Dies-

I hope you like today's project.
Happy Crafting!!
Ruchi

Dress My Craft, Social media handles:
Facebook: www.facebook.com/dressmycraft
Instagram: https://www.instagram.com/dressmycraft
Youtube: https://www.youtube.com/dressmycraft

Dress My Craft products are available at
For Indian customers -www.crafterscorner.in
For International buyers - www.scrapbook.com

www.dressmycraft.com ( FREE SHIPPING ABOVE 150$ WORLDWIDE)

Thursday, 22 August 2019

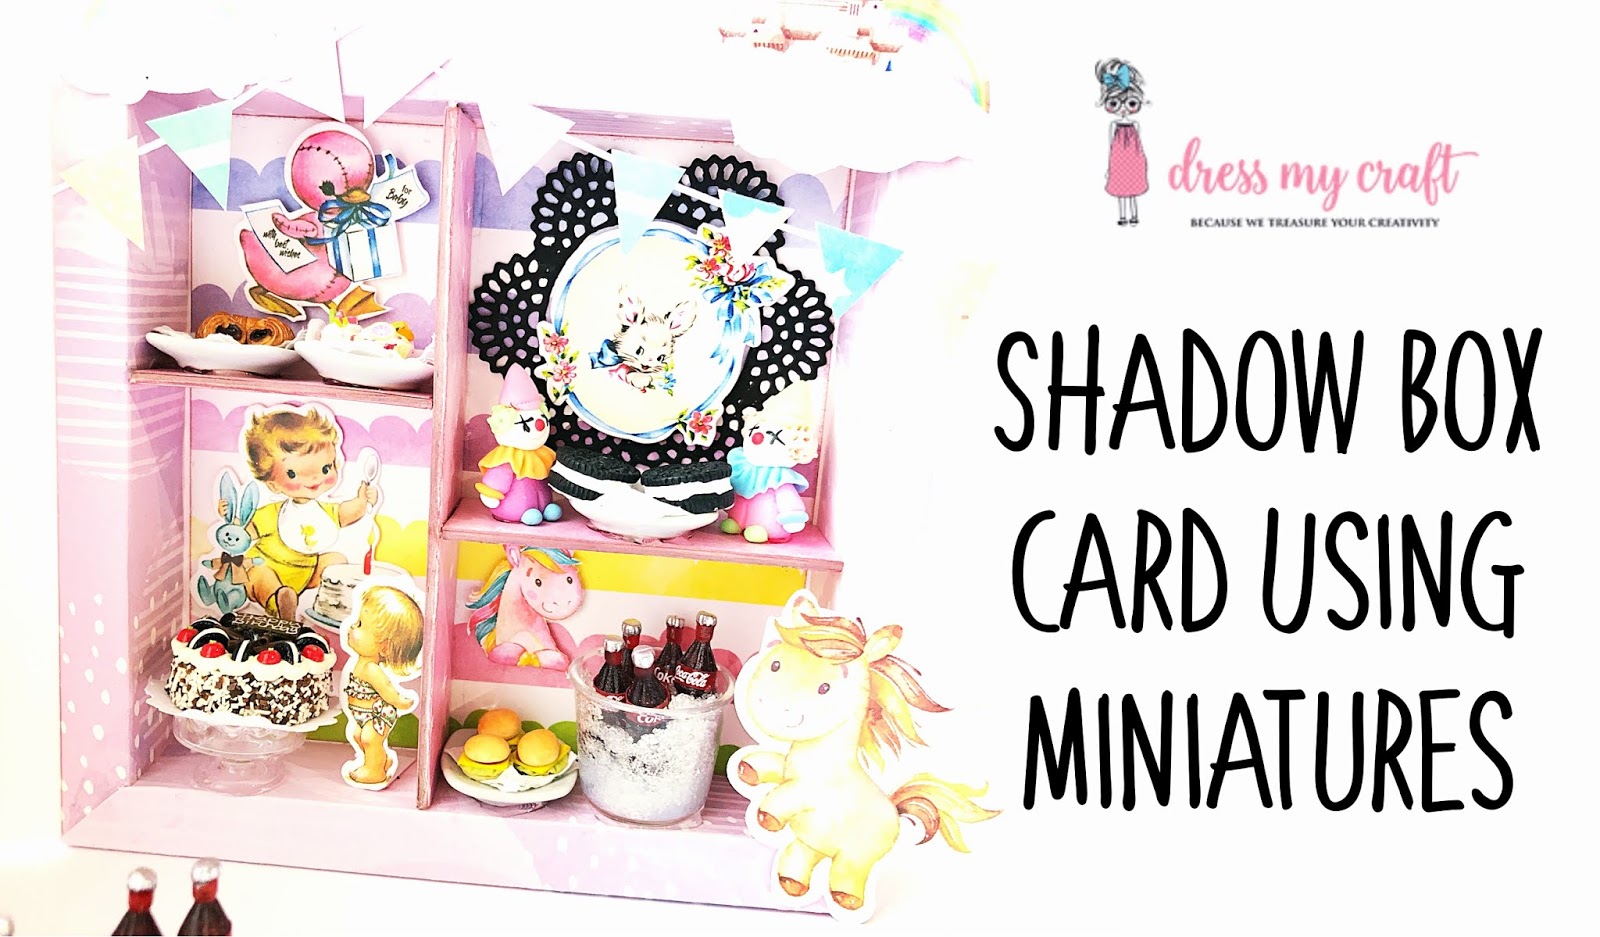
Shadow Box Card Using Miniatures

Hola crafty peeps,

Jaishree this side from video design team. And I am back with a super duper cute project for you all.
I have created a birthday theme shadow box card using the amazing and very cute miniatures from Dress My Craft.


I had so much fun creating this project. In the video tutorial you learn how to make the shadow box along with setting up all the miniatures. You can use this as a birthday card or even as an invitation card to birthdays. With so many miniatures at your disposal at dress my craft you can customize this as per occasions and requirements.
So let's dive right into the video!


I hope you enjoyed watching this tutorial and are inspired to make your own altered hoops. Do share your creations by tagging us on social media we love to see them. 

Until Next Time Happy CraftingJaishree Bansal

--

Supplies Used -

Non Stick Craft Mat Thick - http://bit.ly/2WAj8XH Multi Purpose Score Board - http://bit.ly/2J3MmLf Classic Doily Die - http://bit.ly/2LtuueZ Magical Unicorns - http://bit.ly/2JHRF3q Magical Unicorn Die Cuts - http://bit.ly/2Wadsaz Little Miracle Die Cuts - http://bit.ly/2HFDSIv Miniature Cake Stand - http://bit.ly/2WvefCd Miniature Cake - http://bit.ly/2HFv9FZ Miniature burgers - http://bit.ly/2VX1P1T Miniature Clown - http://bit.ly/30KXMZY Miniature Cocacola with Crate- http://bit.ly/2MeivCd Miniature Square Plates - http://bit.ly/2MdFfCs Frosted Sugar Powder - http://bit.ly/2K8P3Ll Microfine Glitter powder - http://bit.ly/2XhAdWJ

Saturday, 27 April 2019

Envelopes | DMC Scoreboard | Tutorial by Meher

Hello everyone,
Hope you're doing great. This is Meher back with another tutorial post with envelopes created using dress my craft scoreboard. Yes, I've not used any envelope punch board to create the base of the envelopes this time and I've played with beautiful bright colors. The paper collection that I used is called the charming baby girl collection which is again from Dress my craft and it is one of my favorite paper collection from Dress my craft. I've provided step by step instructions below on how I created these baby envelopes. Hope you like it. 

Colorful shaker envelope:


How to create:

  1. Take a white cardstock and score at 4" , 8.5", 10.5"
  2. Turn around and score at 1/2" , 7.5" , 8"
  3. Cut the extra cardstock from both the sides.
  4. Fold the cardstock and cut the extra strips of 1/2" from the 4" and 2" sides. 
  5. Stick them and punch the corners using Dmc 3 in 1 corner punch. I used the 10mm corner side. 
  6. Cut pattern paper for the base measuring the envelope and make sure you leave 1/8th of an inch white border on all the sides. 
  7. Pick another white cardstock measuring 6" by 3.5" and trim three strips.
  8. Attach foam tape behind the strips and stick it on a colored cardstock. I've used three different colors to make my envelope look bright. 
  9. Add some sequins and crystal cubes in the empty space.
  10. Attach an acetate sheet on top of the panel.
  11. Cut another panel on pattern paper using dmc mini trimmer and stick it on the existing panel. 
  12. Cut some images from the paper collection and including the beautiful pink curtain and adhere it using foam tape. Your envelope is ready.

Frosted Envelope:


How to create:

  1. Take a white cardstock and score at 4" , 8.5", 10.5"
  2. Turn around and score at 1/2" , 7.5" , 8"
  3. Cut the extra cardstock from both the sides.
  4. Fold the cardstock and cut the extra strips of 1/2" from the 4" and 2" sides. 
  5. Stick them and punch the corners using Dmc 3 in 1 corner punch. I used the 10mm corner side. 
  6. Cut two pattern papers for the base measuring the envelope and make sure you leave 1/8th of an inch white border on all the sides. 
  7. Pick a brad and fix at the center of the envelope and adhere a twine behind to create the closure. 
  8. Fussy cut some images from the paper collection and adhere it on the flap of the envelope.
  9. Randomly apply glossy accents on the bottom of the envelope and pour frosted powder on it. 
  10. Cut a sentiment and stick on the envelope to complete it. 

List of materials used:

DMC products are available at: 
www.crafterscorner.in for India customers and at www.dressmycraft.com for the International customers.

Facebook : www.facebook.com/dressmycraft
Instagram : https://www.instagram.com/dressimycraft
LIVE Facebook Videos: https://www.facebook.com/crafterscornerlivetvYoutube : https://www.youtube.com/channel/UCExYyDP3Ag_uJk1MkxRz38w

Orders over 150$ are eligible for Free shipping internationally.