Showing posts with label Dress My Craft Sequins. Shaker Cards. Show all posts

Tuesday, 22 October 2019

Clear Shabby Chic Shaker Cards Feat Pink Smoke Collection | Video Tutorial

Hello there,


This is Ujjwal and today I am sharing this wonderful idea of making acetate cards and make sequins the star of your cards/tags. I also have the video tutorial so you can make your own version. Before I share the details on the project, I just wanted to share my social media handles so you can connect with me if you'd like to. You can easily find me at,


Blog: Handmade with Love
Facebook: Handmade with Love
Instagram: Handmade with Love


I used the beautiful Pink Smoke Collection Papers and the coordinating motif sheets. I love the motif sheets so much. They make for the perfect embellishment for any kind of project. And of course, the Angel Mix Sequins which is the highlight of these cards matches perfectly with this paper collection.


I also added some Micro Sparkling Dust to the cards to make them extra sparkly and dreamy. 


And of course, the Dress My Craft Foliage and Leaves dies are my all-time favorite to add interest to the composition. 

I have a video tutorial on how I made these cards from start to finish. Watch the video here,


Products Used

Pink Smoke Paper Collection
Pink Smoke Motif Sheet
Classic Doily Die
Angel Mix Sequin
Micro Sparkling Dust
Satin Ribbon Twine - White
Foliage and Leaves Dies #7

Dress My Craft, Social media handles:

Facebook: www.facebook.com/dressmycraft
Instagram: https://www.instagram.com/dressmycraft
Youtube: ​https://www.youtube.com/dressmycraft


Dress My Craft products are available at

For Indian customers -​www.crafterscorner.in 

For International buyers - www.scrapbook.comwww.dressmycraft.com​ ( FREE SHIPPING ABOVE 150$ WORLDWIDE)


Saturday, 27 April 2019

Envelopes | DMC Scoreboard | Tutorial by Meher

Hello everyone,
Hope you're doing great. This is Meher back with another tutorial post with envelopes created using dress my craft scoreboard. Yes, I've not used any envelope punch board to create the base of the envelopes this time and I've played with beautiful bright colors. The paper collection that I used is called the charming baby girl collection which is again from Dress my craft and it is one of my favorite paper collection from Dress my craft. I've provided step by step instructions below on how I created these baby envelopes. Hope you like it. 

Colorful shaker envelope:


How to create:

  1. Take a white cardstock and score at 4" , 8.5", 10.5"
  2. Turn around and score at 1/2" , 7.5" , 8"
  3. Cut the extra cardstock from both the sides.
  4. Fold the cardstock and cut the extra strips of 1/2" from the 4" and 2" sides. 
  5. Stick them and punch the corners using Dmc 3 in 1 corner punch. I used the 10mm corner side. 
  6. Cut pattern paper for the base measuring the envelope and make sure you leave 1/8th of an inch white border on all the sides. 
  7. Pick another white cardstock measuring 6" by 3.5" and trim three strips.
  8. Attach foam tape behind the strips and stick it on a colored cardstock. I've used three different colors to make my envelope look bright. 
  9. Add some sequins and crystal cubes in the empty space.
  10. Attach an acetate sheet on top of the panel.
  11. Cut another panel on pattern paper using dmc mini trimmer and stick it on the existing panel. 
  12. Cut some images from the paper collection and including the beautiful pink curtain and adhere it using foam tape. Your envelope is ready.

Frosted Envelope:


How to create:

  1. Take a white cardstock and score at 4" , 8.5", 10.5"
  2. Turn around and score at 1/2" , 7.5" , 8"
  3. Cut the extra cardstock from both the sides.
  4. Fold the cardstock and cut the extra strips of 1/2" from the 4" and 2" sides. 
  5. Stick them and punch the corners using Dmc 3 in 1 corner punch. I used the 10mm corner side. 
  6. Cut two pattern papers for the base measuring the envelope and make sure you leave 1/8th of an inch white border on all the sides. 
  7. Pick a brad and fix at the center of the envelope and adhere a twine behind to create the closure. 
  8. Fussy cut some images from the paper collection and adhere it on the flap of the envelope.
  9. Randomly apply glossy accents on the bottom of the envelope and pour frosted powder on it. 
  10. Cut a sentiment and stick on the envelope to complete it. 

List of materials used:

DMC products are available at: 
www.crafterscorner.in for India customers and at www.dressmycraft.com for the International customers.

Facebook : www.facebook.com/dressmycraft
Instagram : https://www.instagram.com/dressimycraft
LIVE Facebook Videos: https://www.facebook.com/crafterscornerlivetvYoutube : https://www.youtube.com/channel/UCExYyDP3Ag_uJk1MkxRz38w

Orders over 150$ are eligible for Free shipping internationally.

Monday, 1 April 2019

Little miracle name plate | How to create

Hello everyone,
Meher this side from Meher Creations with a new project created using the little miracle paper collection from Dress my craft.

I've created a huge name plate that measures 20 inches. Let me take you through the process on how I created.

I painted the base using home decor chalk paint and attached a couple of pattern papers from little miracle collection trimming them in different sizes using tacky glue. I have done some gold stenciling using my favourite stencil from Dress my craft and varnished the whole name plate. I picked some mulberry flowers and attached them on two sides of the name plate. In order to add some extra flavour I ended up sprinkling some Dress my craft sparkling dust on all the flowers.
I picked the alphabets and coated them with white gesso and then colored them in my most favorite color using Prima chalk edgers. I pretty much liked the combination. I proceeded further giving some extra touch up for the letters and varnished them. Finally I added some butterflies, clear droplets and other embellishments to complete the name plate. I had a beautiful pink shabby chic lace which I ended up attaching all over the border of the name plate.

Have a look on how it turned out!!


List of materials used:
Little miracle paper collection 
Dmc stencil
Sparkling dust
Clear droplets
Roses
Frosted powder

DMC products are available at: 
www.crafterscorner.in for India customers and at www.dressmycraft.com for the International customers.

Facebook : www.facebook.com/dressmycraft
Instagram : https://www.instagram.com/dressimycraftLIVE Facebook Videos: https://www.facebook.com/crafterscornerlivetvYoutube : https://www.youtube.com/channel/UCExYyDP3Ag_uJk1MkxRz38w

Orders over 150$ are eligible for Free shipping internationally.

Wednesday, 19 December 2018

Cards | Dress My Craft dies

Hi everyone,
Hope you are doing great. This is Meher from Meher Creations. I'm sure by now you already know that Dress my craft has launched a lot of dies recently and we have been focusing on each die to get some unique projects to inspire you. Well, I've created 3 beautiful cards using 3 different Dress my craft dies in different ways. You will be able to go through the details on how I created as you go through the pictures. Also do not forget to check the list of materials used in the projects linked to the store.

This is a 5 by 7 shaker card I created using the little miracle paper collection and the nesting circle die along with other dress my craft accessories like the beautiful sequins, crystal cubes and micro beads.

This is a set of all these cards captured together. All these three cards highlight three different Dress my craft dies like the shaker card highlights the nesting circle dies, the blue card highlights the five Petal flower dies along with the guitar die and the last card highlights the curved flower die out of which I've created a foamarian rose.


The circle contains three Dress my craft accessories like the sequins, crystal cubes and the micro beads. I've stamped the sentiments from one of my favorite Mudra stamps.

This is one of my favourite cards I created with the shoe lace concept. I've used the last two sizes of the five petal flower die and coloured it using the spun sugar distress ink. I've centered all the flowers using pearls and ended up arranging it on the card using glue.

This card also has a pocket inside to fill it with messages or pictures. (Refer next image)


I created this card using floral symphony papers and the curved flower die. The off-white foamarian rose is created using the dress my craft die and all the other fussy cutting is from the floral symphony motif sheet.


I hope you like it.

Thank you for stopping by.

Hugs,
Meher Shaikh

List of materials used:
Nesting circle dies 
Floral guitar dies
Curved flower dies
Magical unicorn paper pad
Little miracle paper pad
Magical unicorn die cuts
Little miracle die cuts
Floral symphony papers
Tag punch
Flowers
Sequins
Motif sheet

DMC products are available at www.crafterscorner.in for India customers and at www.dressmycraft.com for the International customers.


Facebook : www.facebook.com/dressmycraft
Instagram : https://www.instagram.com/dressmycraftLIVE Facebook Videos: https://www.facebook.com/crafterscornerlivetvYoutube : https://www.youtube.com/channel/UCExYyDP3Ag_uJk1MkxRz38w

Orders over 150$ are eligible for Free shipping internationally.

Friday, 7 December 2018

Tag Book | Dress My Craft punch

Happy Friday!
Hope you are doing great. Meher here from Meher creations back with a new post created using the tag punch from Dress my craft.
I've punched a lot of tags together on a white cardstock and Dots n strips paper collection and attached them using glue making a tunnel in between the cardstocks to slide large photo mats in it. Each tag measures 2.5" which is joined with another tag making it a 5" album in height.

Well, I believe the only paper pad that helps me find my way when in doubt is the Dots n strips paper collection. It has such beautiful polka dots and strips with beautiful watercolor background in my most favorite colors. I don't ever get rid from buying and using this collection again and again in my projects as I believe it takes my projects one level up. Do not forget to check the list of materials used and linked below including this must have paper pack.


List of materials used:
Dots n strips paper collection
Tag punch
Flowers
Sequins
Motif sheet

DMC products are available at www.crafterscorner.in for India customers and at www.dressmycraft.com for the International customers.


Facebook : www.facebook.com/dressmycraft
Instagram : https://www.instagram.com/dressmycraftLIVE Facebook Videos: https://www.facebook.com/crafterscornerlivetvYoutube : https://www.youtube.com/channel/UCExYyDP3Ag_uJk1MkxRz38w

Orders over 150$ are eligible for Free shipping internationally.

Tuesday, 25 September 2018

Accordion shaker with DMC Punches

Hi Artsy Craftsy Folks !

Good morning ! Shubhra here, today with you and I am excited to bring you my newest creation with DressMyCraft punches. And oh boy ! Are they amazing ?? :O Absolutely fun and easy to work with and so versatile in terms of different size of banners and punches that you can get from one single punch !

Like always, I can vouch for their awesome quality which would be even more evident in the accordion fold card I made, considering I literally punched a super hard printed transparency without breaking my hand or the punch :P

I have process pictures to guide you through making this, grab a cuppa as its a picture heavy post !

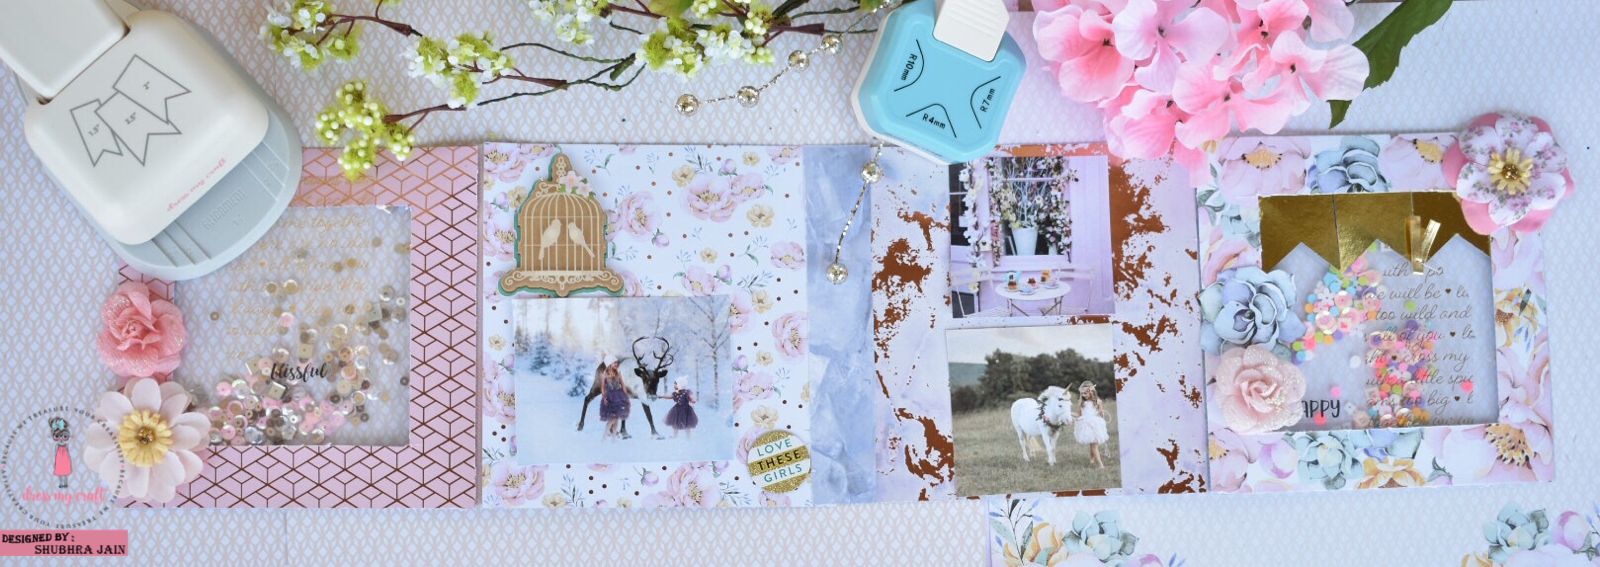
Here is a glimpse of what I made


I started with two 6x6 papers and two more that were cut with 1 inch border on each side as shown below.


I wanted to make a shaker on the front and back of my card, to do so, I added a transparency pocket from We R memory.


Not so clear, but here I have added the transparency to leftmost paper and attached more pages with hinges.


Here I have punched out some tags and banner with a printed transparency.


These banners were punched using DressMyCraft golden mirror cardstock and its the easiest golden paper to work with, trust me I have used tons of different golden papers but its not easy to cut them and I was quiet skeptical this time unless the results came out this smooth.


To the front of the card, I attached the golden banners on a transparency.


I have filled the front transparency pocket with super cute pastel confetti and sequins from DressMyCraft and also attached transparent tags cut earlier from the punch. The tags have been rounded at the bottom edges with a corner punch


Here is how I embellished the cards. Following pictures show how I went ahead and finished off the accordion cards.


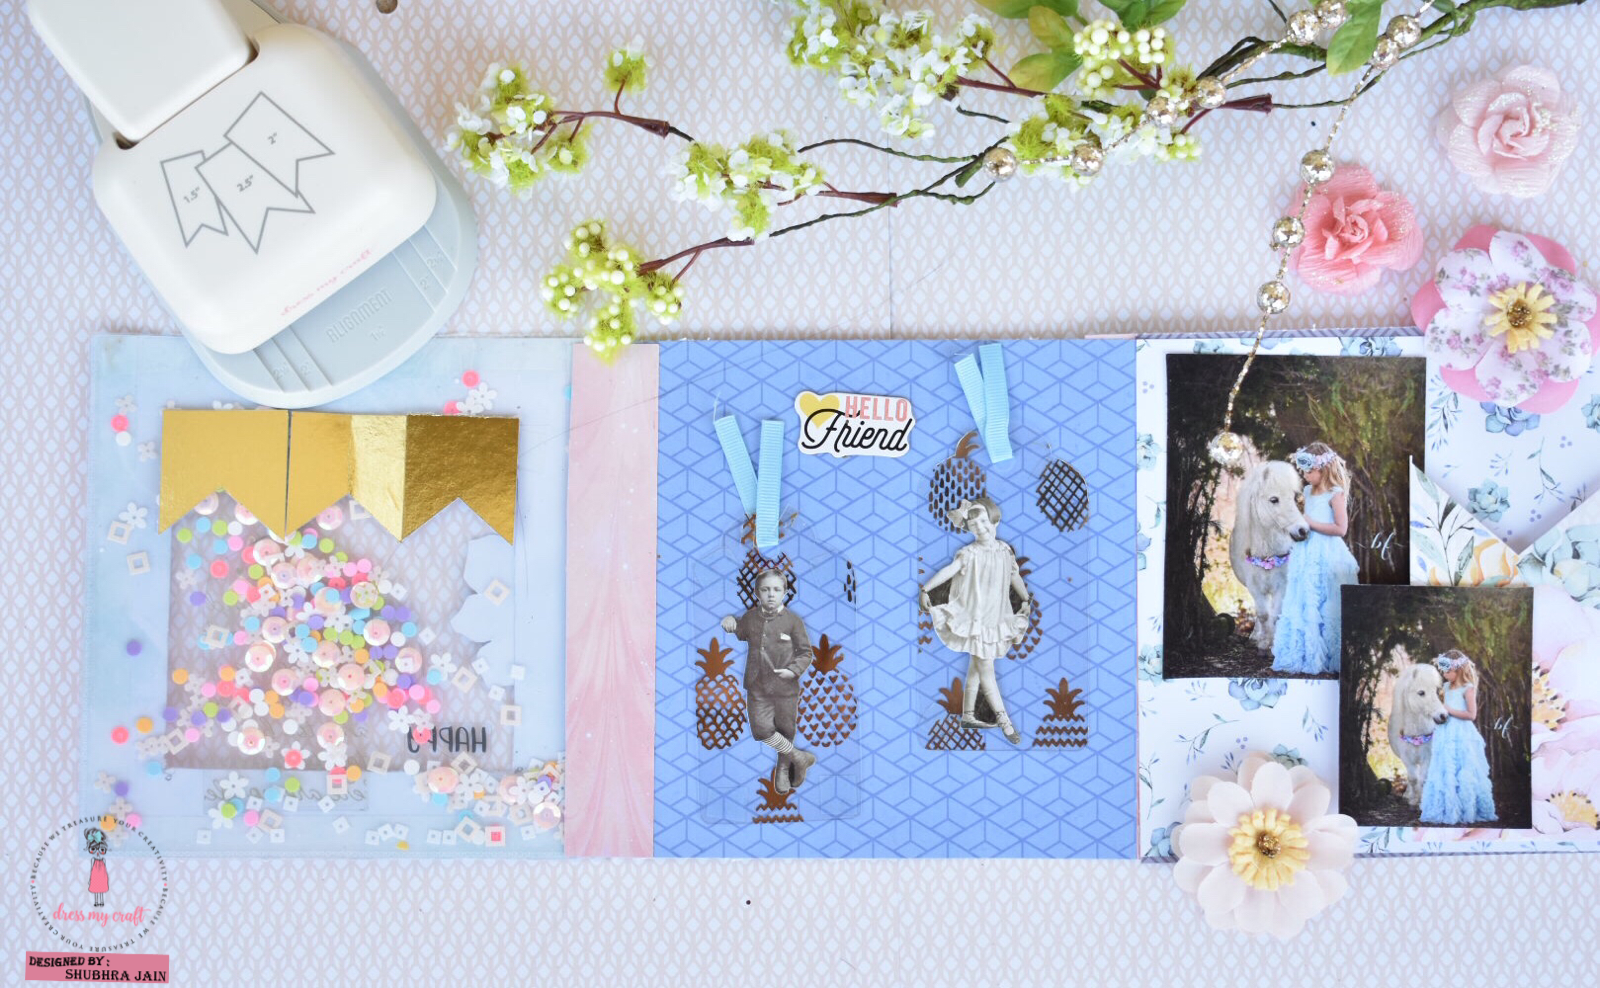
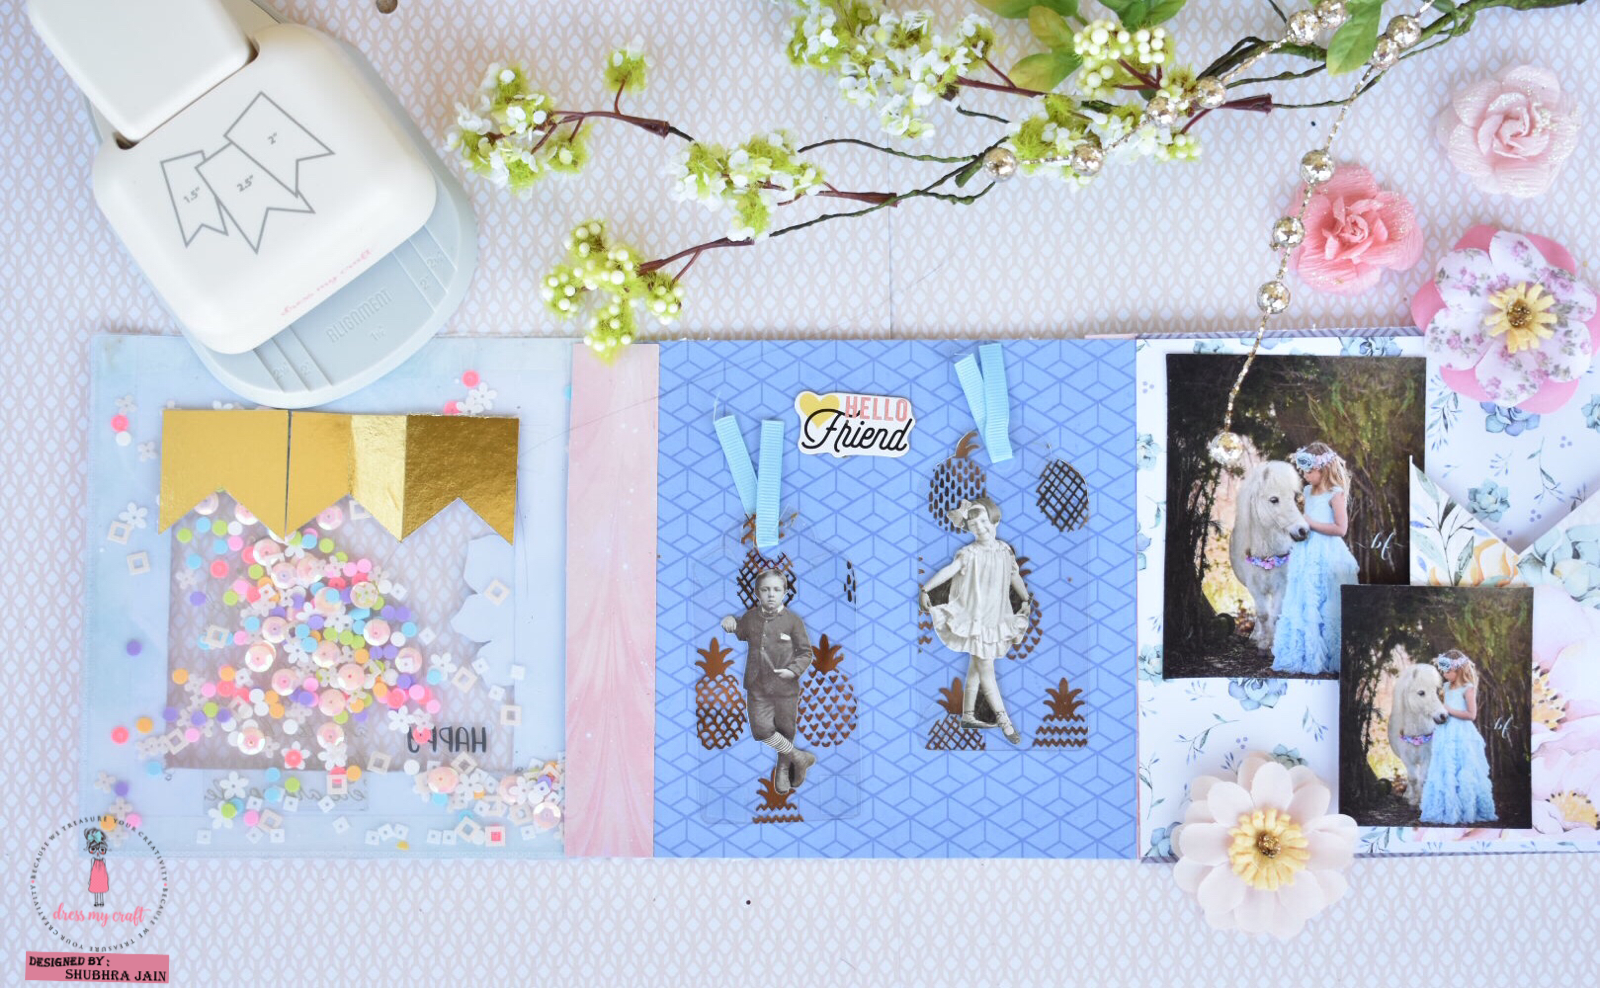
Here is the back side


The two paper dolls (boy and girl) on right side are stuck onto a transparent tag also cut from the punch.


This pocket here is filled with sequins and a transparent banner (from the punch) over the top.


That's the complete project ! I had a great time making this accordion in no time with the use of punches , some sequins and confetti !


Do check out the list of supplies below


Happy Crafting

Shubhra

Dress My Craft, Social media presence:
Facebook : www.facebook.com/dressmycraft 
Instagram : https://www.instagram.com/dressmycraft
LIVE Facebook Videos: https://www.facebook.com/crafterscornerlivetv
Youtube : https://www.youtube.com/channel/UCExYyDP3Ag_uJk1MkxRz38w
DMC products are available at www.crafterscorner.in for India customers and at www.dressmycraft.com for the International customers.
Orders over 150$ are eligible for Free shipping internationally.