Showing posts with label mehercreations. Show all posts

Saturday, 27 April 2019

Envelopes | DMC Scoreboard | Tutorial by Meher

Hello everyone,
Hope you're doing great. This is Meher back with another tutorial post with envelopes created using dress my craft scoreboard. Yes, I've not used any envelope punch board to create the base of the envelopes this time and I've played with beautiful bright colors. The paper collection that I used is called the charming baby girl collection which is again from Dress my craft and it is one of my favorite paper collection from Dress my craft. I've provided step by step instructions below on how I created these baby envelopes. Hope you like it. 

Colorful shaker envelope:


How to create:

  1. Take a white cardstock and score at 4" , 8.5", 10.5"
  2. Turn around and score at 1/2" , 7.5" , 8"
  3. Cut the extra cardstock from both the sides.
  4. Fold the cardstock and cut the extra strips of 1/2" from the 4" and 2" sides. 
  5. Stick them and punch the corners using Dmc 3 in 1 corner punch. I used the 10mm corner side. 
  6. Cut pattern paper for the base measuring the envelope and make sure you leave 1/8th of an inch white border on all the sides. 
  7. Pick another white cardstock measuring 6" by 3.5" and trim three strips.
  8. Attach foam tape behind the strips and stick it on a colored cardstock. I've used three different colors to make my envelope look bright. 
  9. Add some sequins and crystal cubes in the empty space.
  10. Attach an acetate sheet on top of the panel.
  11. Cut another panel on pattern paper using dmc mini trimmer and stick it on the existing panel. 
  12. Cut some images from the paper collection and including the beautiful pink curtain and adhere it using foam tape. Your envelope is ready.

Frosted Envelope:


How to create:

  1. Take a white cardstock and score at 4" , 8.5", 10.5"
  2. Turn around and score at 1/2" , 7.5" , 8"
  3. Cut the extra cardstock from both the sides.
  4. Fold the cardstock and cut the extra strips of 1/2" from the 4" and 2" sides. 
  5. Stick them and punch the corners using Dmc 3 in 1 corner punch. I used the 10mm corner side. 
  6. Cut two pattern papers for the base measuring the envelope and make sure you leave 1/8th of an inch white border on all the sides. 
  7. Pick a brad and fix at the center of the envelope and adhere a twine behind to create the closure. 
  8. Fussy cut some images from the paper collection and adhere it on the flap of the envelope.
  9. Randomly apply glossy accents on the bottom of the envelope and pour frosted powder on it. 
  10. Cut a sentiment and stick on the envelope to complete it. 

List of materials used:

DMC products are available at: 
www.crafterscorner.in for India customers and at www.dressmycraft.com for the International customers.

Facebook : www.facebook.com/dressmycraft
Instagram : https://www.instagram.com/dressimycraft
LIVE Facebook Videos: https://www.facebook.com/crafterscornerlivetvYoutube : https://www.youtube.com/channel/UCExYyDP3Ag_uJk1MkxRz38w

Orders over 150$ are eligible for Free shipping internationally.

Friday, 19 April 2019

Get creative with dress my craft scoreboard | Tutorial

Hello everyone,
Hope you are doing great.
This is Meher from Meher Creations back with another post on different ways you can use Dress my craft scoreboard. We are focusing on scoreboard and bone folders this month to show you different possibilities on how you can use them.
Well, In this post I will be sharing some creative ways in creating textures on cards and other projects.


1. Layered card with shaker window


2. Card with a bunch of grapes

How to create:
  • Create a card measuring 4*6 inches on a white cardstock.
  • Cut a piece of pattern paper measuring 3.5 by 5.5 inches.
  • Cut a piece of cardstock again measuring 3 1/4 by 5 1/4 inches. Score the whole cardstock at every 1/8 inch to give a nice texture.
  • Pick a yellow pattern paper and cut a window panel on it and adhere foam tape behind. 
  • Layer all the pieces together.
  • Apply some equal amount of glue at the center of the card and start arranging round pearls randomly to give a natural grapes look.
  • Pick some leaf chipzeb pieces and color them in green using Prima chalk edgers.
  • Stick them on top of the bunch and tie a bow using twine.
  • Add a sentiment and complete your card. 


3. Banner Card

How to create:
  • Create a base card measuring 5*4 inches.
  • Pick the cover of the charming baby girl paper pad and cut some colorful glossy pieces to create banner. 
  • Adhere a piece of twine on the card and allow it to dry. 
  • Stick foam tape behind all the tiny banner pieces and adhere it on to the card.
  • Add a sentiment or a stamped image to complete the card.


4. Pocket envelope

How to create:
  • Create a base card measuring 4*6 inches.
  • Score at 1/4 inch on both the sides
  • Cut a strip from one part of the card.
  • Score at 1.5 inch to fold the envelope.
  • Stick the 1/4 inch area on to the other side of the card. That makes a pocket envelope.
  • Cut pattern papers and adhere it on the envelope.
  • Pick two brads and fix it at the centre of the envelope and tie a twine to make the closure.
  • Pick some images from the motif sheet and embellish it using foam tape. Add a sentiment to complete the envelope and fill some tags in it.


List of materials used: 
DMC products are available at: 
www.crafterscorner.in for India customers and at www.dressmycraft.com for the International customers.

Facebook : www.facebook.com/dressmycraft
Instagram : https://www.instagram.com/dressimycraftLIVE Facebook Videos: https://www.facebook.com/crafterscornerlivetvYoutube : https://www.youtube.com/channel/UCExYyDP3Ag_uJk1MkxRz38w

Orders over 150$ are eligible for Free shipping internationally.

Tuesday, 7 August 2018

Envelopes | Whimsical hues

Happy Tuesday, 
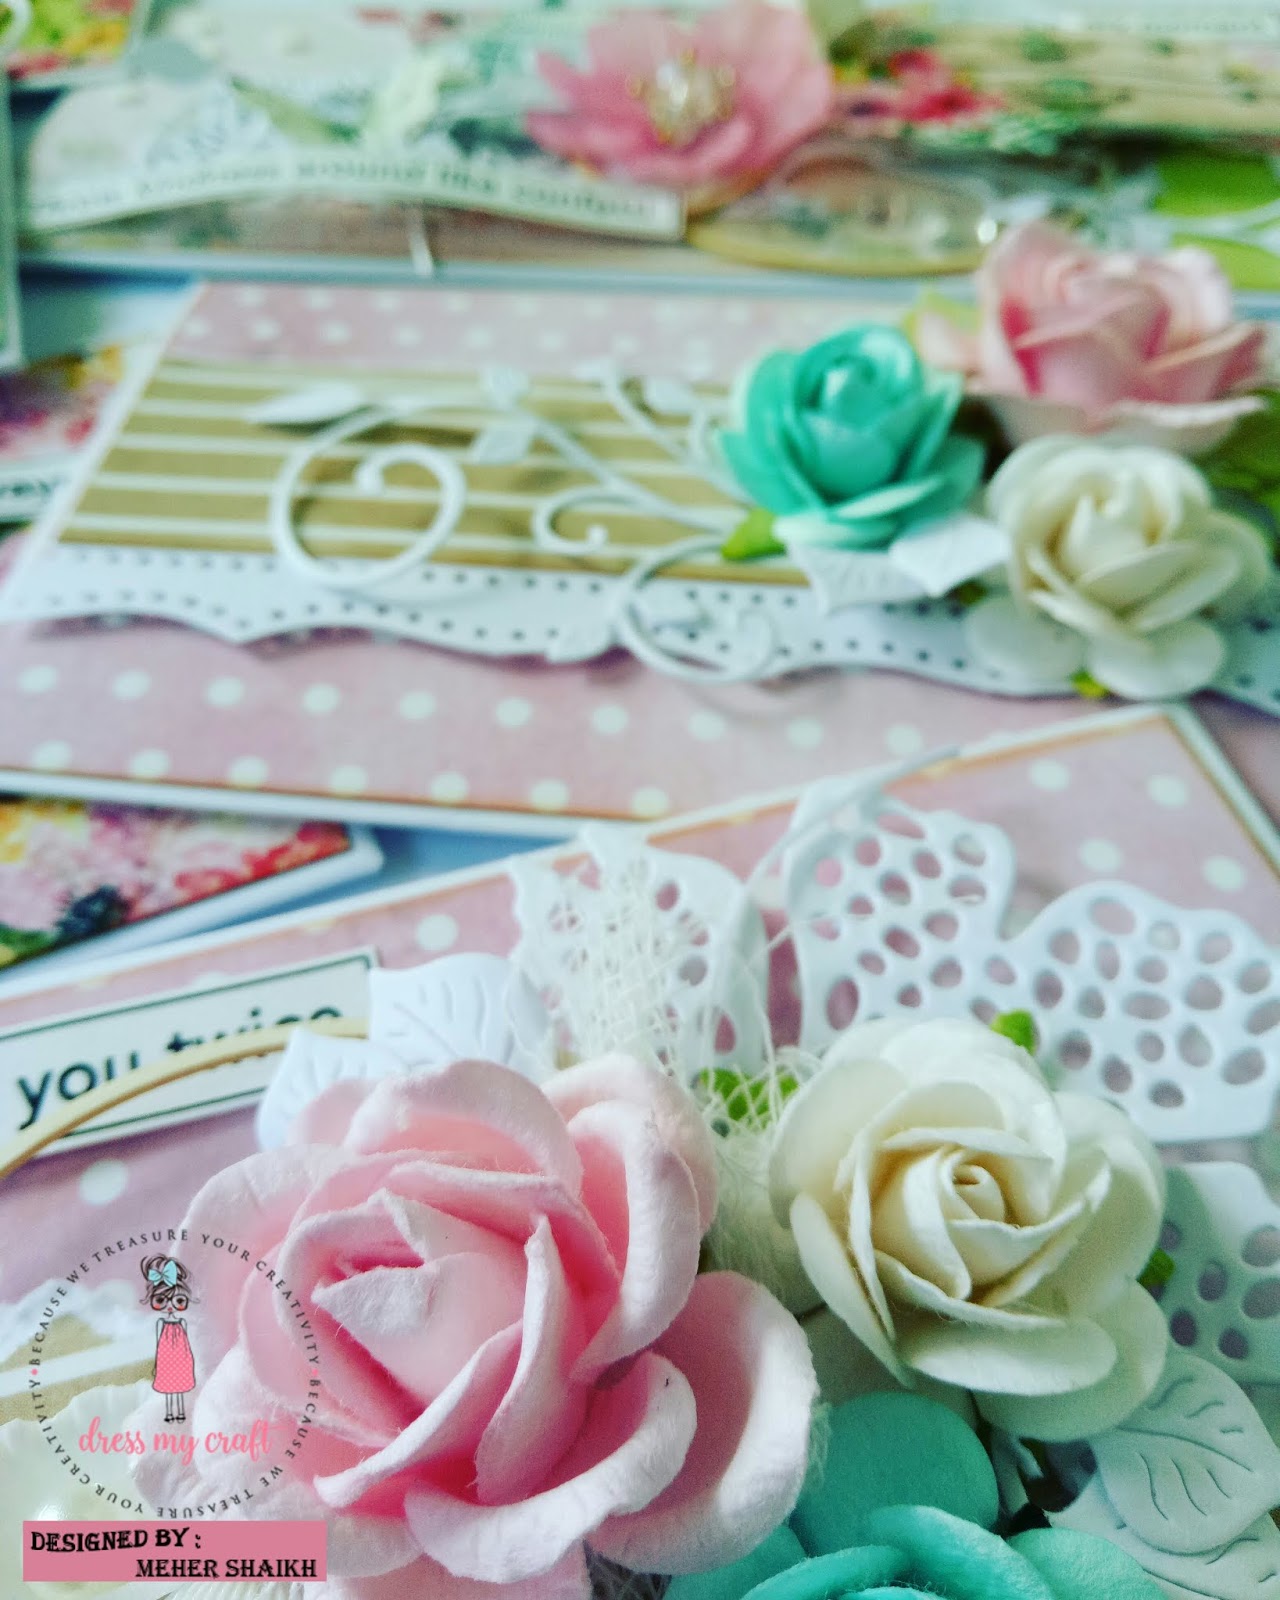
Hope you are doing great. It is my first post of the month and I've a bunch of envelopes created using the newly launched beautiful Whimsical hues paper pad, floral symphony papers, dots n strips papers and the Magnolia papers. 
Whimsical Hues: The paper packs come in two sizes one is in 12*12 and other one is the 6*6 size. It also has a motif sheet that comes with different images and sentiments to uplift your projects. The papers are colorful with a combination of pinks and Greens and this wonderful combination truly enhances the beauty of the projects. 
You must have gone through my previous posts with envelopes created using Floral symphony papers. The paper pack is designed so beautifully that I could'nt resist myself creating new envelope using it. Magnolia paper pack is filled with beautiful shades of shabby green and blues which has its own standard and I had not created any envelopes using this previously. Dots n strips paper pack is kinda common friend of all other paper packs. You can match it with any paper collection and it looks absolutely gorgeous.
So, you will find a bunch of envelopes created using all four collections in one frame.
I have also used my favourite microbeads, flower pearls, sequins, confetti and a lot of other dress my craft products to give more detailing.
Have a look!! 


I created the bow using the beautiful pink princess sequins and flower pearls.

Some pretty envelopes in green shades using Magnolia paper collection.
Shaker embellishments created using the flower pearls.
List of materials used:

Monday, 19 March 2018

Baby envelopes | Video tutorial

Happy Monday everyone,
I hope you all had a wonderful weekend! Mine was great with scrapbooking classes in kolkata. Well, I'm here today with a pretty post on baby envelopes. I've created three baby envelopes using all gorgeous products from Dress My Craft. These are 3* 7 sturdy envelopes created using the floral oriental papers. I've a full video tutorial on how I created this and I hope you like it.


List of materials used:


Friday, 3 November 2017

Small budget craft room

Hi guys,
Hope you are doing great.
I'm back with a new post on the new range of DMC Miniatures. We the team of DMC are focusing on these beautiful miniature furniture this month. DMC has launched yen number of miniatures recently and I'm sure you guys are already in love with them.
Well, I'm going to share a small budget craft room area I created using these miniature furniture. This is a beginner craft room and I have created this from my personal experience as a crafter in 2012 when I had nothing but a scoreboard and bundles of colorful cardstocks. I've been creating albums since the very beginning and you can see them placed in miniature version in the shelves below. I have created miniature photo folios, pen stands, a scoreboard and other items to place them in the shelves below. On the right hand side, I have a round table with a flower vase which is actually created using the distress blending tool. 
I have used some DMC golden miniature wall frames, cabinet furniture set, antique book and a wooden window.
Hope you like it and please feel free to ask any questions related to the project.
Thank you

List of materials: