Showing posts with label DT Inspiration posts. Show all posts

Friday, 9 October 2020

New born baby Frame | by Meher | Chirping Birds

Hello everyone, This is Meher from Meher Creations. You can follow me on my social media handles

Instagram

Facebook

I'm back with a new post for this month. You all know Dress my craft has a lot of paper packs on different themes but hardly few people know that Dress my craft has a separate set of pattern papers on different themes under "Me collection". Set of papers in this collection are not in the form of booklet like the regular ones but trust me the designs are super awesome and deserves a lot of attention. 

Today I've created a beautiful baby project with Chirping birds paper collection. Some paper packs are just so good that you can create your own theme with the designs that are included in the set. Picking up chirping birds collection to create this baby project was a fair and good decision. The designs are just soothing to eyes and that's what I prefer for a baby project. 

I created a 3D frame for a new born baby with all the little details I really hope you like it.


Dress My Craft products are available at

For Indian customers -​www.crafterscorner.in 

For International buyers - www.scrapbook.com

​www.dressmycraft.com​ ( FREE SHIPPING ABOVE 150$ WORLDWIDE)

Happy Crafting!

Thursday, 27 August 2020

Home | Decor piece with transfer me | Video tutorial

Hello everyone, This is Meher Shaikh. 

You may follow me on: Instagram and Facebook

I hope you're doing good and having a great time crafting with all the amazing Dress my craft products. I've been working on quite a few home decor pieces recently and here's what I created using the transfer me sheet from Dream door collection. I've a video tutorial from start to finish on how you can use the transfer me sheets easily on a wooden base. 


I hope you like it ❤

List of materials used:

Transfer me sheet

Dream door collection

Micro beads


Dress My Craft, Social media handles:
Facebook: www.facebook.com/dressmycraft
Instagram: https://www.instagram.com/dressmycraft
Youtube: https://www.youtube.com/dressmycraft

Dress My Craft products are available at
For Indian customers -www.crafterscorner.in
For International buyers - www.scrapbook.com

www.dressmycraft.com ( FREE SHIPPING ABOVE 150$ WORLDWIDE)

Tuesday, 25 February 2020

3D boxed Card | Handmade flowers by Meher

Hi guys,
Meher here with another post for this month. Today I've a beautiful boxed card with handmade flowers to share with you and before I go ahead if you wish to see more of my projects everyday then here's a link to my social media accounts where you can find various projects I create.
I've created a shadow box card "Together forever" using the gorgeous sweet treats collection and Be mine motif sheet on the front and a shaker panel with dessert mix shaker elements on the back. I created some pastel flowers using groove tools which I've used on both the sides of the card. I've also used a lot of dress my craft dies to embellish this boxed card.


I hope you like my project.
Thank you for stopping by.

List of materials used:

Groove tool
Holi die
Flower die
Sweet treats
Be mine
Dessert mix 

Dress My Craft, Social media handles: 
Youtube: ​https://www.youtube.com/dressmycraft

Dress My Craft products are available at:
For Indian customers -​www.crafterscorner.in 
For International buyers - www.scrapbook.comwww.dressmycraft.com​ ( FREE SHIPPING ABOVE 150$ WORLDWIDE)

For wholesale or any queries please email us to info
@dressmycraft.com.

Saturday, 14 September 2019

Romantic roses | A 3D house and an envelope

Hey guys, Meher here from Meher Creations. I am super excited, honoured and glad to continue my journey with Dress my craft for one more year along with such talented designers from all over the globe. 
You can find my work here:
Facebook: Meher Creations
Instagram: meher_creations

I've some beautiful projects to share with you today. As you all know Dress my craft is one of the best brands that manufactures the best and thick scrapbooking papers and they have launched the amazing Romantic roses paper collection recently. I must say this is the collection that took my breath away and I'm so much in love with it.
This paper pad comes in two different sizes. One is the 12*12 inches pad with 12 designs and 24 sheets. The other one is the 6*6 inches pad with 12 designs and 24 sheets. Both the sizes are equally useful for us as scrapbookers as we tend to create scrapbooks in different sizes as per our requirement.
The best thing about Dress my craft paper collections is the add on pack of motif sheet that contains some beautiful elements to fussy cut in order to create detailed projects.

A perfect house with a memory scrapbook for a wedding  | Romantic roses

My first project for today is a beautiful house with a memory scrapbook inside to preserve all beautiful memories. This is a 3D project created using 1200gsm chipboards to make it sturdy enough to hold a heavy scrapbook.
I've decorated the house with some mulberry flowers, charms, chipboard fence, bottles, pearls and elements from motif sheets.

Let's have a look..


Wedding envelope | Romantic roses

My second project for today is a money envelope that I created using the same romantic roses collection. I created a plain envelope using an envelope punch board and decorated it using romantic roses paper collection. I've again used some of my favorite elements from the motif sheet to give more detailing to it and I feel it makes such a beautiful and unique money envelope.


Products used:
Romantic roses collection
Romantic roses motif sheet
Floral oriental papers
Paper trimmer 12"
Paper trimmer 8.5"
Golden black sequins
Princes mix sequins
Mulberry flowers
Chipboard

Dress My Craft, Social media handles:
Facebook: www.facebook.com/dressmycraft 
Instagram: https://www.instagram.com/dressmycraft 
Youtube: ​https://www.youtube.com/dressmycraft


Dress My Craft products are available at

For Indian customers -​www.crafterscorner.in 
For International buyers - www.scrapbook.com
www.dressmycraft.com​ ( FREE SHIPPING ABOVE 150$ WORLDWIDE)


Happy Crafting!

Saturday, 27 April 2019

Envelopes | DMC Scoreboard | Tutorial by Meher

Hello everyone,
Hope you're doing great. This is Meher back with another tutorial post with envelopes created using dress my craft scoreboard. Yes, I've not used any envelope punch board to create the base of the envelopes this time and I've played with beautiful bright colors. The paper collection that I used is called the charming baby girl collection which is again from Dress my craft and it is one of my favorite paper collection from Dress my craft. I've provided step by step instructions below on how I created these baby envelopes. Hope you like it. 

Colorful shaker envelope:


How to create:

  1. Take a white cardstock and score at 4" , 8.5", 10.5"
  2. Turn around and score at 1/2" , 7.5" , 8"
  3. Cut the extra cardstock from both the sides.
  4. Fold the cardstock and cut the extra strips of 1/2" from the 4" and 2" sides. 
  5. Stick them and punch the corners using Dmc 3 in 1 corner punch. I used the 10mm corner side. 
  6. Cut pattern paper for the base measuring the envelope and make sure you leave 1/8th of an inch white border on all the sides. 
  7. Pick another white cardstock measuring 6" by 3.5" and trim three strips.
  8. Attach foam tape behind the strips and stick it on a colored cardstock. I've used three different colors to make my envelope look bright. 
  9. Add some sequins and crystal cubes in the empty space.
  10. Attach an acetate sheet on top of the panel.
  11. Cut another panel on pattern paper using dmc mini trimmer and stick it on the existing panel. 
  12. Cut some images from the paper collection and including the beautiful pink curtain and adhere it using foam tape. Your envelope is ready.

Frosted Envelope:


How to create:

  1. Take a white cardstock and score at 4" , 8.5", 10.5"
  2. Turn around and score at 1/2" , 7.5" , 8"
  3. Cut the extra cardstock from both the sides.
  4. Fold the cardstock and cut the extra strips of 1/2" from the 4" and 2" sides. 
  5. Stick them and punch the corners using Dmc 3 in 1 corner punch. I used the 10mm corner side. 
  6. Cut two pattern papers for the base measuring the envelope and make sure you leave 1/8th of an inch white border on all the sides. 
  7. Pick a brad and fix at the center of the envelope and adhere a twine behind to create the closure. 
  8. Fussy cut some images from the paper collection and adhere it on the flap of the envelope.
  9. Randomly apply glossy accents on the bottom of the envelope and pour frosted powder on it. 
  10. Cut a sentiment and stick on the envelope to complete it. 

List of materials used:

DMC products are available at: 
www.crafterscorner.in for India customers and at www.dressmycraft.com for the International customers.

Facebook : www.facebook.com/dressmycraft
Instagram : https://www.instagram.com/dressimycraft
LIVE Facebook Videos: https://www.facebook.com/crafterscornerlivetvYoutube : https://www.youtube.com/channel/UCExYyDP3Ag_uJk1MkxRz38w

Orders over 150$ are eligible for Free shipping internationally.

Monday, 1 April 2019

Little miracle name plate | How to create

Hello everyone,
Meher this side from Meher Creations with a new project created using the little miracle paper collection from Dress my craft.

I've created a huge name plate that measures 20 inches. Let me take you through the process on how I created.

I painted the base using home decor chalk paint and attached a couple of pattern papers from little miracle collection trimming them in different sizes using tacky glue. I have done some gold stenciling using my favourite stencil from Dress my craft and varnished the whole name plate. I picked some mulberry flowers and attached them on two sides of the name plate. In order to add some extra flavour I ended up sprinkling some Dress my craft sparkling dust on all the flowers.
I picked the alphabets and coated them with white gesso and then colored them in my most favorite color using Prima chalk edgers. I pretty much liked the combination. I proceeded further giving some extra touch up for the letters and varnished them. Finally I added some butterflies, clear droplets and other embellishments to complete the name plate. I had a beautiful pink shabby chic lace which I ended up attaching all over the border of the name plate.

Have a look on how it turned out!!


List of materials used:
Little miracle paper collection 
Dmc stencil
Sparkling dust
Clear droplets
Roses
Frosted powder

DMC products are available at: 
www.crafterscorner.in for India customers and at www.dressmycraft.com for the International customers.

Facebook : www.facebook.com/dressmycraft
Instagram : https://www.instagram.com/dressimycraftLIVE Facebook Videos: https://www.facebook.com/crafterscornerlivetvYoutube : https://www.youtube.com/channel/UCExYyDP3Ag_uJk1MkxRz38w

Orders over 150$ are eligible for Free shipping internationally.

Thursday, 7 March 2019

Embellishments | Magical unicorns

Hello guys,
Hope you are doing great. I'm Meher from Meher Creations back with another post with some pretty little handmade embellishments I created using the magical unicorns paper collection and other Dress my craft products.
As you all know that Dress my craft has the best sequins, glitter powders and flower pearls ever, I have tried to use a few of them and show you how beautifully they enhance your projects.
Well, I also have attached some in the process pictures for you to know what you can do with the scrap of papers lying in your craft room.
Yes, working on teeny tiny embellishments is definitely a difficult job to do but if you love it, you enjoy it and do wonders. I absolutely love creating different embellishments. Although I have so many trials and errors I don't hold myself from trying something new. This time I have also gone back to my school days when I used to work with sketch pens. 😛
Hope you like what I created and do leave your comments if you have any queries.

Moving on.. 
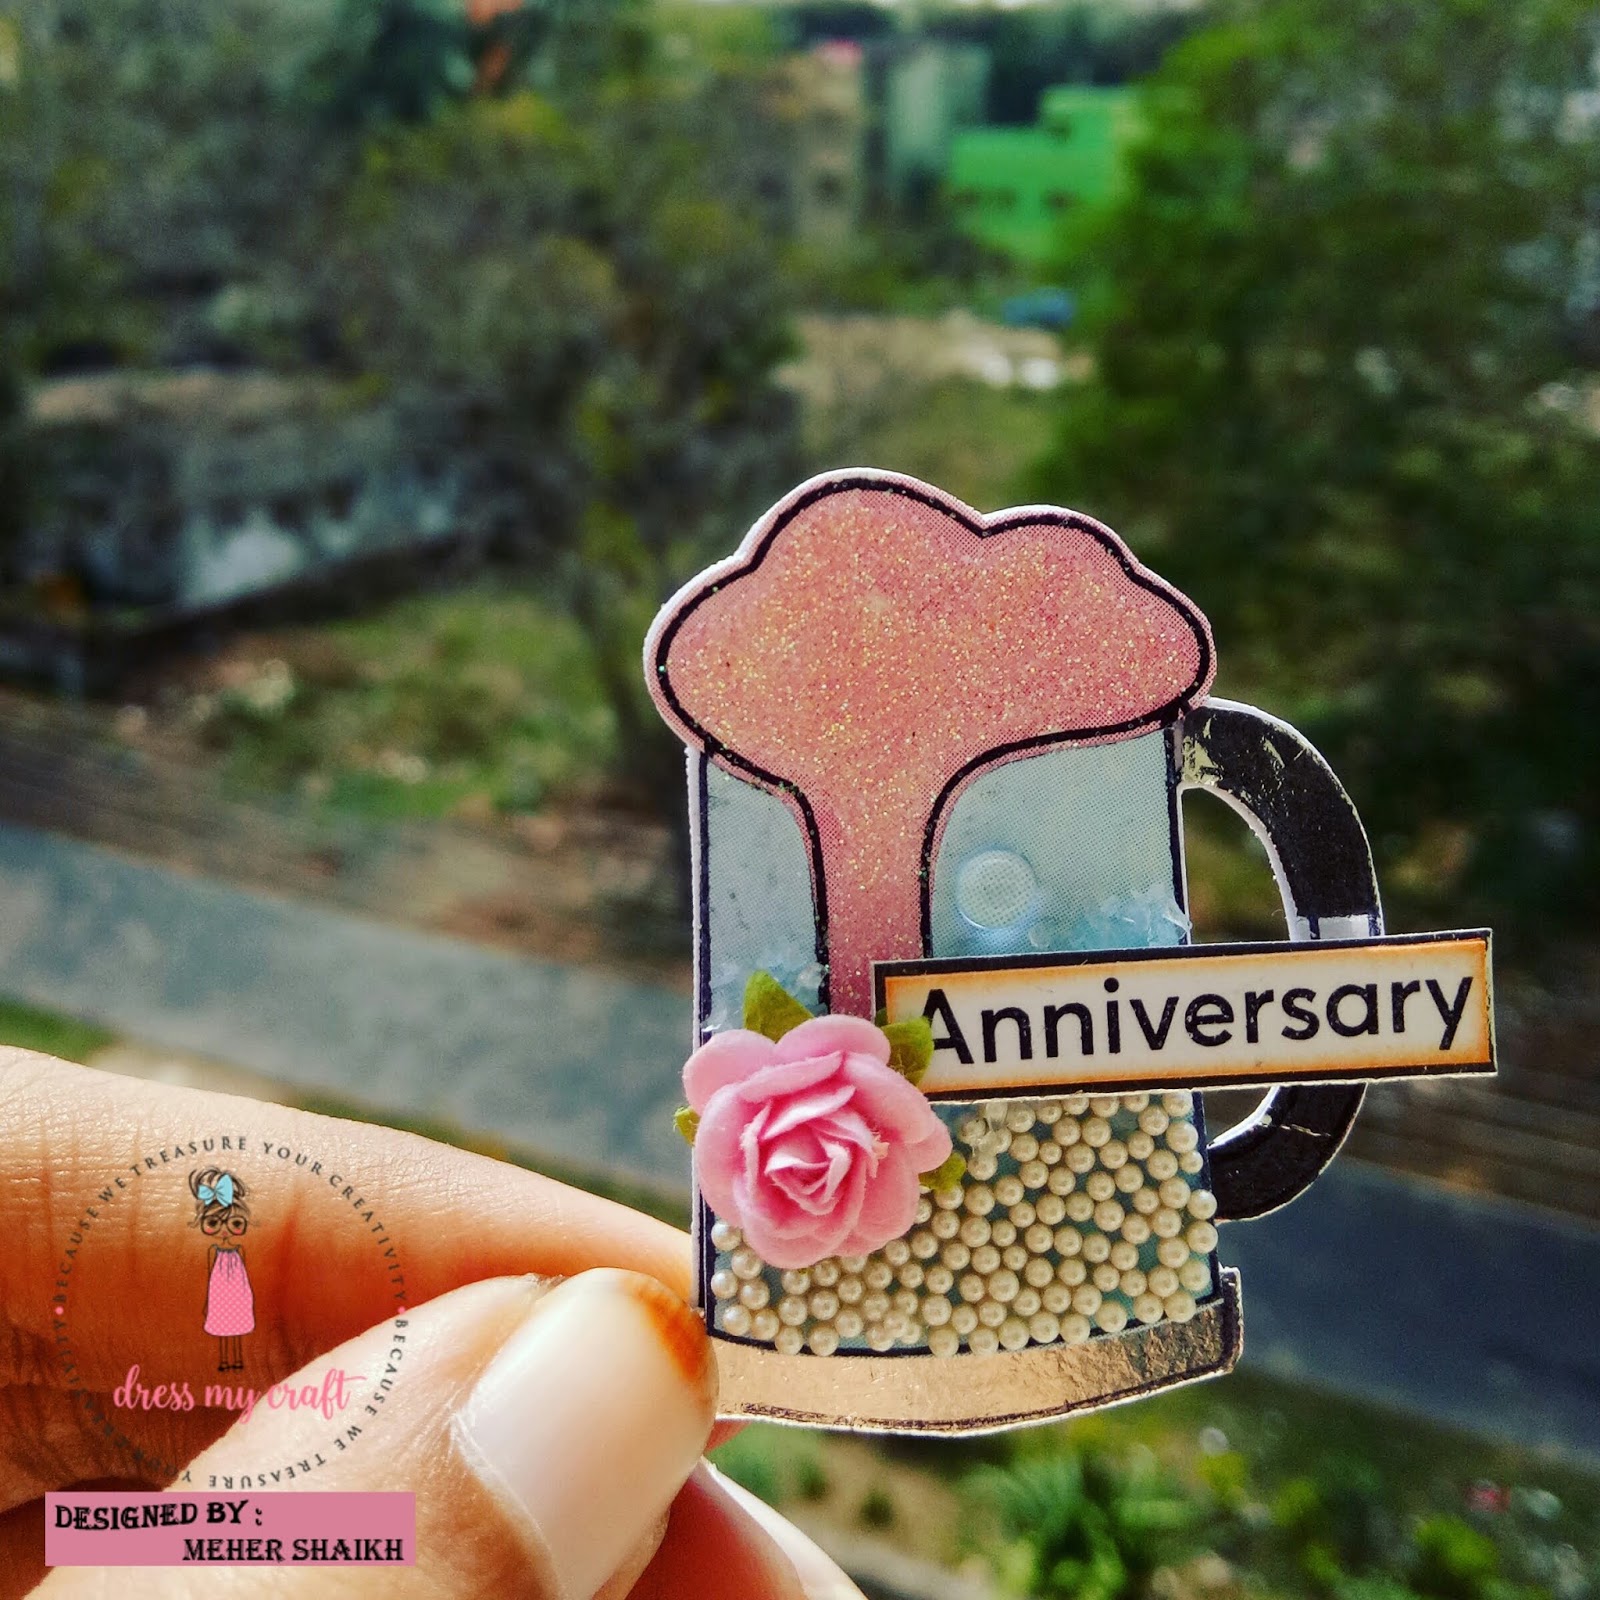
These are the teeny tiny embellishments I created using the magical unicorns paper pad and some dress my craft dies. I stamped the images on two different color pattern papers and one on white cardstock. I've then fussy cut bits and pieces and arranged them on the white cardstock image. I used DMC micro beads to give an add on look and layered the straws on DMC silver mirror cardstock. I have used some DMC rainbow glitter, sparkling dust and frosted powder on all the embellishments. The micro beads, glitters, frosted powder and clear droplets are fixed using glossy accents. I've stamped some sentiments on white cardstock and layered on DMC silver mirror cardstock to highlight them. Have a look. 


I've used two of my favorite dies from DMC to create this tag embellishment. The tag and the girl holding the red balloons are the two beautiful dies from DMC. 
I've colored the die cut on a white cardstock using Prima chalk edgers and added a layer of frosted powder on it. The red balloons are coated with micro sparkling dust to give a beautiful fairy dust effect on them. I then stamped an open envelope and a sentiment and layered it on my tag. 


This is a set of 6 beautiful ready to use embellishments created using the magical unicorns paper collection.

Here are two pretty pink bows I created using the pink sheet from the magical unicorn paper pad and attached a bling at the centre. These bows can be used on any projects like scrapbooks, cards, boxes, frames etc. These bows truly enhance the projects and these can be created using any scrap pieces lying in your craft room.

Some in the process pictures


List of materials used:
Magical unicorns paper pad
Couple die
Kiss me die
Micro beads 
Frosted powder
Rainbow glitter 
Sparkling dust 
Silver mirror cardstock 
Micro roses 
Clear droplets 

DMC products are available at: 
www.crafterscorner.in for India customers and at www.dressmycraft.com for the International customers.

Facebook : www.facebook.com/dressmycraft
Instagram : https://www.instagram.com/dressimycraftLIVE Facebook Videos: https://www.facebook.com/crafterscornerlivetvYoutube : https://www.youtube.com/channel/UCExYyDP3Ag_uJk1MkxRz38w

Orders over 150$ are eligible for Free shipping internationally.