Hello all!!
It's Brand Ambassador Amanda Fitterer back with another video to share with you! In this video, I'm walking you through the process of creating shaker tags using the Banner Punch, Rectangular Tag Punch, Reinforcement Hole Punch, Scalloped Border Punch, Whispering Love Collection Kit, Strawberry Slices, Watermelon Slices, and Micro Mini Pearl Beads shaker elements.
Find me on Instagram: @craftyandcreativevibes
Subscribe to my YouTube channel: Amanda Fitterer
The links to all the products are also listed at the end of this blog post. Scroll down for all of the project photos!
 Here is a link to the YouTube video on Dress My Craft's page:
(INSERT VIDEO LINK)


Here are the products I used once again:
Banner Punch
Rectangular Tag Punch
Reinforcement Hole Punch
Scalloped Border Punch
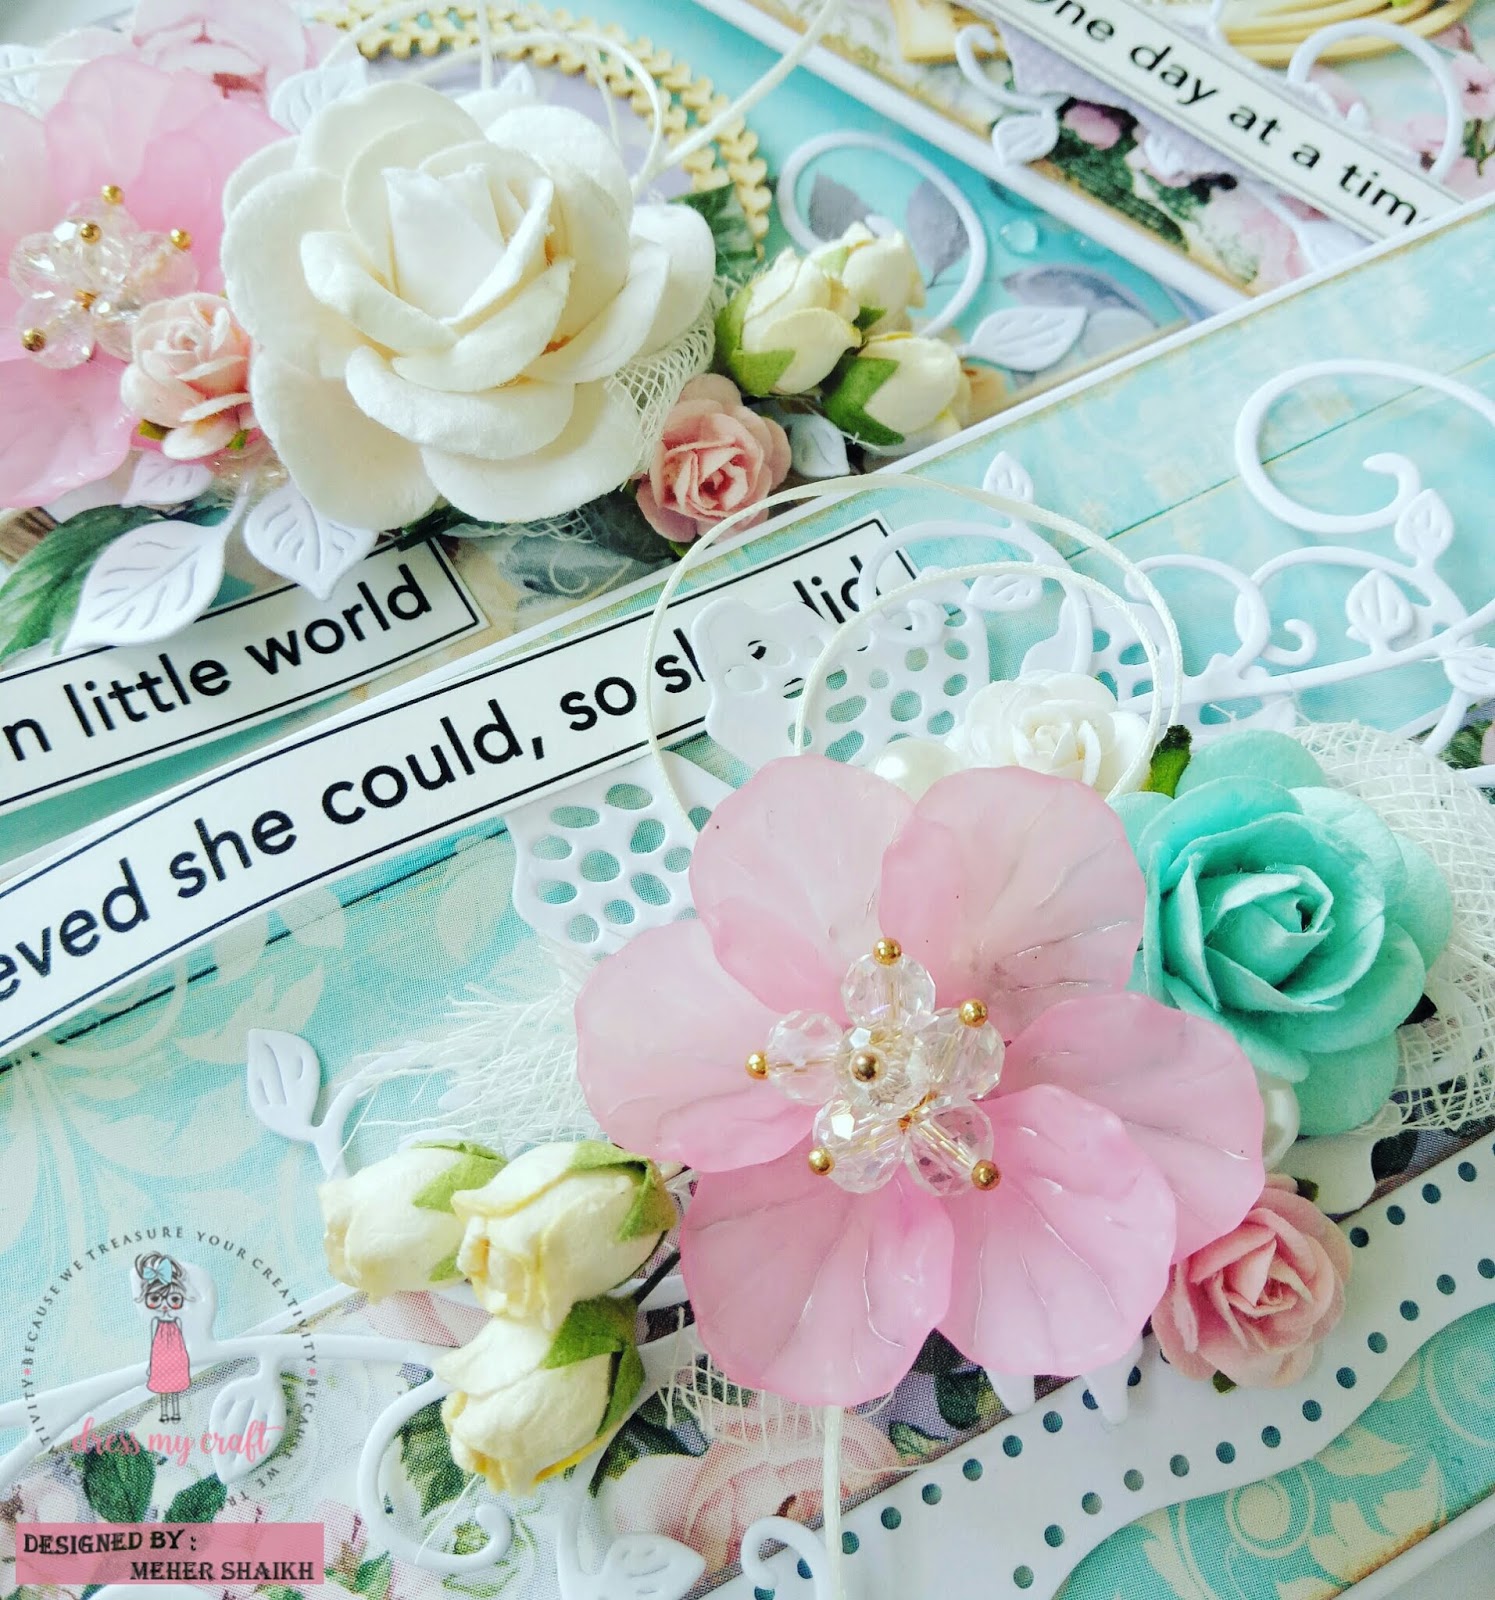
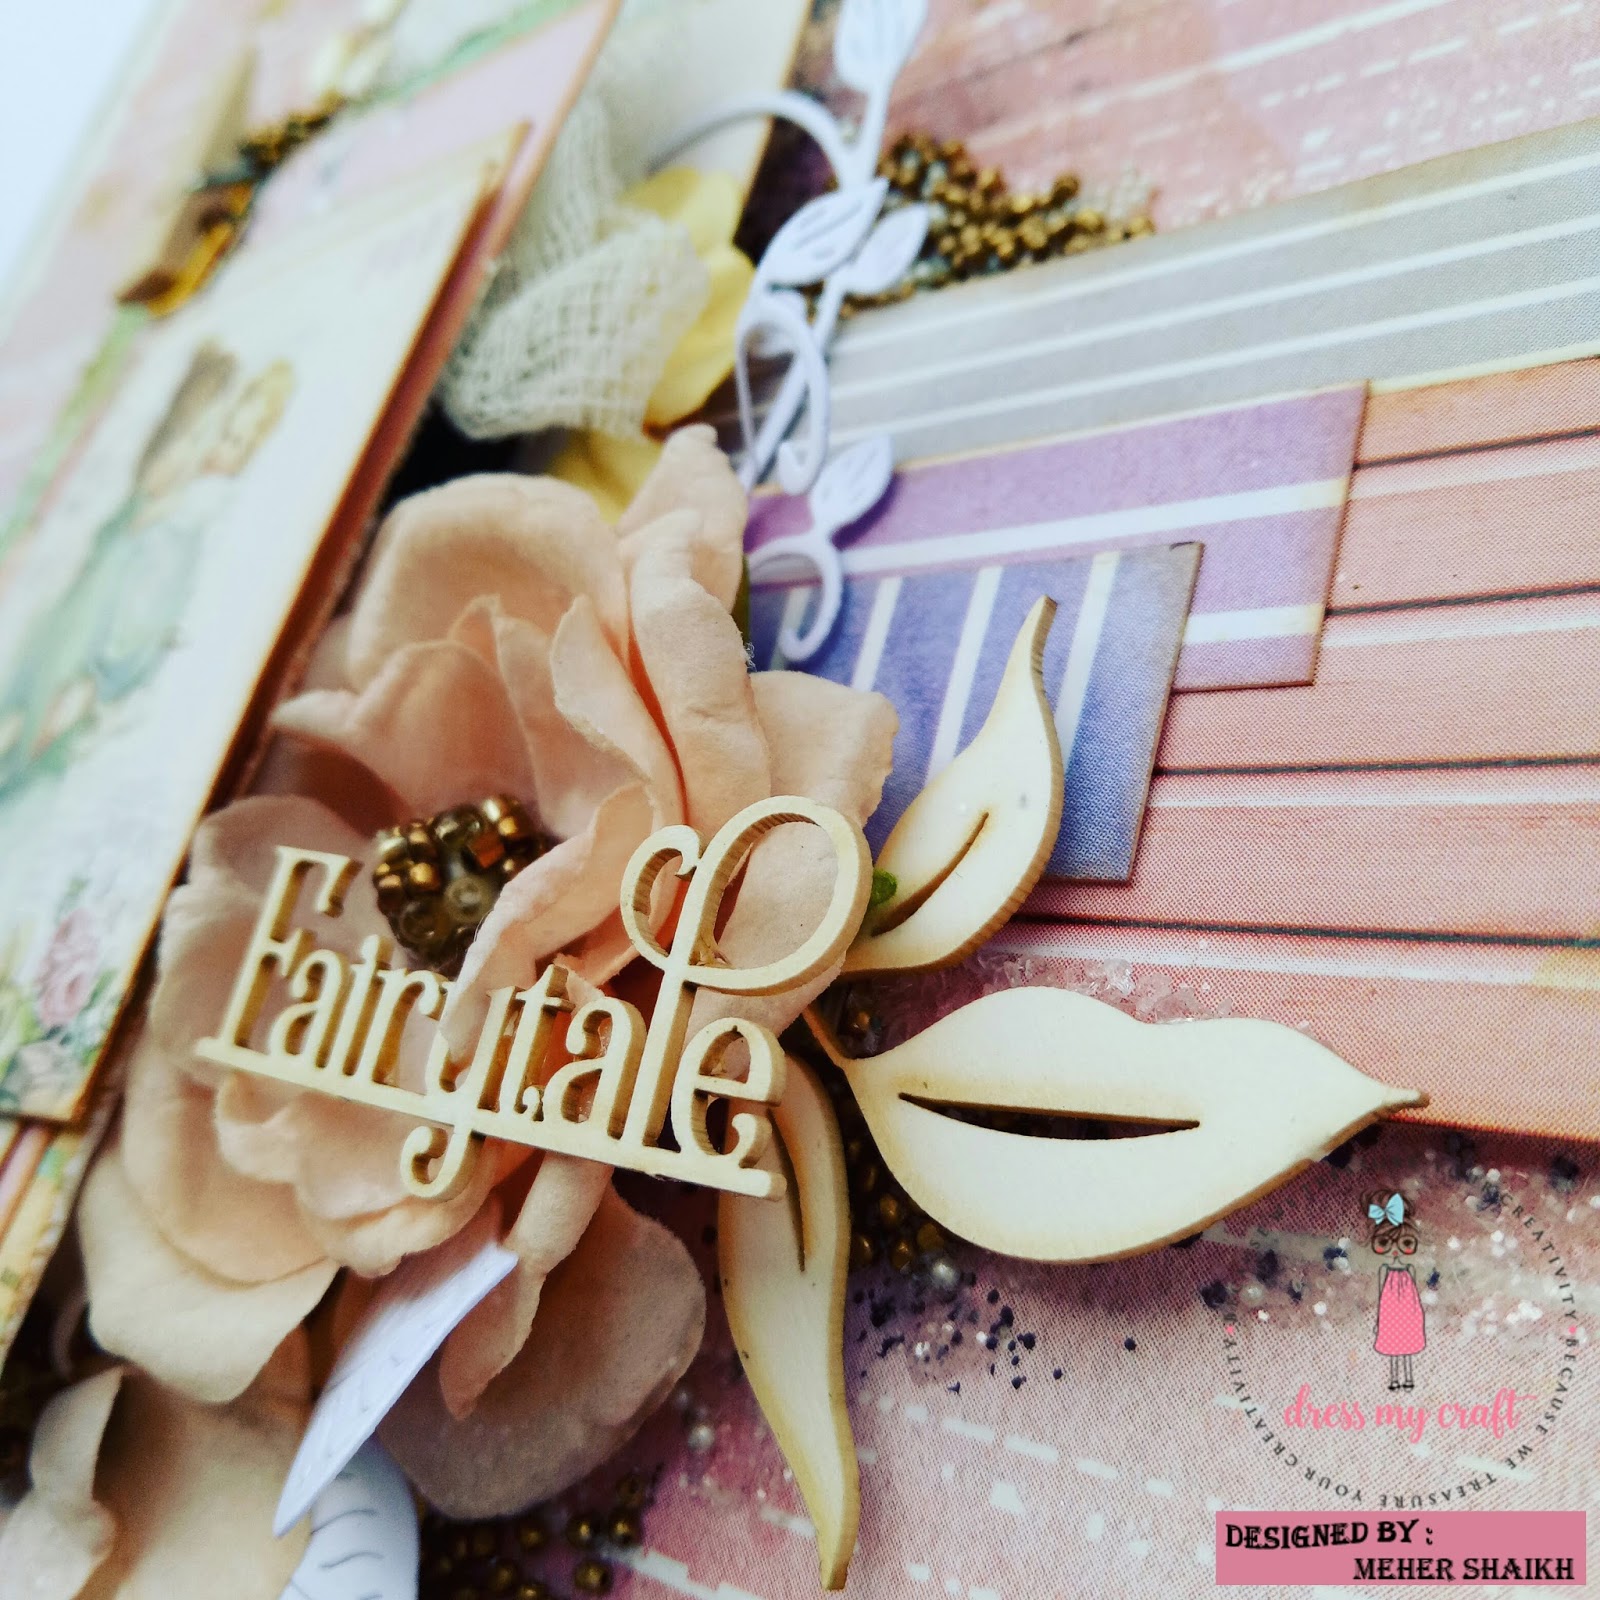
Whispering Love Collection Kit
Strawberry Slices
Watermelon Slices
Micro Mini Pearl Beads
It's Brand Ambassador Amanda Fitterer back with another video to share with you! In this video, I'm walking you through the process of creating shaker tags using the Banner Punch, Rectangular Tag Punch, Reinforcement Hole Punch, Scalloped Border Punch, Whispering Love Collection Kit, Strawberry Slices, Watermelon Slices, and Micro Mini Pearl Beads shaker elements.
Find me on Instagram: @craftyandcreativevibes
Subscribe to my YouTube channel: Amanda Fitterer
The links to all the products are also listed at the end of this blog post. Scroll down for all of the project photos!

(INSERT VIDEO LINK)


Here is the link to the video
Here are the products I used once again:
Banner Punch
Rectangular Tag Punch
Reinforcement Hole Punch
Scalloped Border Punch
Whispering Love Collection Kit
Strawberry Slices
Watermelon Slices
Micro Mini Pearl Beads
Dress My Craft:
Facebook: www.facebook.com/dressmycraft
Instagram: https://www.instagram.com/dressmycraft
Pinterest: https://pinterest.com/dressmycraft
Dress My Craft products are available at:
For Indian customers - www.crafterscorner.in
For international buyers - www.scrapbook.com
www.dressmycraft.com (FREE SHIPPING ABOVE $150 WORLDWIDE)
For wholesale or any queries, please email us: info@dressmycraft.com