Showing posts with label Pocket Accordion Mini Album. Show all posts

Tuesday, 25 August 2020

Photo Album with Minimum Craft Supplies Feat. My Super Hero Paper Collection

 Hello Everyone!

Ruchi here from Ruchi's Crafeteria and I'm back with another project as Brand Ambassador for Dress My Craft.

First, I'm sharing my social media links where you can explore my crafty work.
YouTube
Blog
Facebook
Instagram
Pinterest
Twitter

So let's move to today's post. I've created a Photo Album with minimum crafty supplies using Dress My Craft newly launched MY SUPER HERO paper collection.
When you get an order from your client at last minute or you have to gift something urgently, and don't have enough supplies, then this post would be helpful to you 😊


I've used only the papers of this collection, white cardstock for the base, and fussy cut elements from the ’My Super Hero' Motif Sheets and some basic tools like scoreboard, bone folder and paper trimmer.


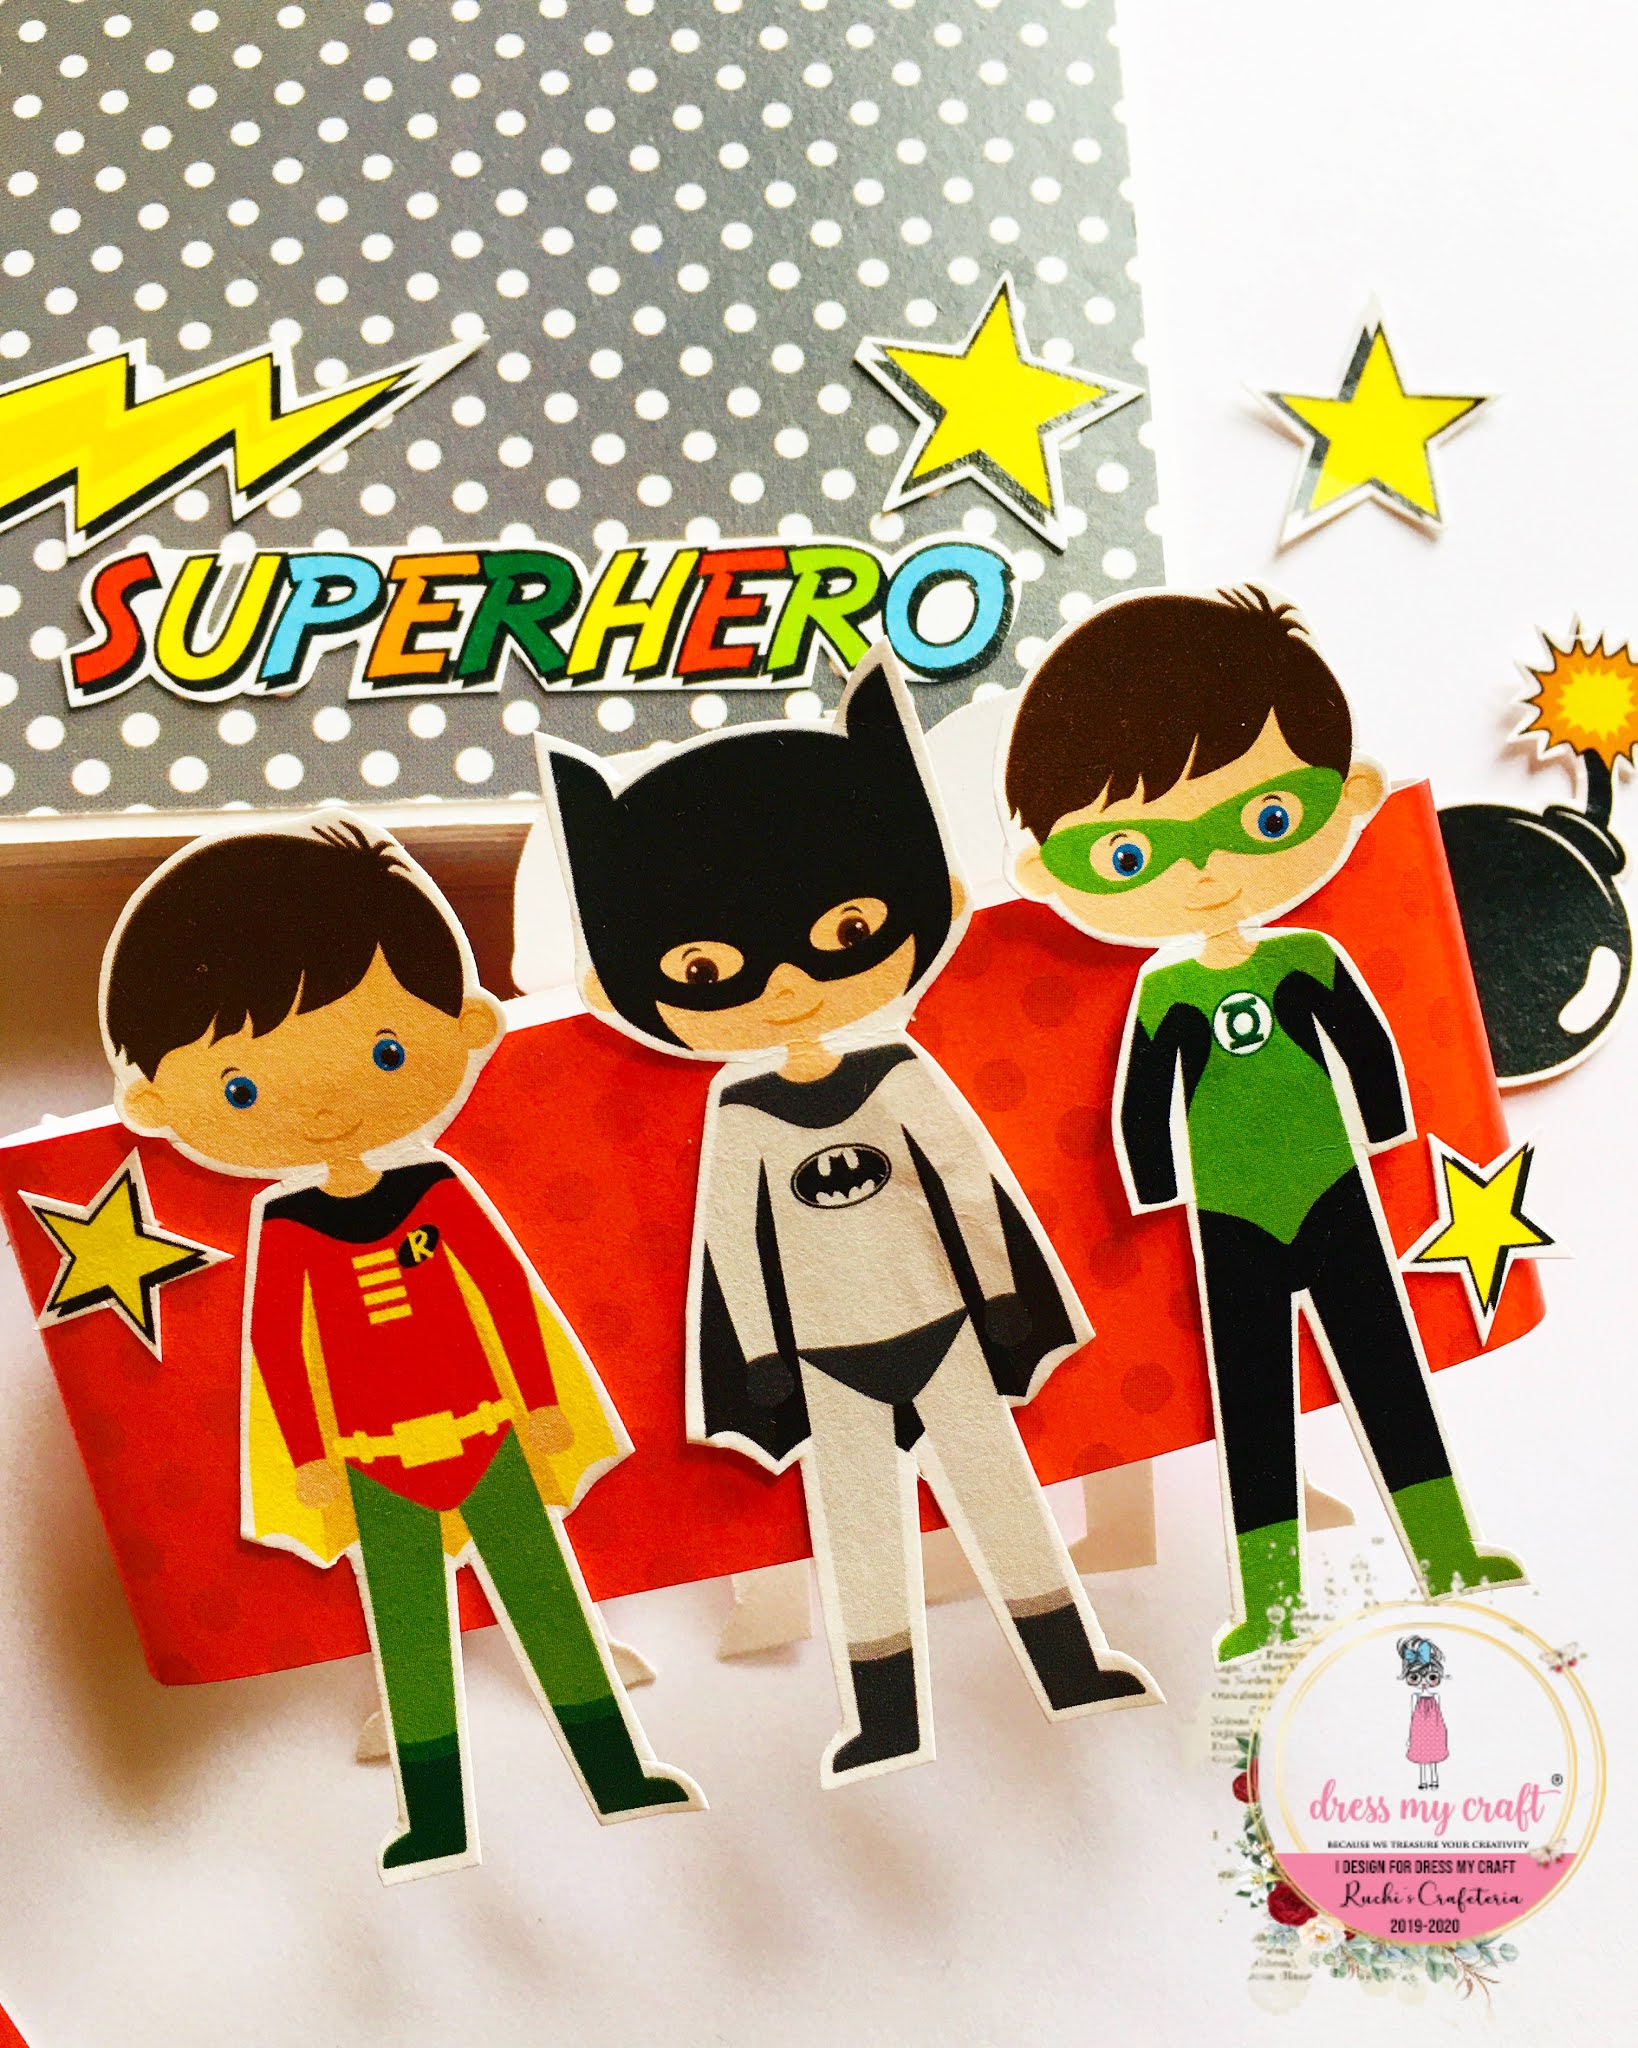
It's a kind of zigzag fold album and I've created a band, instead of ribbon/lace, to keep it close. Did nothing much fancy to decorate, just fussy cut super hero images from motif sheets and adhered them to the band. Isn't it super quick and easy thing for closing or binding your albums! :)


That's the backside of the album. Here again, I've glued images from the motif sheets, on the closure band, and some others here n there. This motif sheet comes with sentiments too so you no need to look for a perfect sentiment for your project. They are well designed and picked as par the Super Hero theme :)


When you remove, the band looks like this... 😊


Now you enjoy the inside look of my album and have a look at these gorgeous designs of this paper pack. You can mix n match each n every design perfectly. A perfect paper pack for your kid's theme projects like an album, scrapbook, birthday cards, motivational cards, kids party decors, banners, caps, and all. 


I kept that simple as my focus was to create something when you don't have much of your crafty tools in hand nor many crafty goodies.

Just created pockets for my photo mats, with the help of Dress My Craft Scoreboard, and cut all the papers in exact measurements using Dress My Craft Paper Trimmer.

You can find all the supplies list at the end of this post.


Some of my other creations with Dress My Craft products-

Home decor- Altered photo frame feat. Dream Door paper collection is HERE

How to decoupage with Rice Paper', Video Tutorial is HERE

Favor Bags with WHISPERING LOVE papers are HERE

An album 'Treat To Eyes' with SWEET TREATS paper pack is HERE

A pictorial of a Layout on Valentine's theme is HERE Used BE MINE paper collection for that.

A set of Masculine Cards with a video tutorial is HERE and An Exploding Box card with 'My Gentleman' papers is HERE to explore.

A Christmas Gift Box with a video tutorial is HERE

Some Christmas Cards and a Tag Album is HERE to explore :)

A Framed Layout with a video tutorial is HERE to watch. Used 'Pink Smoke' paper pack for that.

I've created a set of shabby chic cards using a gorgeous 'Romantic Roses' paper pack with a video tutorial. You can find the post HERE

You can watch my DT kit reveal video HERE   ..I'm sure you will enjoy watching a flip through of this beautiful paper collection by Dress My Craft.

Supplies used:
Papers-

Tools-

I hope you like today's project.
Happy Crafting!!
Ruchi

Dress My Craft, Social media handles:
Facebook: www.facebook.com/dressmycraft
Instagram: https://www.instagram.com/dressmycraft
Youtube: https://www.youtube.com/dressmycraft

Dress My Craft products are available at
For Indian customers -www.crafterscorner.in
For International buyers - www.scrapbook.com

www.dressmycraft.com ( FREE SHIPPING ABOVE 150$ WORLDWIDE)

Saturday, 9 February 2019

Squash book using the Magical Unicorns paper pack + Tutorial

Hello Crafty Folks,

This is Manu and I'm excited to share a  new cute little mini album with you today.
This album has a different structure and it is a lovely one.

I have used the newly launched paper pack called Magical Unicorn which comes in a 12*12 and a 6*6 size along with the Motif sheet. The best part about this collection is that for those who dislike the fussy cutting, there is an option of buying the die cuts (of course of the motif sheet) as a seperate part and leave the hassle of doing the fussy cutting all the way long.
The die cuts are also an easier way of saving a lot of time, but I do love fussy cutting and I totally love fussy cutting with my scissors.

I also have a little tutotial on how to make the base of this squash mini album and Lets checkout how this album looks like.


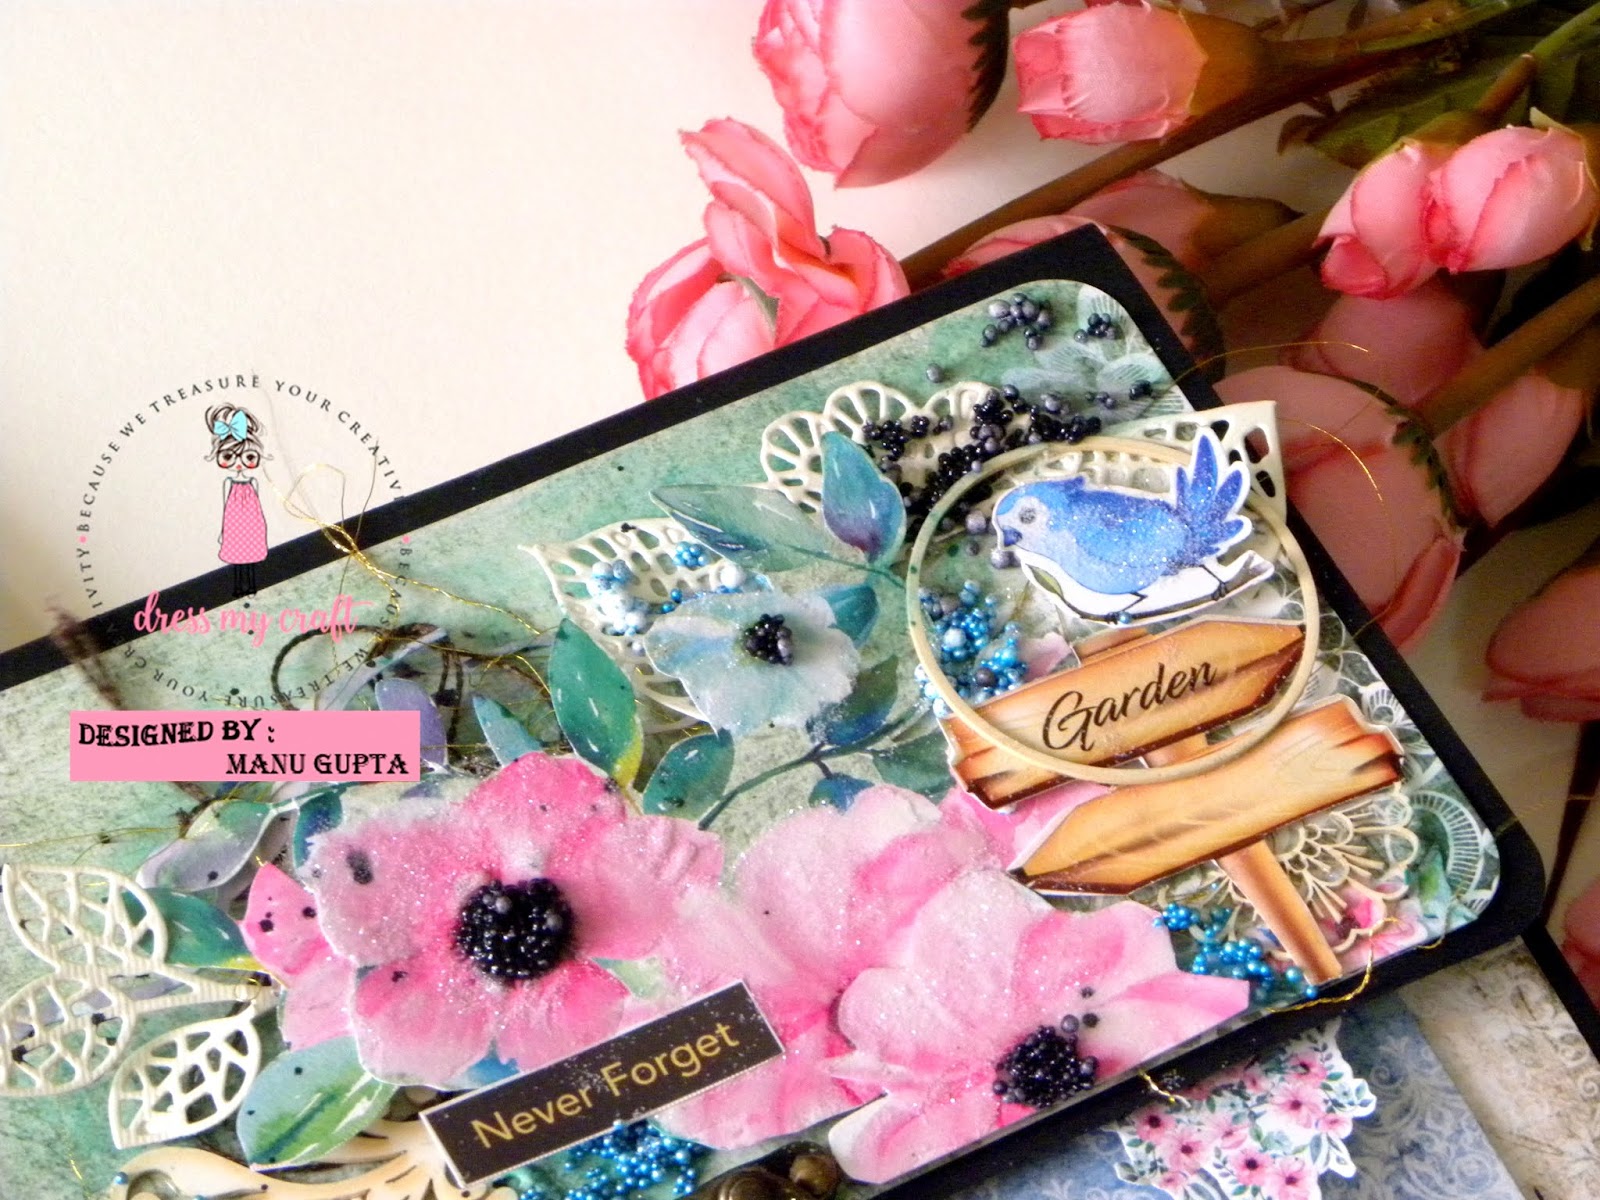
Above is the closed look of the album. I have kept the front relatively simple to highlight the pretty colors and the uber cute Unicorn from the die cuts pack. I totally loved the Unicorns from this paper pack.


 And here is the complete look when this album is opened up. The album looks teeny tiny at the first look, but once opened up, it has ample of space for writing down messages and putting up the pics.

The best part, I have put up a little flaps on two of the insides, which once opened up reveals more space. We would look into those later on in the pictures, lets first head over to the part where I show how to make the base structure of this little mini album.

** The list of all the products used have been listed at the bottom of this project and you may want to checkout the complete list. If there is anything you may need an answer for, please drop in a comment and I will make sure to reply back. **

Lets start.

1.

Take 3 cardstock pieces of 8.5*8.5 inches and score at 4.25 and 4.25 from both the sides resulting in a intersecting scoring as in the picture below.
Also score at one diagonal point to another as shown in the picture below ( From end to end).


Now you will be having 3 pieces of 8.5*8.5 inch cardstock as in the pic above. Carefully fold the cardstock inwards where there is a diagonal scoring to make it easy to fold the complete card later on.


Now place your pieces together as in the pic above and tape the intersecting square together. Remember to place the middle cardstock on top of the first and the third cardstocks. 
Once the interesting portions have been glued together, Fold the first cardstock inwards, the second outwards and the third again inwards to fold it together.

Once this base structure is done, run your imagination wild and embellish the insides in the way you wish to.
Here are some of the snapshots of the insides of this little mini the way I did. 


I loved the bubbly colors this collection had to offer and used a lot of die cuts from the die cut element pack to embellish this little mini. 


To peck up things, I also kept  a little flap that opens up and tied it with a funky looking thread. This insert when opens up can hold pictures and looks like the way it looks in the picture below.


The Newly released Dress My Craft dies adds a additional charm to the project.


Now that's a lot of pictures, I loved clicking the pics from all the sides and truly loved the true blue colorful and cheerful look this album has.


I hope you liked this little mini of mine and have been inspired to make one for yourself. 

Products Used:
9. NESTING CIRCLES - BASIC 
10. POINTED DAISY FLOWER - 
11. Ultimate Die Cleaning Tool

DMC products are available at www.crafterscorner.in for India customers and at www.dressmycraft.com for the International customers.

Facebook : www.facebook.com/dressmycraft

                                  Orders over 150$ are eligible for Free shipping internationally. 

Saturday, 9 June 2018

Mini Album with the Magnolias paper pack

Hello Everyone!

Manu here from A Handfull of Art. It's that time of the year again! Yes, I'm pointing towards the Crafty Feast Season 3. The biggest Craft Carnival in India and if you love decoupage, then this season is not to be missed, for it's all about the Decoupage this time!! Come and learn with the very best in the industry!!!

Here's another good news!! There is a new paper pack in town!!! Did you happen to see the new paper pack launch by Dress My Craft?? The paper pack is called Magnolias and is a visual treat to anyone who loves flowers and everything flowery!!! I loved this paper pack and would highly recommend it. The paper pack is available in 2 sizes, 12*12 and 6*6 and is of 240 gsm. The papers are acid and lignin free which makes them very very versatile to use in various projects!!

I have a cute little mini album to share with you using the Magnolias paper pack.
The papers are effortlessly chic and are a complete package along with the Motif sheet to make pretty albums.
Lets take a tour of this mini album I made!


Did you see the sheen in the flowers, I used the micro sparkling dust to make these flowers dazzle and shine.


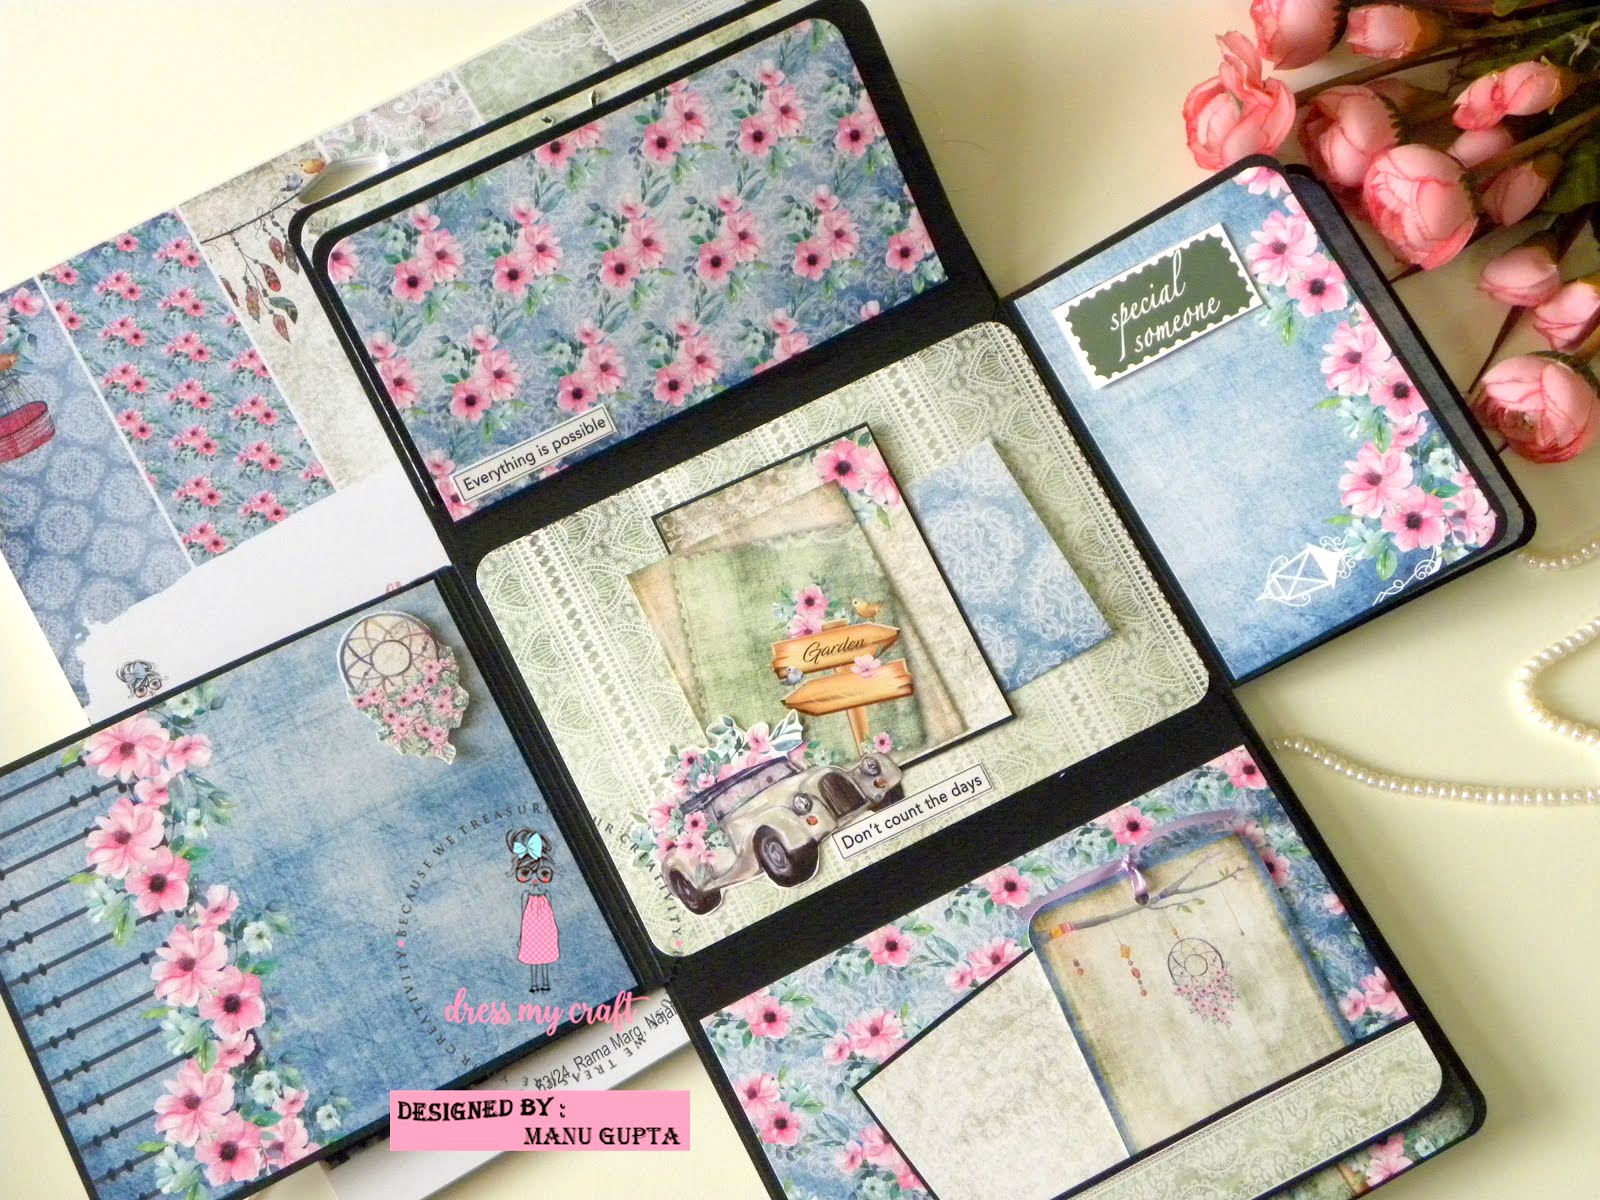
With lots of flips and flaps and pockets, this mini turns out to be a good option to gift to friends!


The papers are very pretty to make any kind of a floral project and these papers are perfect or making albums!


I hope you liked the project and I'm sure you are eagerly waiting for more  of the DT inspiration to spread more creativity around. I'm eager to see what my fellow DT's make and I'm pretty sure that I'm be elated. 

Products used to make the album
6. Glossy Accents

Happy Crafting!
Manu